¶ eufyMake E1 Beginner's Guide
Welcome to your eufyMake E1 UV Printer. This guide walks you from unboxing to your first print, and covers the editor, accessories, ink, maintenance, and troubleshooting — with an official tutorial link at every step.
- Placement & Installation
- Download the Software
- Device Initialization & Beginner's Guide
- Find Inspiration, Design & Print Settings
- Printing Accessories Tutorial
- About Ink
- Maintenance & Care
- Troubleshooting
- More Help
¶ 1. Placement & Installation
Place the E1 on a flat, stable surface and meet these environment requirements:
- Temperature: 15°C – 35°C (59℉ – 95℉); Humidity: 20% – 85% relative humidity
- Front/back space: With the standard platform, reserve at least 16 inches (~41 cm) in front of and behind the device so the front door opens fully and prints are easy to handle
- Right side: Reserve at least 12 inches (~30 cm) for cartridge removal and cleaning
- Left side: Leave room for the power cord; keep both sides off the wall to avoid ink staining
- Tilt: Must be less than 10°
- Safety: Keep out of reach of pets and children
- Size/load: Body 595mm(W) × 242mm(D) × 395mm(H), 15 kg (up to 25 kg loaded with ink and accessories) — ensure adequate load-bearing capacity
¶ 2. Download the Software
Once the device is placed, download the software and sign in with one account to start printing. The Anker Make software ecosystem spans three platforms, and account data syncs automatically across PC / Web / App:
- Mobile App (Anker Make App): Ideal for device pairing, initial setup, and your first print. Search "Anker Make" on the App Store / Google Play, or use the iOS / Android links
- Desktop (Anker Make Studio): Unlocks the full suite of advanced design and printing tools — your main creative software. Download from the official site: https://www.eufymake.com/eufymake-studio (choose the macOS / Windows version)
- Web community (Make It Real): Browse prints and try creation tools, great for guests: https://makeitreal-beta.eufymake.com/
¶ 3. Device Initialization & Beginner's Guide
The first startup has two main parts: Machine Binding and Machine Initialization.
- Machine Binding: Links the device to your personal account — like signing in with an Apple ID / Google account on a new phone. Required before using any device feature.
- Machine Initialization: A fully automated "physical check + preparation" process, including ink filling, printhead inspection, and camera calibration, bringing the printer to optimal printing state. Initialization is only needed on first startup or after a factory reset.
¶ Step 1: Machine Binding
First connect the machine to the network and bind it to your account. The software guides you through: Select device model → Select network connection method → Search for and select your device → Account authorization → Set up Wi-Fi → Complete binding.
¶ How to choose the networking method?
- Wi-Fi (recommended): No cable needed, supports 2.4GHz / 5GHz; just search for your Wi-Fi and enter the password during binding
- Ethernet: More stable, immune to wireless interference; connect the printer to your router with a cable, and make sure your phone/computer is on the same network
¶ How to find and connect your device?
- Bluetooth search (recommended): The software auto-searches nearby devices — pick yours from the list
- Scan the QR code: Scan the QR code on the device body to quickly identify and bind
¶ Step 2: Machine Initialization
After binding, the software automatically enters initialization — fully automated, just follow the on-screen prompts (watching the official video first is recommended). It has 4 stages:
- Check device status: The system automatically checks that each component works properly
- Ink Filling: Install the cartridges as prompted; the system auto-fills the ink pipelines and shows essential printing info
- Print Test: Prints a test pattern to verify printhead status
- Camera Calibration: The final and most crucial step — calibrates the camera
¶ Step 3: Understand Key Calibration Functions
In daily use you may need to manually run some initialization steps, most often the Print Test: in Studio or the App, go to the device page → "Print Head Maintenance" panel → select "Test Printing". Run it on first power-on, after long idle periods, when you see broken lines / color issues, after replacing ink and a deep clean, or before important prints.
¶ 4. Find Inspiration, Design & Print Settings
After binding and initialization, you can start creating in Studio / the App. The editor uses a three-panel layout: material library (left) — canvas (center) — process panel (right).
¶ ① Find Inspiration (Make It Real Community)
Make it Real is the built-in software community of eufyMake machines, providing an all-in-one platform for UV printing enthusiasts to get inspired, create, and print. Once your project is published, it will become a part of our community's creative inspiration, sparking new ideas for more makers.
- Community entry (register with your email and start creating): https://makeitreal-beta.eufymake.com
- In the community you can: browse countless works and templates for inspiration, create with VibeMake AI and join the Points reward system, one-click remix works (print parameters pre-attached), and publish your own works
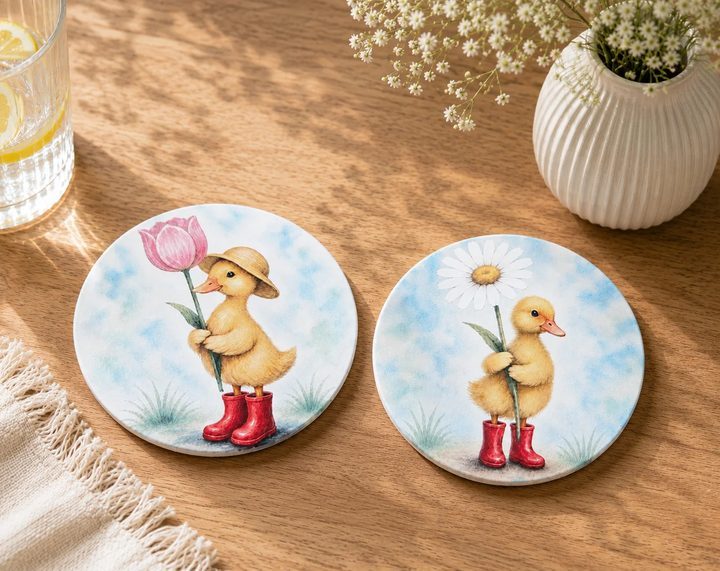
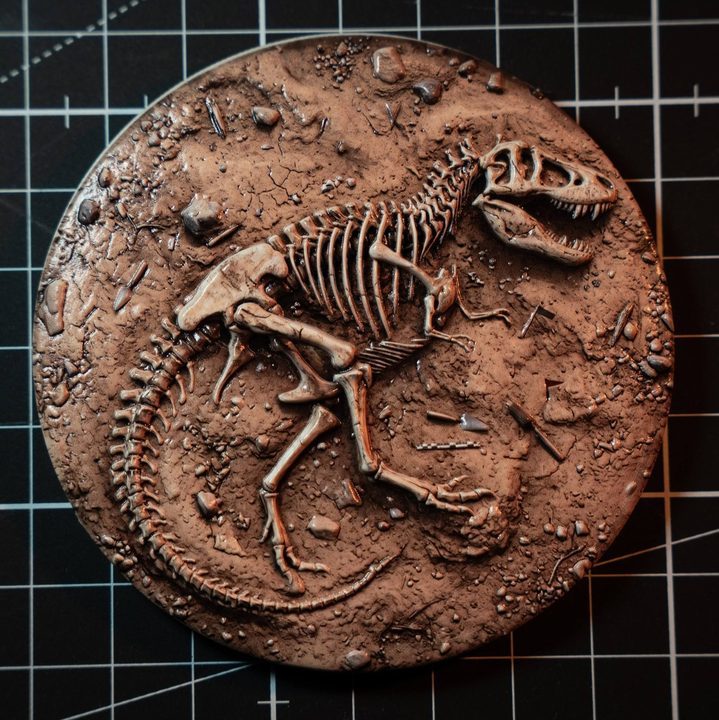
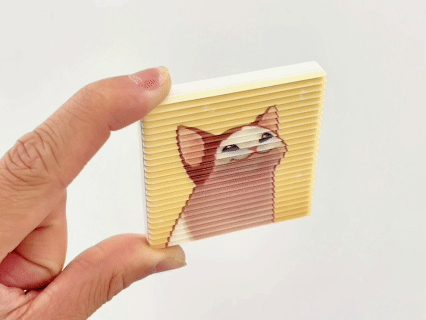
¶ Recommended works (click a card to open)
Click any card to open the work on Make It Real for the full project and print parameters.




¶ ② Import assets (supported formats & sizes)
| Platform | Format | Limit |
|---|---|---|
| PC (Windows/macOS/Web) | PNG / JPG / WebP | Pixels ≤ 12800 × 12800px |
| PC | SVG | ≤ 5MB |
| PC | PSD / AI / PDF | ≤ 45MB |
| App (iOS/Android) | PNG / JPG / WebP | ≤ 25MB |
| App | SVG | ≤ 5MB |
¶ ③ Common editing tools
Auto Layout, Outline, Image Cutting, Font Tool, Cutout Tool.
¶ ④ Craft/process modes (right panel)
Click any image in the editor to open the process panel, with five core modes:
- Flat: The classic mode for most scenarios; choose from ink modes like white-CMYK (general), CMYK-white-CMYK (transparent substrates like acrylic), pure CMYK (transparent film for window decorations)
- Flat raised: Prints a vertically raised flat surface, ideal for fonts and single elements
- Pattern texture: Generates texture height differences from the image's light/dark relationships
- Relief texture: AI semantic recognition separates subject from background, stacking ink into a 3D relief; customize stack height and surface smoothness, with Ink-Saving Printing supported
¶ ⑤ Print quality settings
Three modes:
- High Quality: For fine lines, small text, detailed textures — best visual result
- Standard: Recommended for everyday printing — balances quality and speed
- Draft: For test samples, proofs, quick verification — saves time
¶ 5. Printing Accessories Tutorial
- Flatbed platform: Camera-recognizable substrate height ≤ 60mm (suitable print height 100mm); max print size 330mm × 420mm (standard) and 330mm × 90mm (mini); standard platform load capacity 1.5kg; max substrate height difference 2mm (exceeding it causes blur and ink misting).
- Rotary printing attachment: Print on cylindrical and conical objects, including most cups with or without handles. Ranges: print height 80–245mm, taper ≤ 13°, diameter Φ45–Φ100mm, handle height ≤ 50mm relative to the body surface.
- UV DTF Laminator: Create innovative 3D textures on cylinders, cones, and mugs. Process: load Film B → cut Film B → preheat (~3 min) → laminate after printing → trim corners → apply the UV DTF sticker.
¶ 6. About Ink
- The E1 typically uses 6 ink cartridges: Black(K), Cyan(C), Magenta(M), Yellow(Y), White(W), and Varnish/Gloss(G). White ink comes in two types: hard white for rigid substrates, soft white for flexible materials like canvas, scrolls, and gold foiling.
- ⚠️ This printer requires proprietary ink cartridges; third-party cartridges are not supported.
- Replacement steps: ① Identify the color position (K/C/M/Y/W/G) → ② Press down on the old cartridge until it pops up → ③ Lift and remove it → ④ Place the removed cartridge upside down to prevent leaks → ⑤ Insert the new cartridge (keep it vertical and level, avoid touching the chip circuit) → ⑥ Press into place.
¶ 7. Maintenance & Care
Most maintenance on the E1 is automatic — just keep the device powered on and follow the prompts. Knowing what the machine does behind the scenes helps you avoid many print issues.
¶ Automatic maintenance (the machine does it)
- Initial Ink Injection: Runs on first power-on or after a factory reset, ~27 min — flushes out the moisturizing fluid protecting the printhead, then draws in fresh ink. Replacing a cartridge does NOT re-trigger it.
- Pre-Print Ink Priming: Triggered when >12h since the last priming, on the first print after a restart/OTA, or when resuming a paused job — ~2 min 30 s, stabilizes ink flow/pressure and ensures first-layer color consistency.
- White Ink Recovery: If white-ink consumption over the past 36h is under 3ml, runs automatically before printing to prevent faded white. Enabled by default; can be turned off on the Print Preparation page.
¶ Component Lifespan reminders
The system monitors remaining lifespan / usage % of key consumables in real time and prompts replacement before end-of-life. Monitored components: Print Head, Cleaning Cartridge, Air Filter, Scraper.
¶ Manual maintenance tutorials (refer when needed)
Replace ink, replace cleaning cartridge, printhead replacement SOP, flatbed replacement, head-station kit replacement, door panel, printer cover disassembly/assembly, encoder strip, etc.
¶ 8. Troubleshooting
When something goes wrong, look up the matching article by category — most common issues have a dedicated troubleshooting guide.
¶ Print quality
- Printed Image Shift or Distortion
- Solution to Ink Bleeding Problem
- Ink is not dry/cured after printing
- White Ink Fading Troubleshooting Guide
- Color appears pale after exiting maintenance mode
- White spots in gold stamping area | Vertical streaks in gold stamping
- Abnormal Texture of Crystal Sticker
¶ Device / system
- Initialization Troubleshooting: Common Issues & Solutions
- Power Indicator Abnormal
- Network Connection Abnormality
- Temperature & Humidity Error Reporting
- Printer Laser Sensor Error
¶ Accessories
- Diameter Measurement Failed
- Rotary Attachment: Handle Measurement Failed
- Laminator: Abnormal Film Feeding by Roller
¶ 9. More Help
For more questions or instructional videos, visit support.eufymake.com/s/ or contact us directly.