This guide provides step-by-step instructions for handling common scenarios during the initialization process.
If you need further assistance after completing these steps, eufyMake Support will be happy to help once the required information has been provided.
¶ Test Pattern Printing
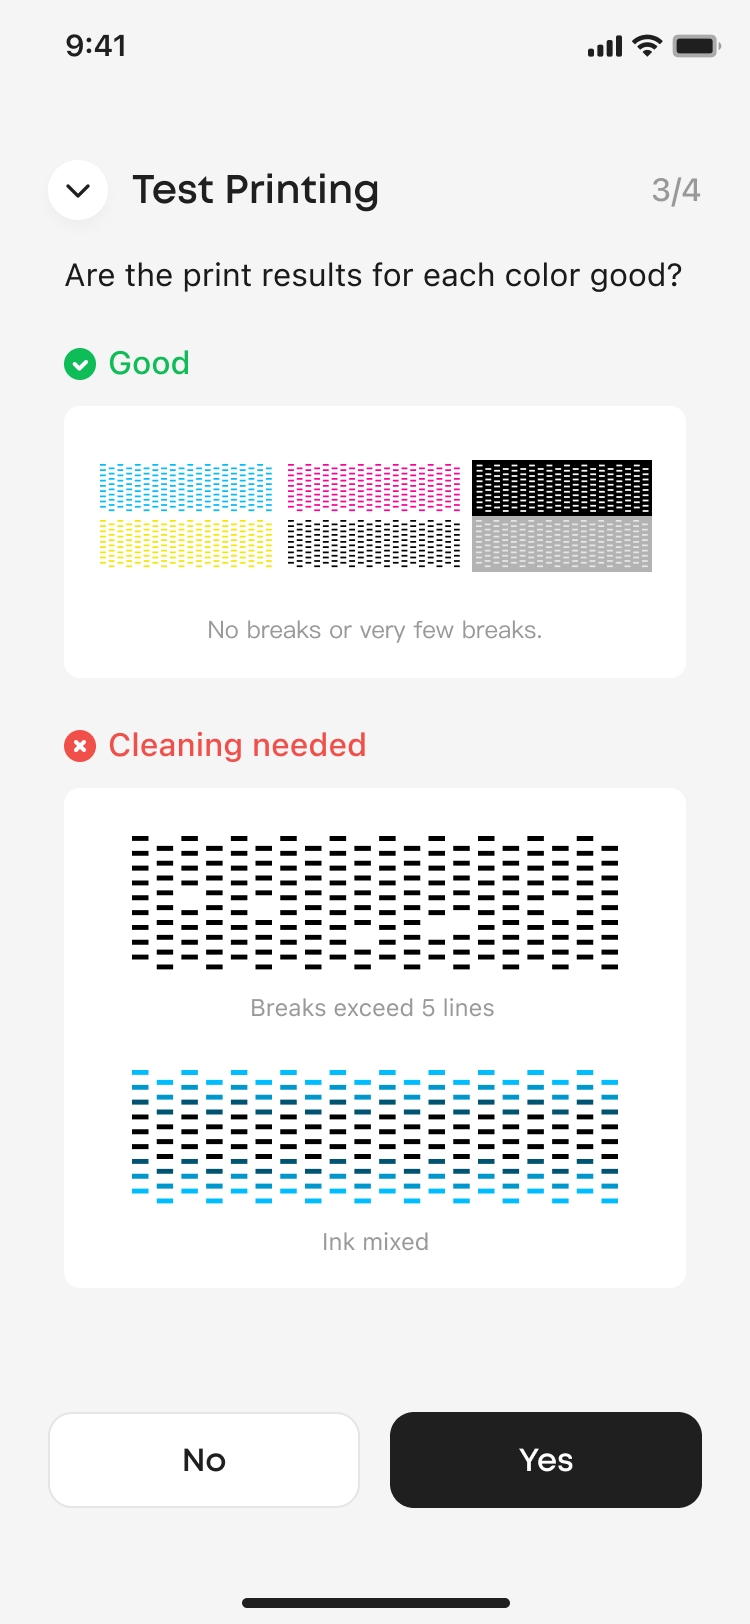
If you fail to print the test pattern, please try the following steps in order:
-
Run Medium Clean or Deep Clean until the test pattern prints normally.
-
If three Medium Clean cycles and one Deep Clean does not resolve the issue, please try Factory Reset and re-run the initialization process. For Factory Reset, please refer to
Device Binding Operation -
If the issue persists, please contact eufyMake Support at support@eufymake.com and provide the following information:
-
Your Kickstarter email address
-
Printer SN. Please refer to:
How to Check SN -
Printer and App Logs. Please refer to: Upload log
-
A photo of the test pattern
We will analyze the logs and assist you as soon as possible.
¶ Calibration Process
If you encounter a calibration failure, please try the following steps in order:
- Please make sure the test pattern prints normally before starting calibration.
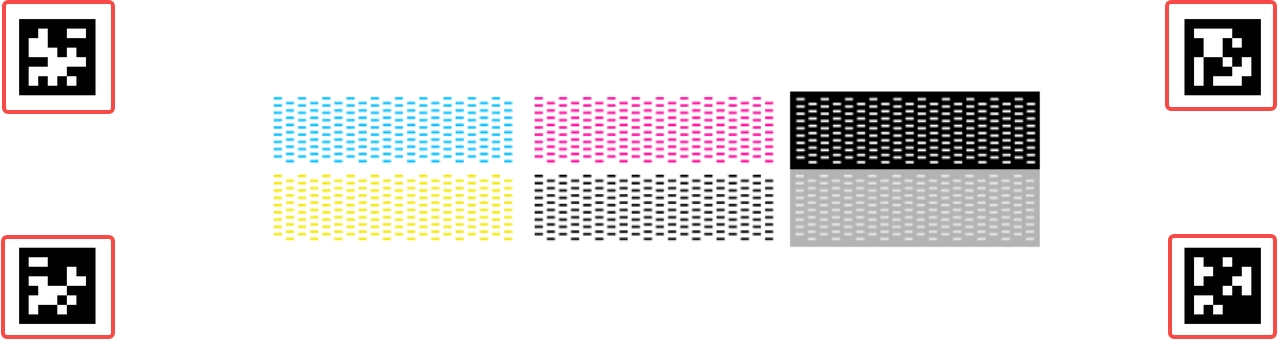
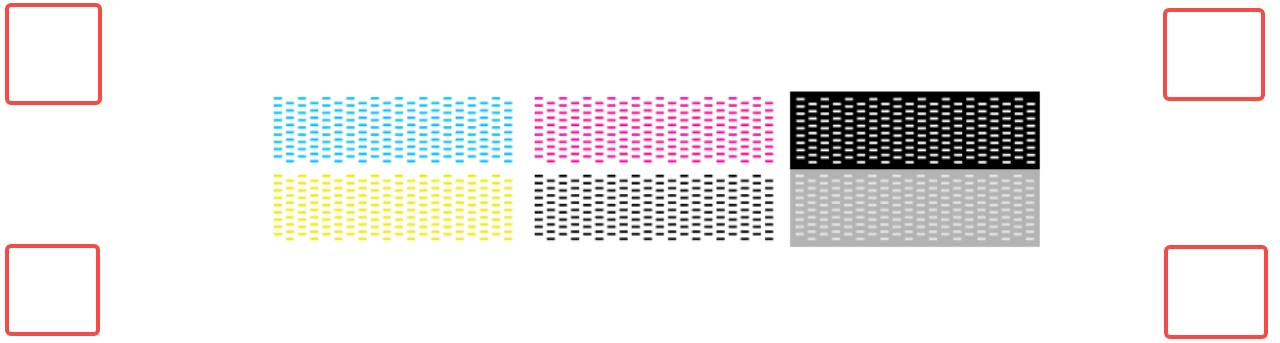
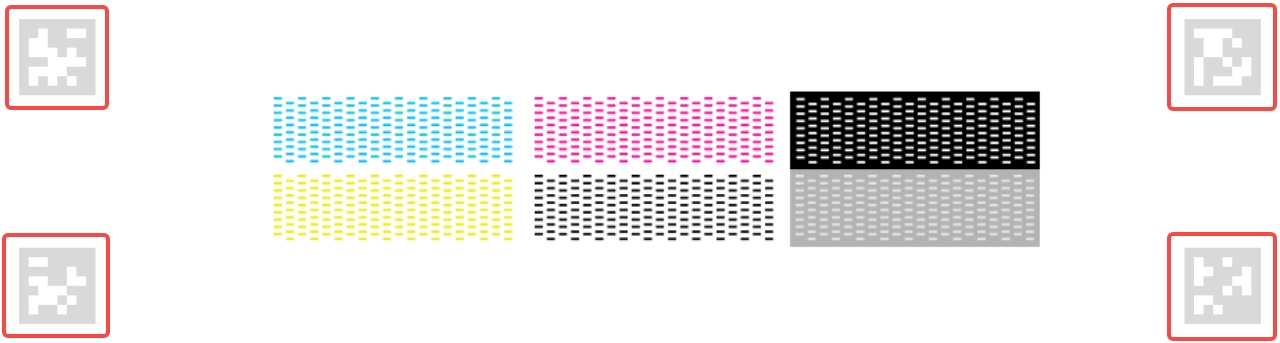
- If K (Black) ink does not dispense during calibration (QR codes located at the four corners of paper), run three Medium Clean cycles and one Deep Clean again until K ink flows normally.
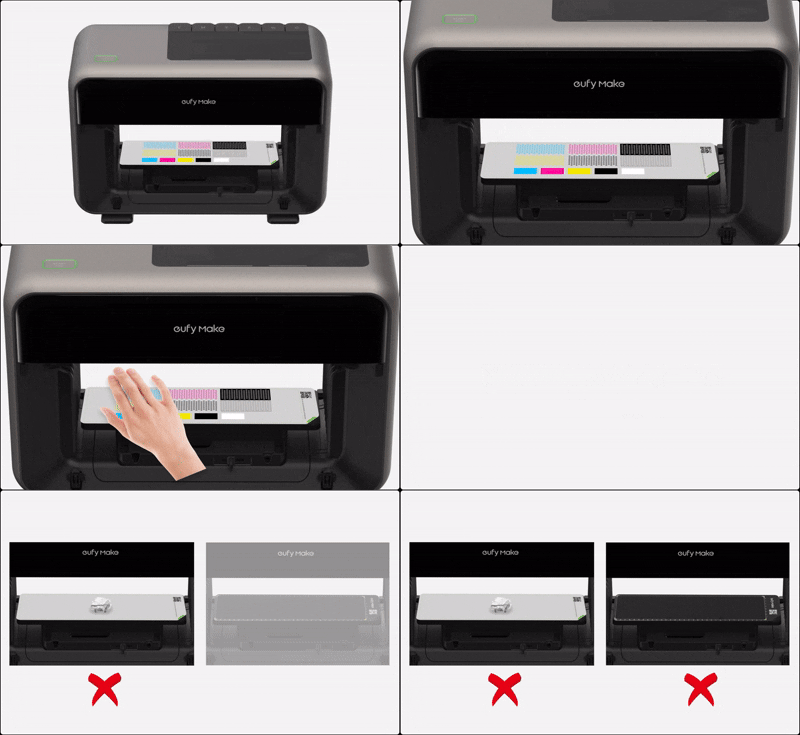
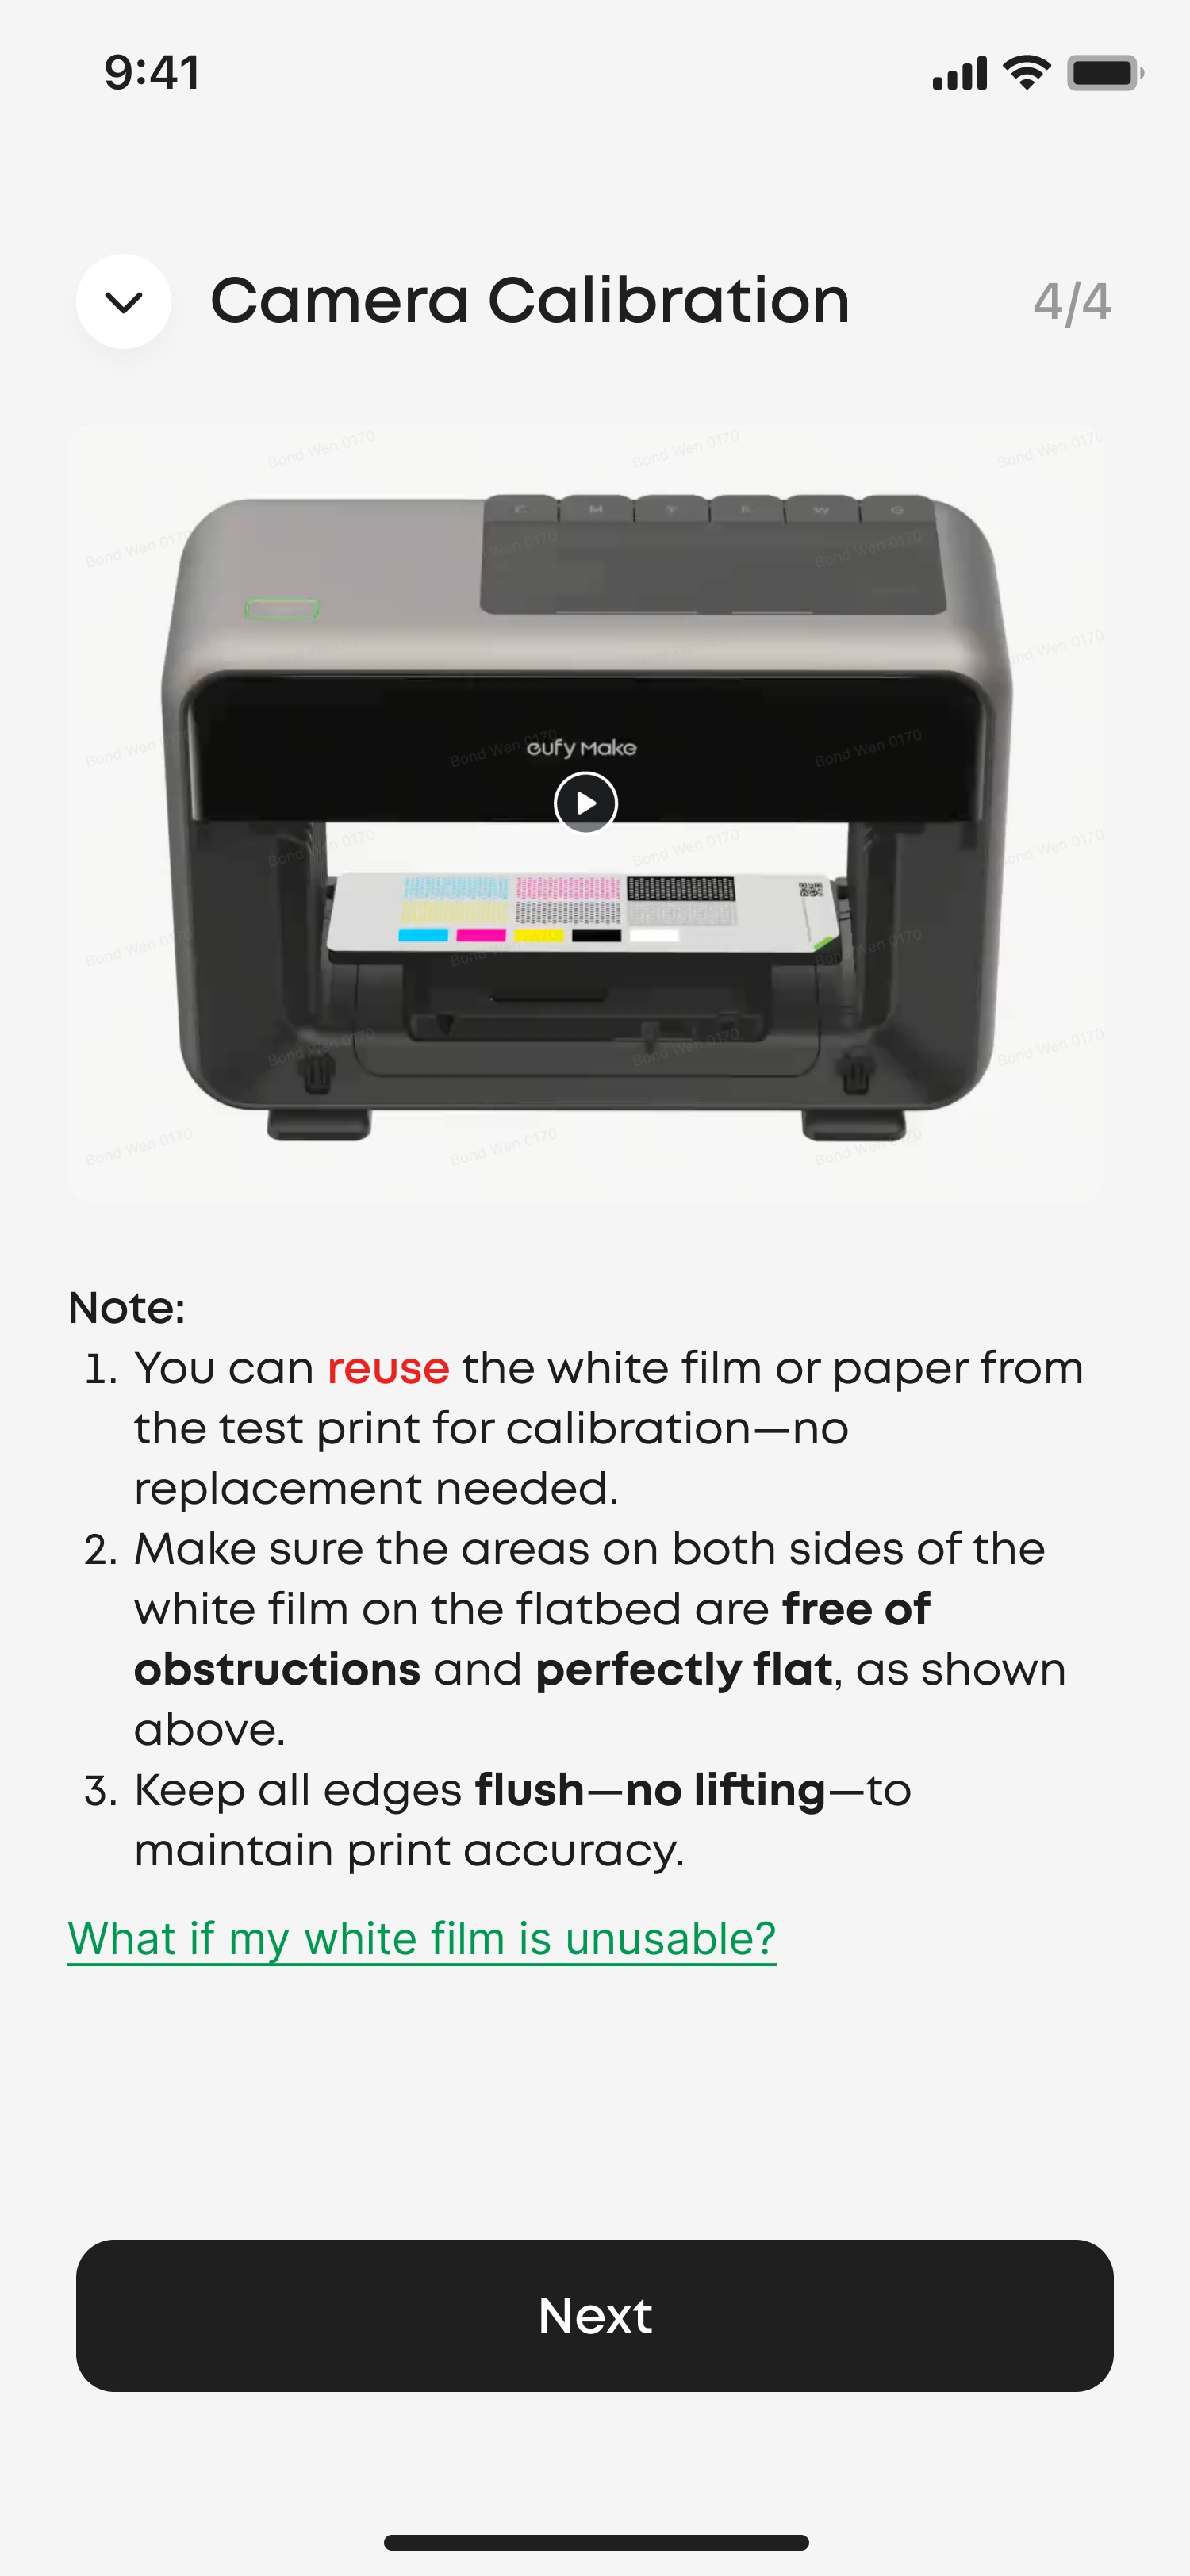
- You can reuse the white film or paper from the test print for calibration-no replacement needed. Please ensure that:
- The calibration paper fully covers the platform
- The paper is flat and not lifted at the edges
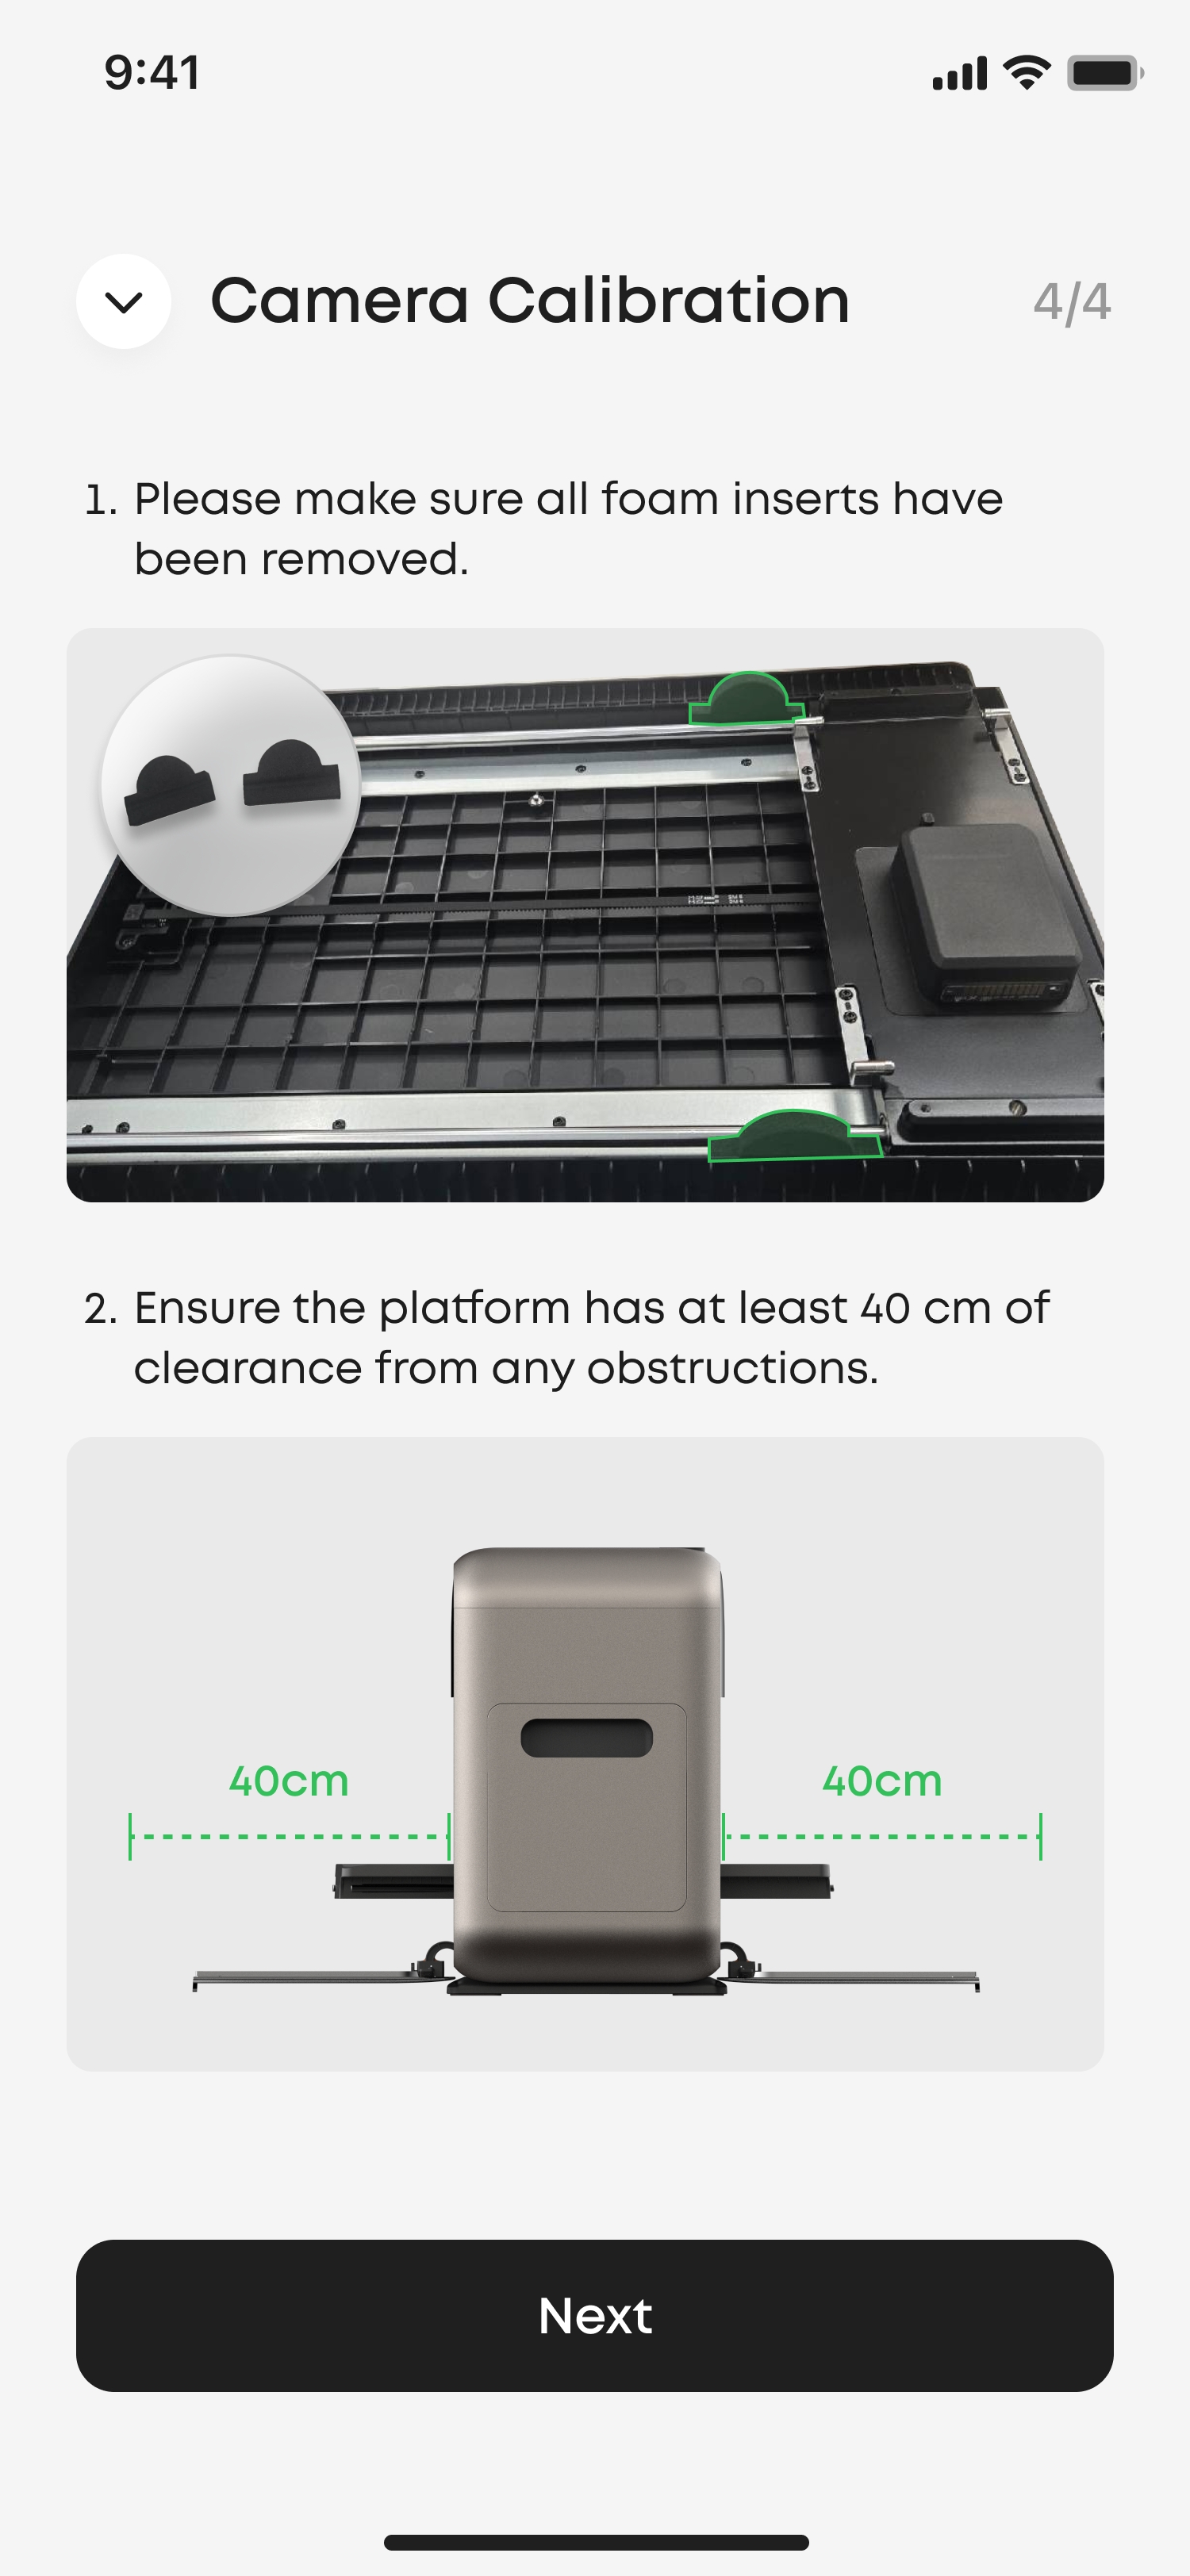
- We recommend using the default mini flatbed for calibration. But if you are using the standard flatbed, make sure to remove the two fixing foam pads before calibration. Please ensure the platform has at least 40 cm of clearance from any obstructions.
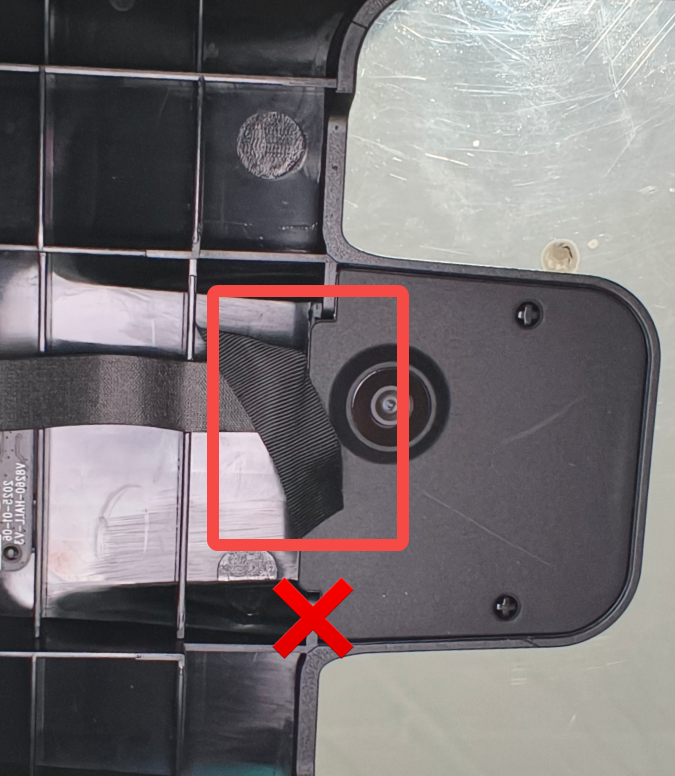
- Please take a clear photo of the area around the camera of the printer using your mobile phone (the camera is on top of the printer, above the platform). Check for any obstructions around the camera. If you find the tape coming loose, please reattach the tape to the area marked in green, please ensure there are no obstructions around the camera.


-
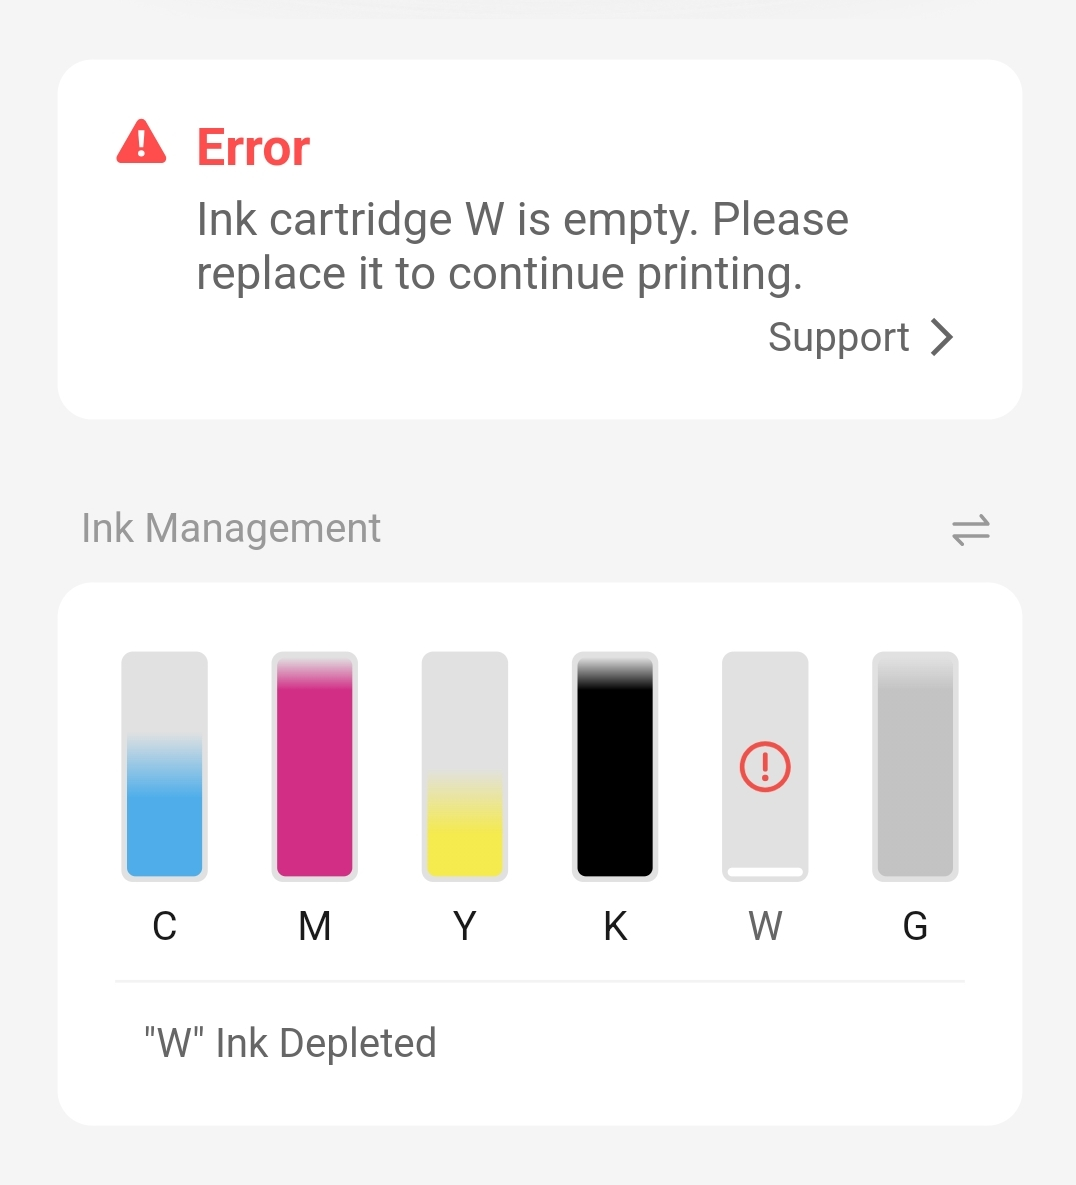
Please shake the cartridge for about 10 seconds, then reinsert it and check whether the ink level returns to normal.
-
If you have another spare cartridge of the same color, please try replacing it to see if the issue persists.
-
If the problem cannot be resolved, please contact eufyMake Support at support@eufymake.com and provide:
-
Your Kickstarter email address
-
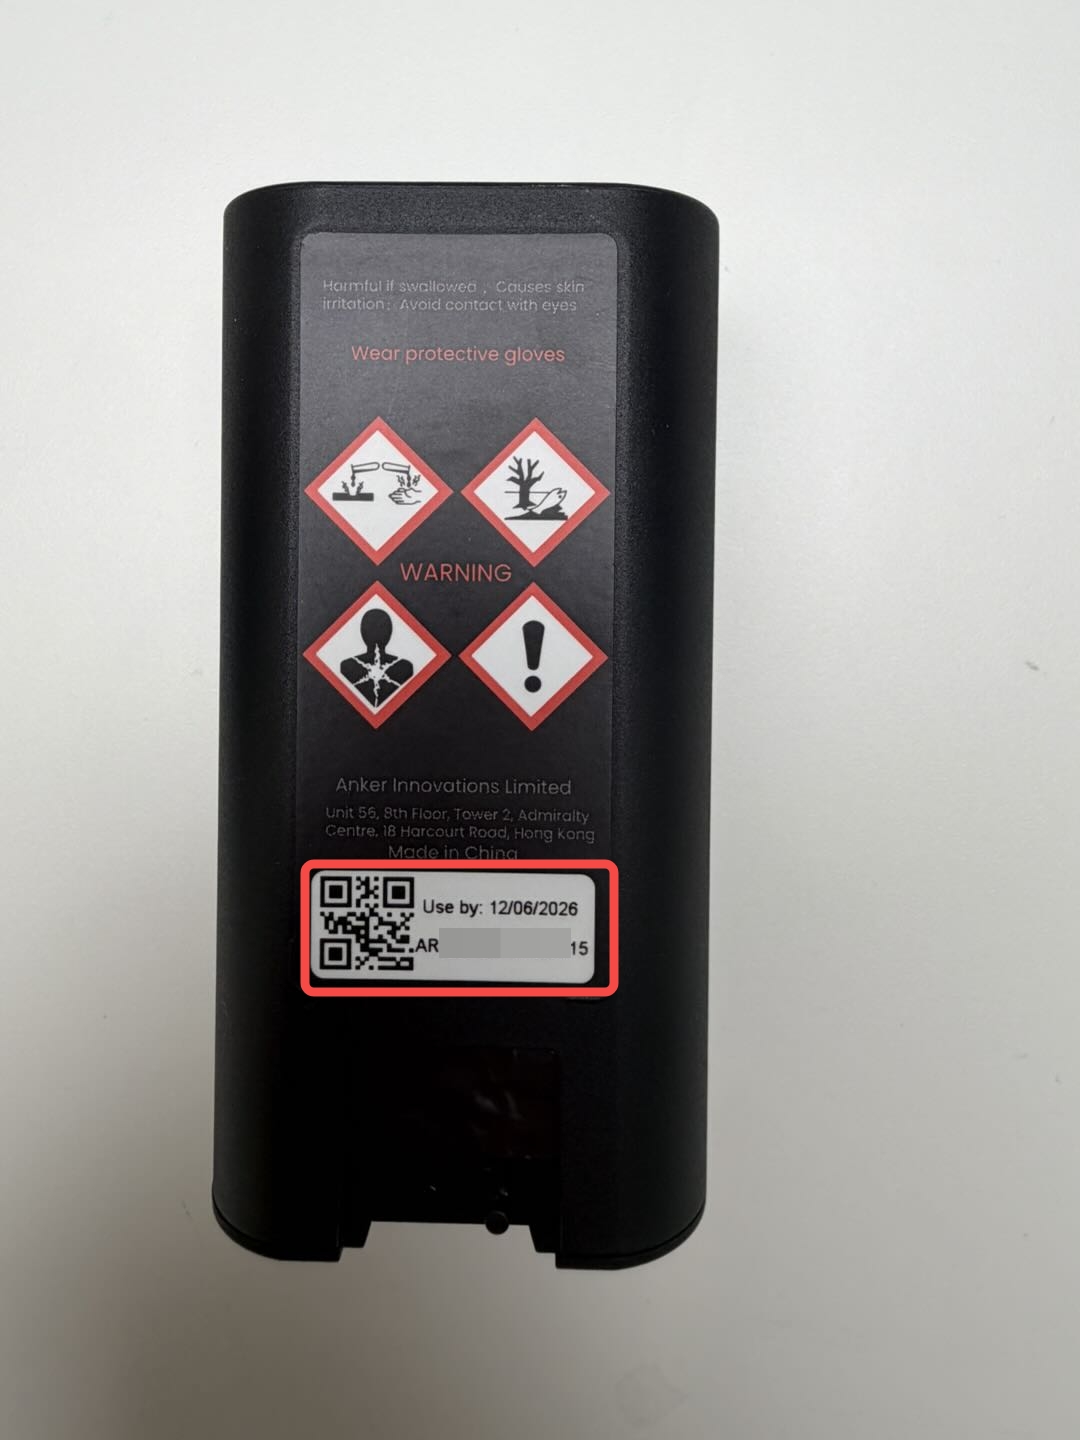
A photo of the SN on the problematic ink cartridge (located on the back of the cartridge)
-
Printer and App Logs. Please refer to:https://support.eufymake.com/s/article/Log-Feedback-Upload-Process-App-PC-Overview
-
Screenshot of the calibration error screen
-
A photo of the SN on the problematic ink cartridge
-
Screenshot showing the low ink level in the software, you can find it on the App's device page
We will analyze the logs and assist you as soon as possible.
¶ Cleaning Cartridge Detection
If the cleaning cartridge is not detected / not in position
Please contact eufyMake Support at support@eufymake.com and provide:
- A photo of the SN on the back of the cleaning cartridge (located on the back of the cartridge)
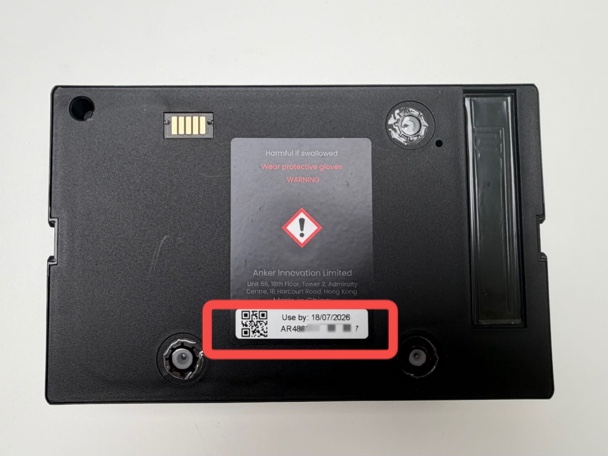
- A side-view photo of the cleaning cartridge placed flat on a table
- Your Kickstarter email address
If you have a spare cleaning cartridge, please use it temporarily. We will analyze the issue and get back to you as soon as possible.
¶ Temperature Requirements for Printing
If you receive a "Low Temperature – Printing Cannot Start" error. The following are the specific error codes:
0xFD01110005
The printer's operating temperature requirement is 15℃-35℃, and the humidity requirement is 20%-85%. When the actual ambient temperature is below 15℃, the low-temperature protection mechanism will be triggered.
After being transported by express during winter, the printer's internal temperature (especially the print head) is low and has not yet warmed up to the normal operating range. Although the ambient temperature may meet the requirements, the temperature of the printer's internal core components is still below the operating requirements.
Solution:
- Please place the printer and ink in a warm indoor environment (15℃-35℃).
- Keep it powered on and let it sit for 12 hours to allow the internal hardware and ink to warm up naturally.
- Refill ink or print after 12 hours.
- If the issue persists, please contact eufyMake Support at support@eufymake.com and provide:
- Your Kickstarter email address
- Printer SN. Please refer to: How to Check SN
- Printer and App Logs. Please refer to:Upload log
- Screenshot of the low-temperature error code
- A photo of a thermometer placed near the printhead
We will analyze the logs and assist you as soon as possible.
¶ Printer Laser Sensor Error
Fault Phenomenon
The user receives an error message on the APP/PC:
Laser sensor error:
0xFD01120002
0xFD01120006
0xFD01120007
0xFD01120008
0xFD01120009
Cause Analysis:
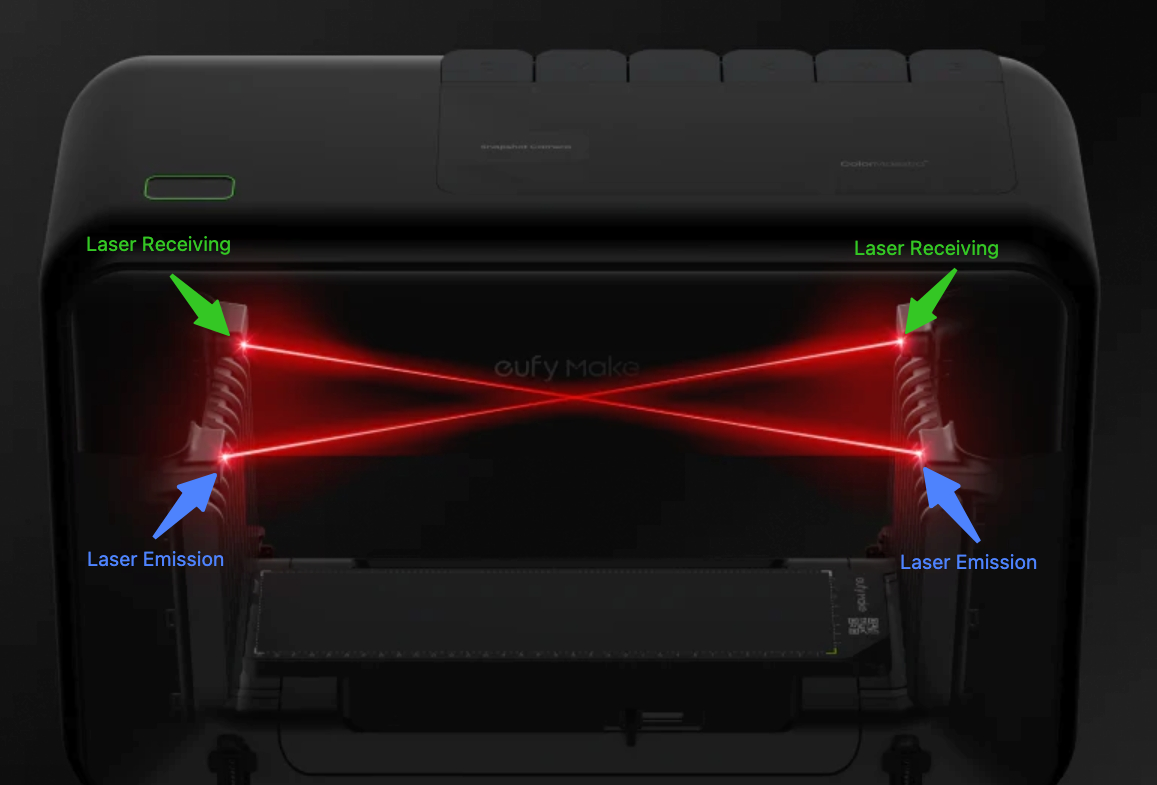
- The laser receiver sensor did not receive the laser emitted by the laser transmitter—possibly blocked by a foreign object;
- The laser alignment function is not activated.
Troubleshooting Steps:
- Check if there are any foreign objects obstructing the laser emission port and laser receiving port at the left and right ventilation openings. If there are any obstructions, please remove them.
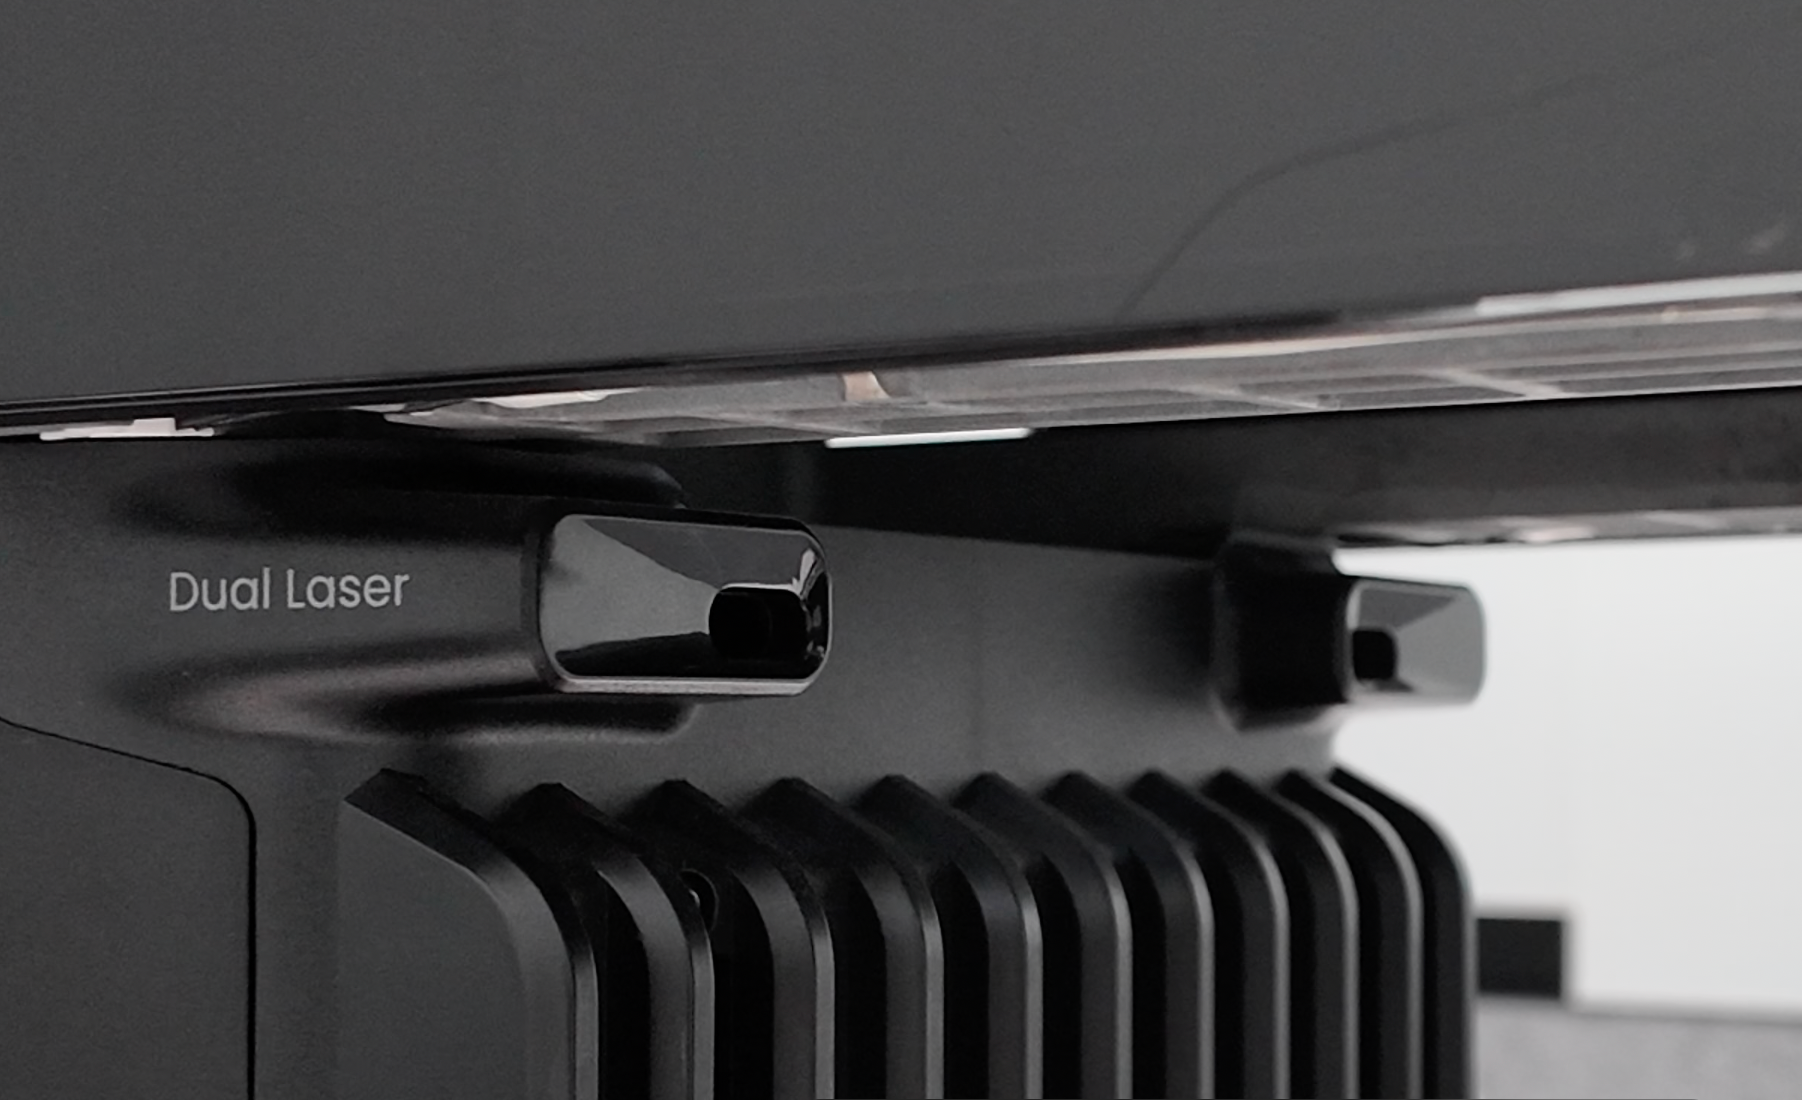
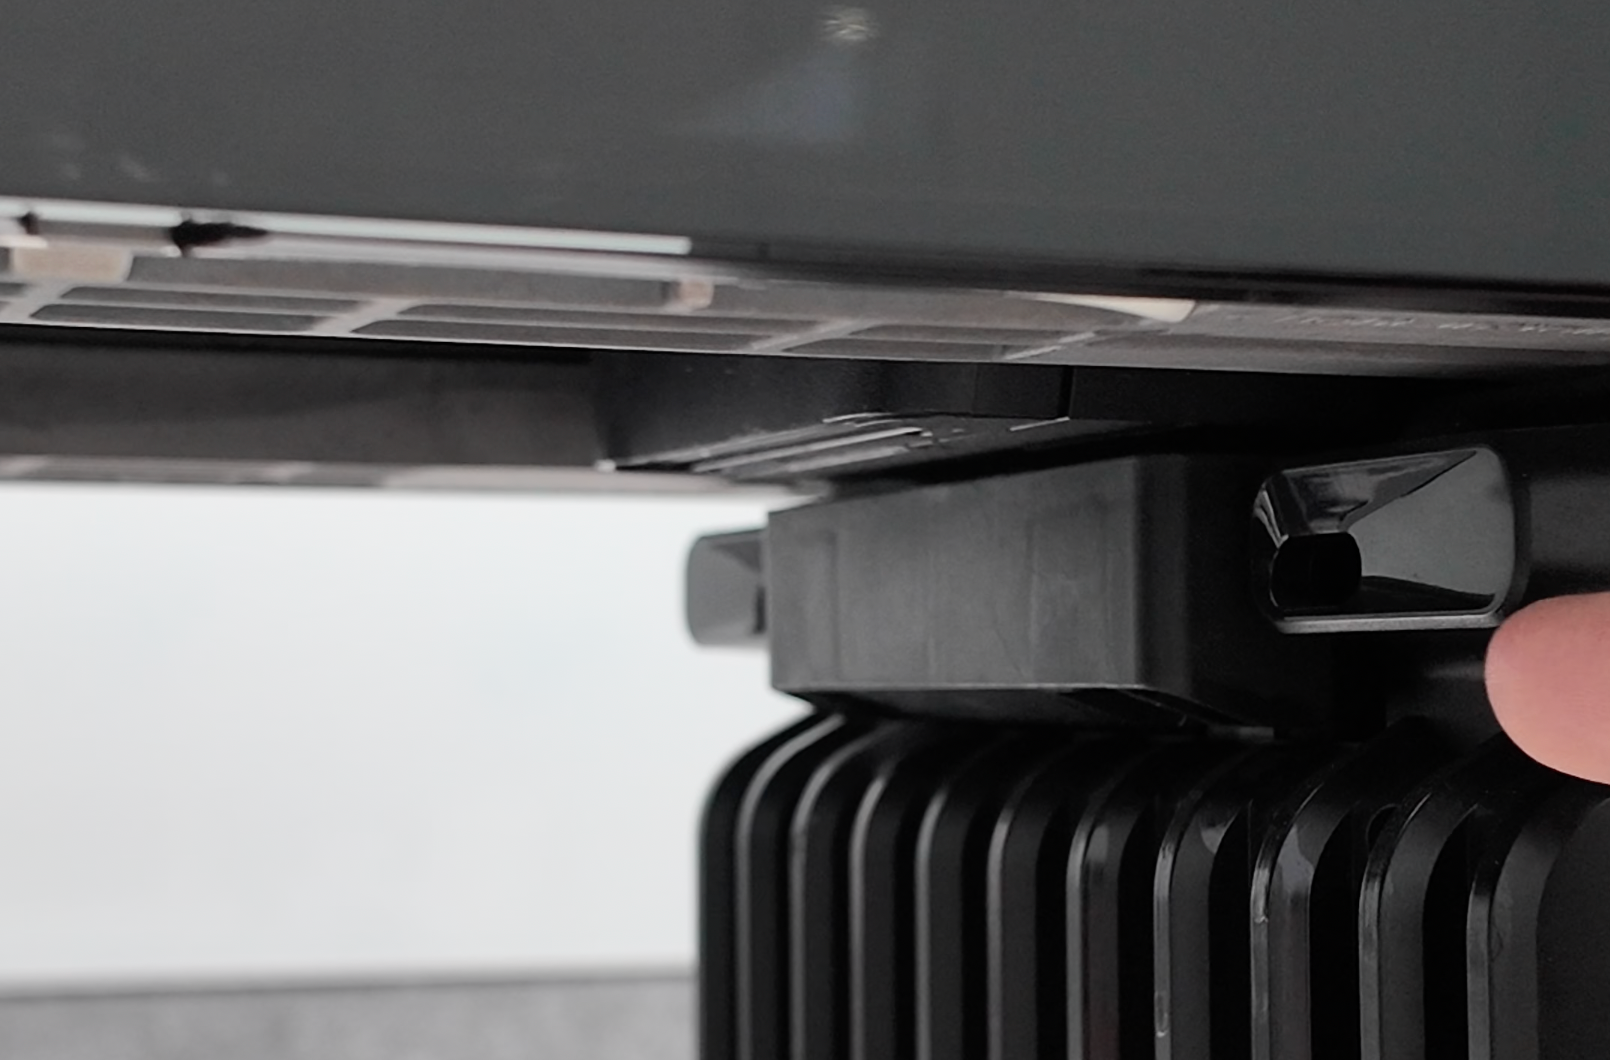
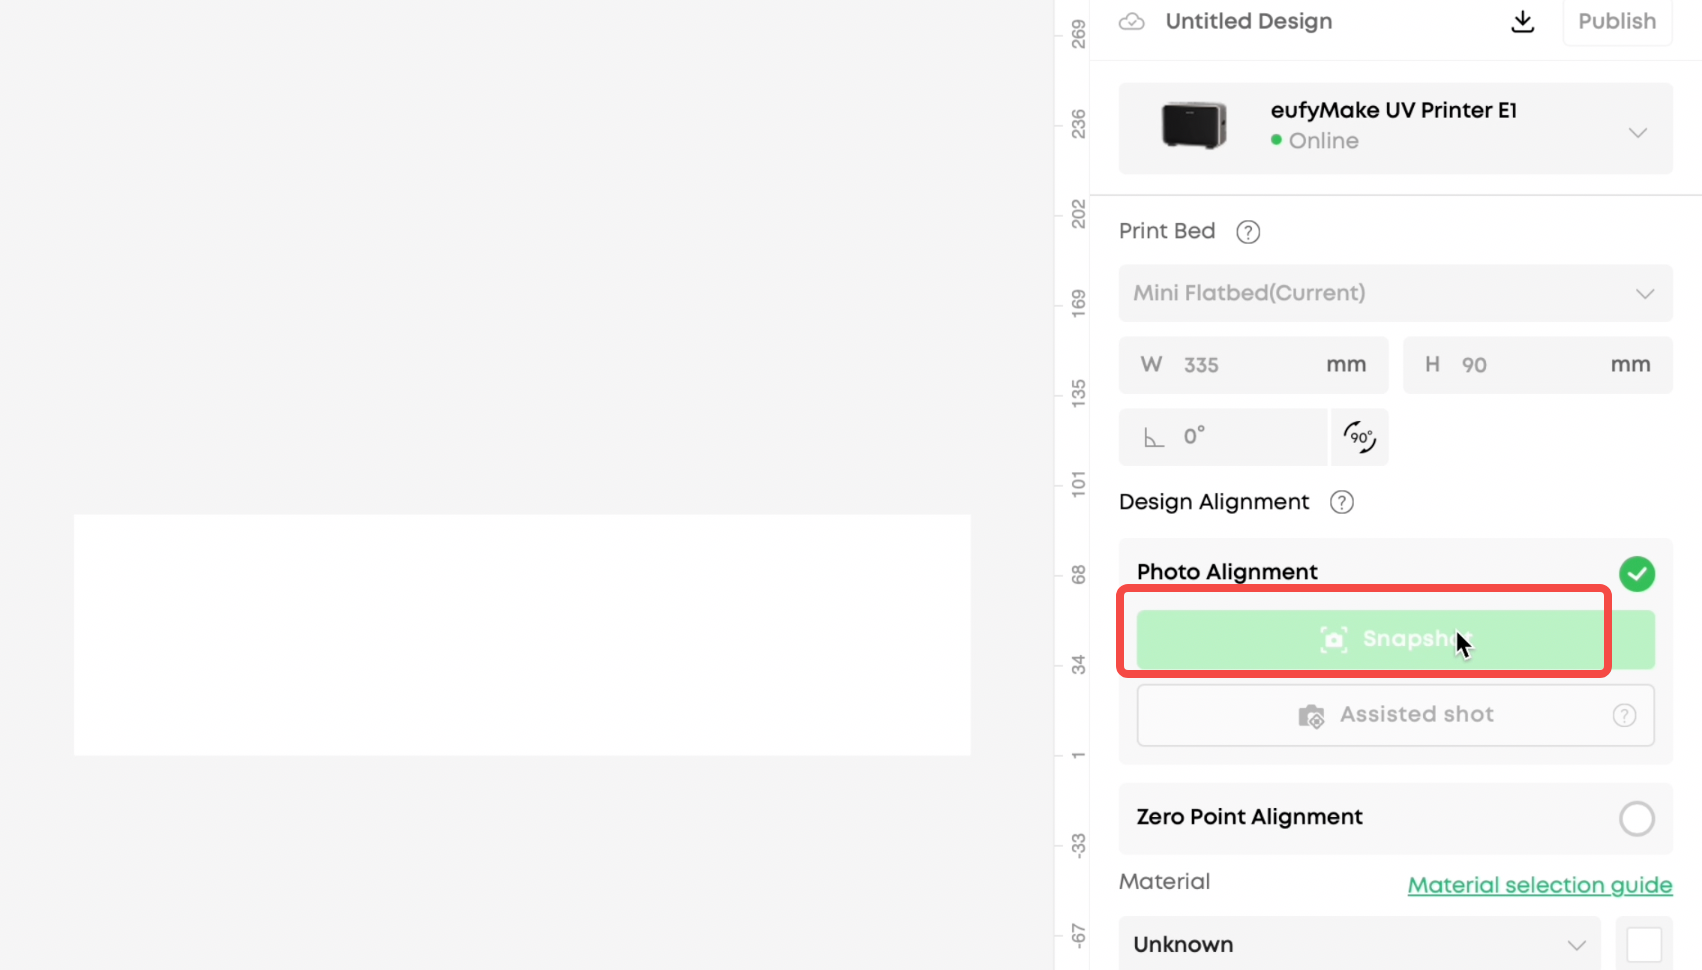
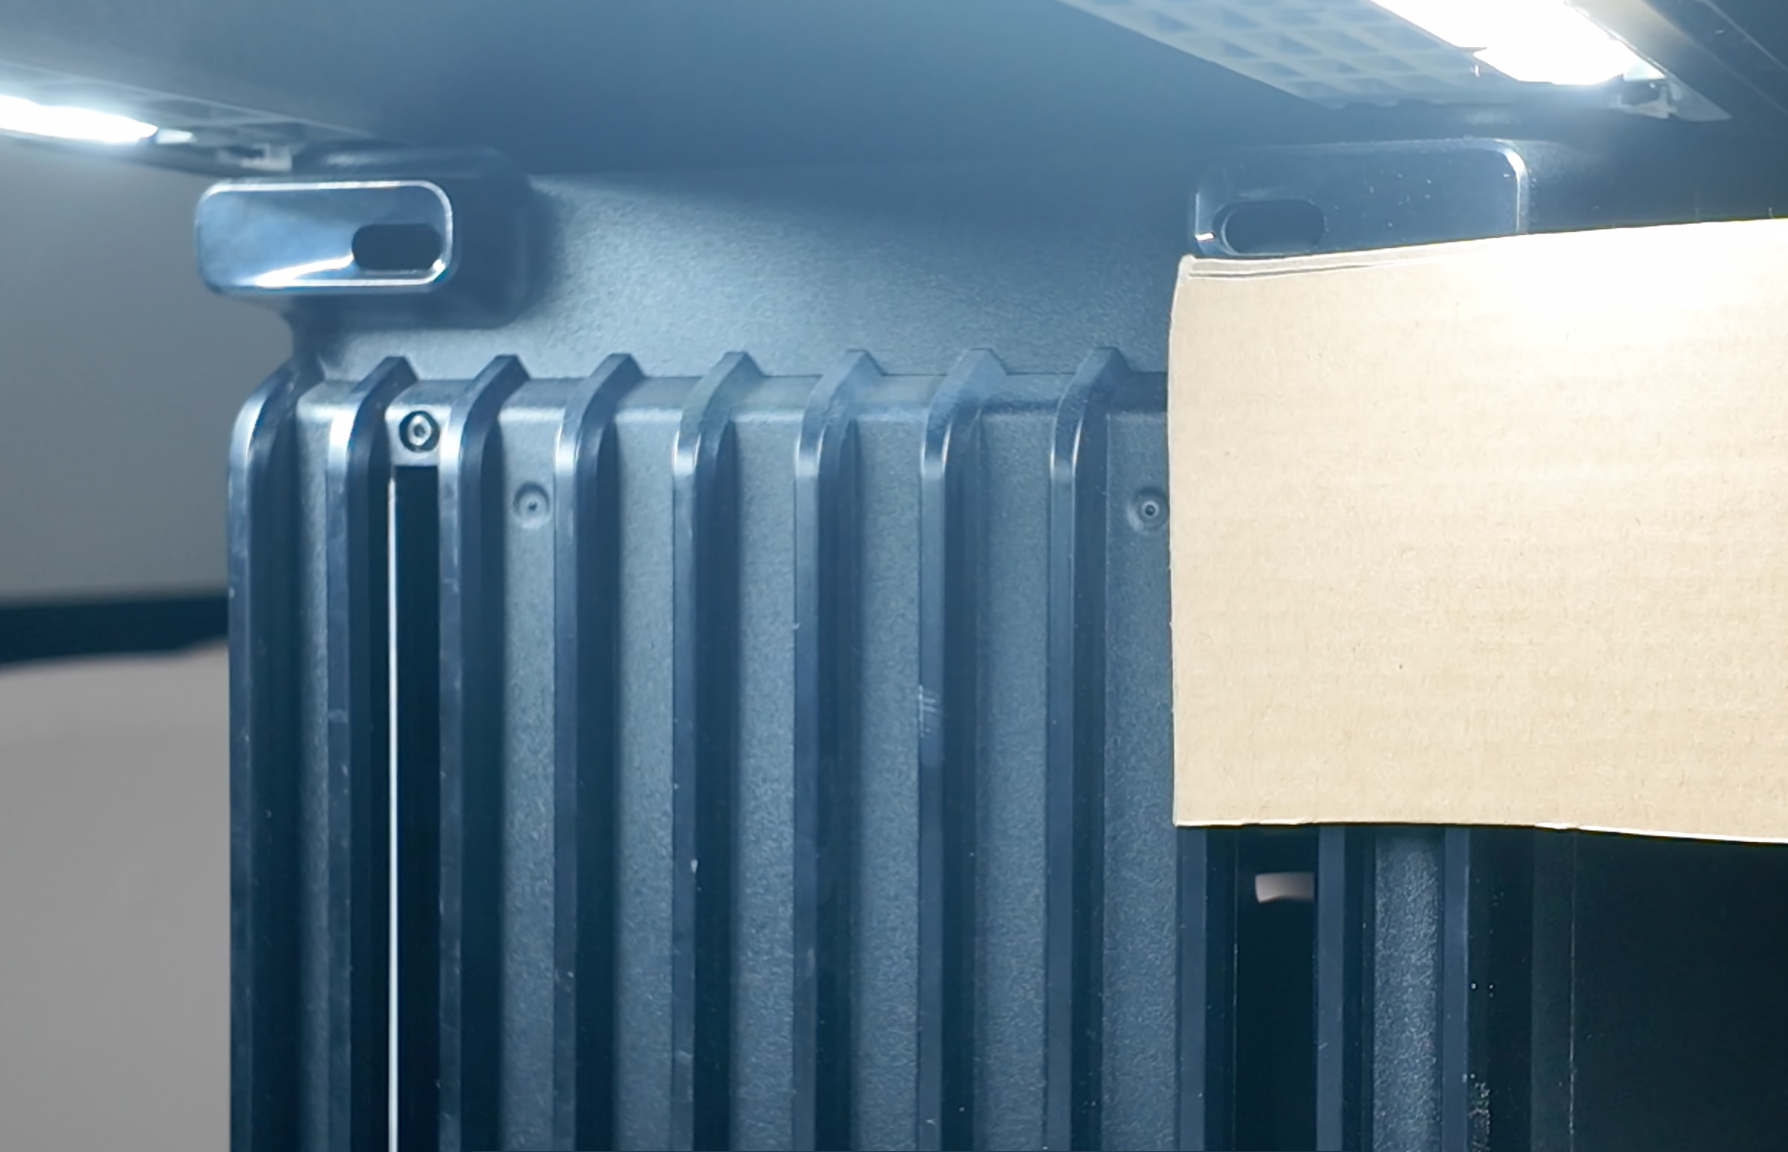
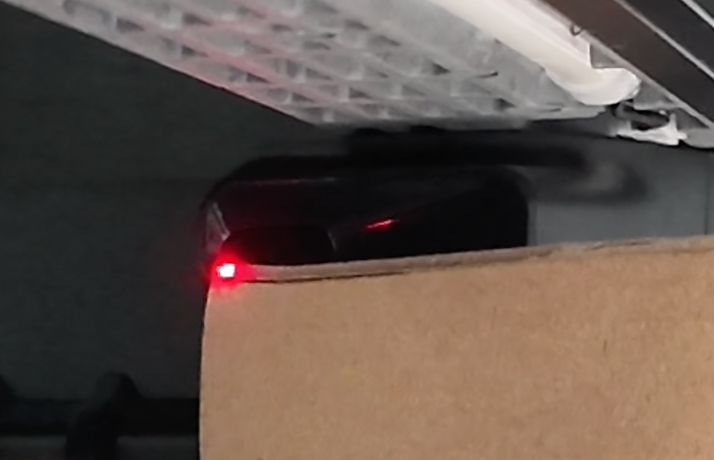
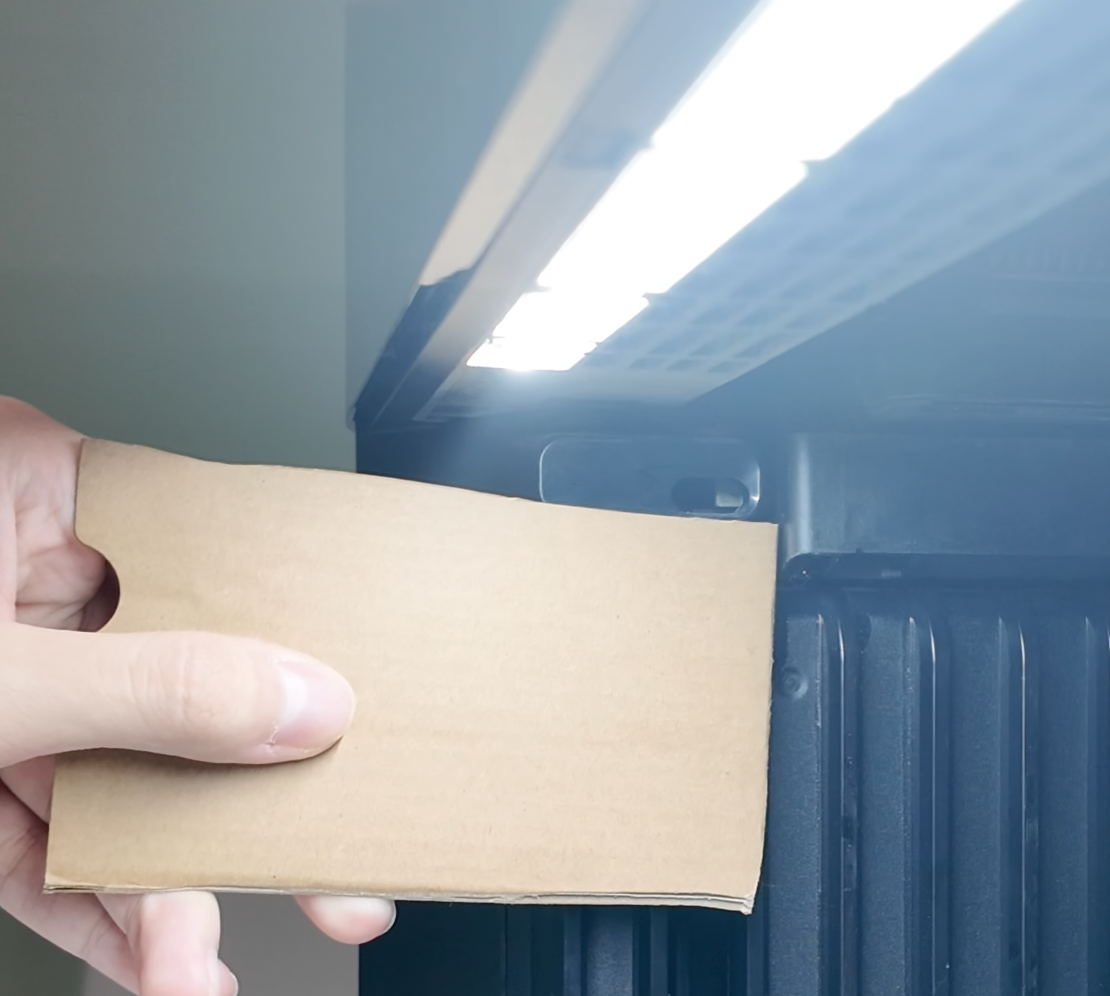
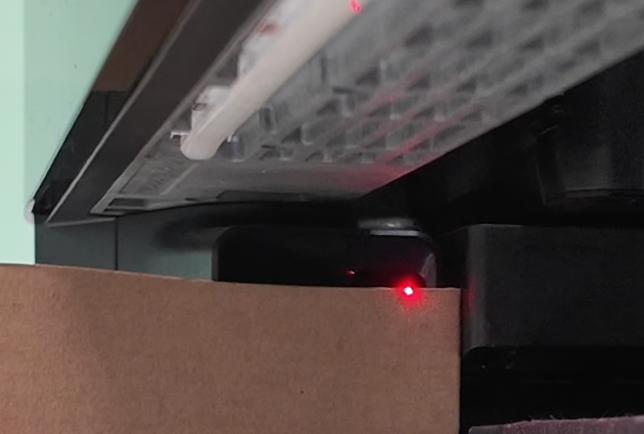
- Please check the status of the two laser receiver ports on the back of the printer (the port closest to the ink cartridge is the receiver). It is recommended to place a small piece of cardboard under the receiver port for testing preparation, and then click Snapshot. Note that both the left and right laser receiver ports need to be checked, and the cardboard should be close to the receiving end and not too thick
If you need assistance beyond the scenarios covered in this guide, please do not hesitate to reach out to the eufyMake Support team. We are happy to help review your situation and provide further guidance to ensure everything runs smoothly.