¶ Problem Description
What are the Zero Point Calibration and Zero Point Alignment features? How do you use them for printing?
¶ Solution
Zero Point Alignment is a core feature designed for quick print initiation. By pre-calibrating the zero point position of the adhesive mat, users can quickly and accurately print on regularly shaped substrates without needing to perform photo alignment every time.
¶ Feature Definitions
¶ Zero Point Alignment
Allows users to print directly on regular geometric shapes (such as square plates) without going through the photo/snapshot alignment step. It relies on the previously completed zero point calibration data.
¶ Zero Point Calibration
Before using the Zero Point Alignment feature for the first time, you need to perform a zero point calibration of the adhesive mat. This operation establishes an accurate reference for print head movement and is a prerequisite for ensuring subsequent zero point alignment accuracy.
¶ Precise Offset Calibration
Allows users to manually input and modify X and Y axis offset values directly, without re-executing the full zero point calibration process each time.
Use cases:
- Experienced users who have already measured the offset by printing marks and want to input them directly
- When print verification reveals deviations and minor adjustments to existing offsets are needed
- Skip auto calibration and go straight to precise calibration adjustments
¶ Operation Process
¶ Step 1: Zero Point Calibration (Must Be Completed Before First Use)
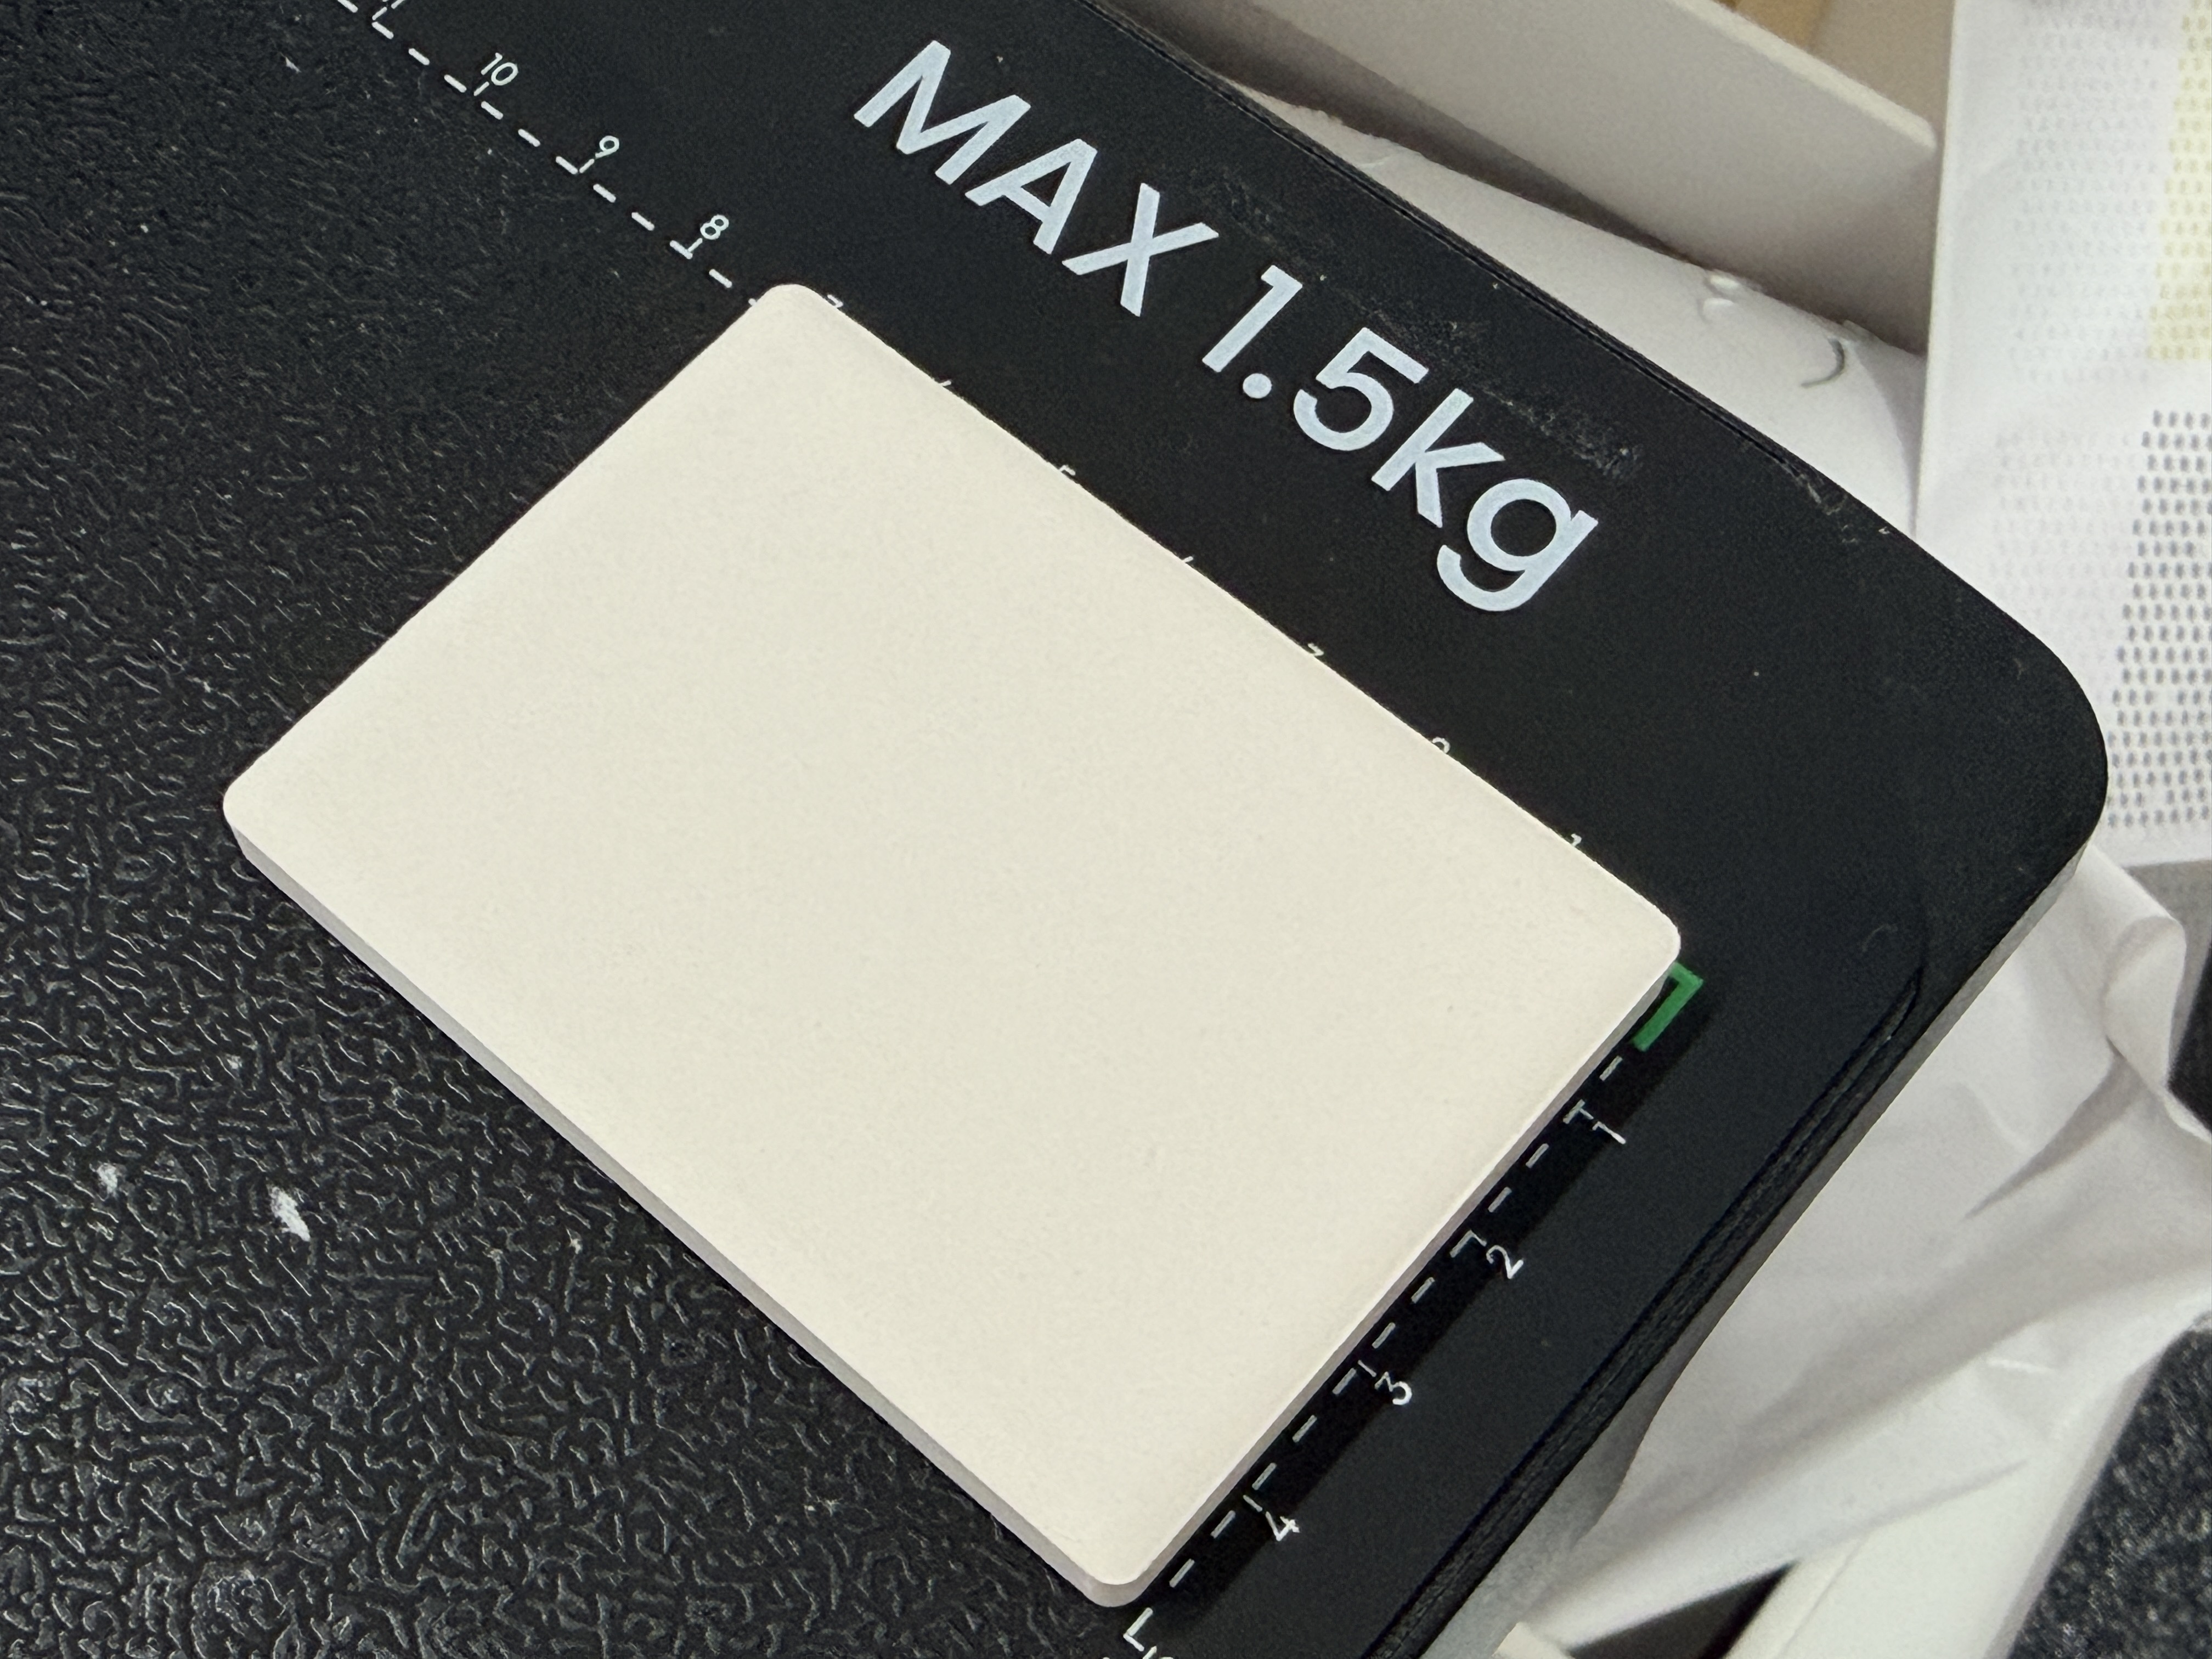
- Attach the official adhesive mat to the flatbed, ensuring the mat surface is clean and no items are placed on the mat.
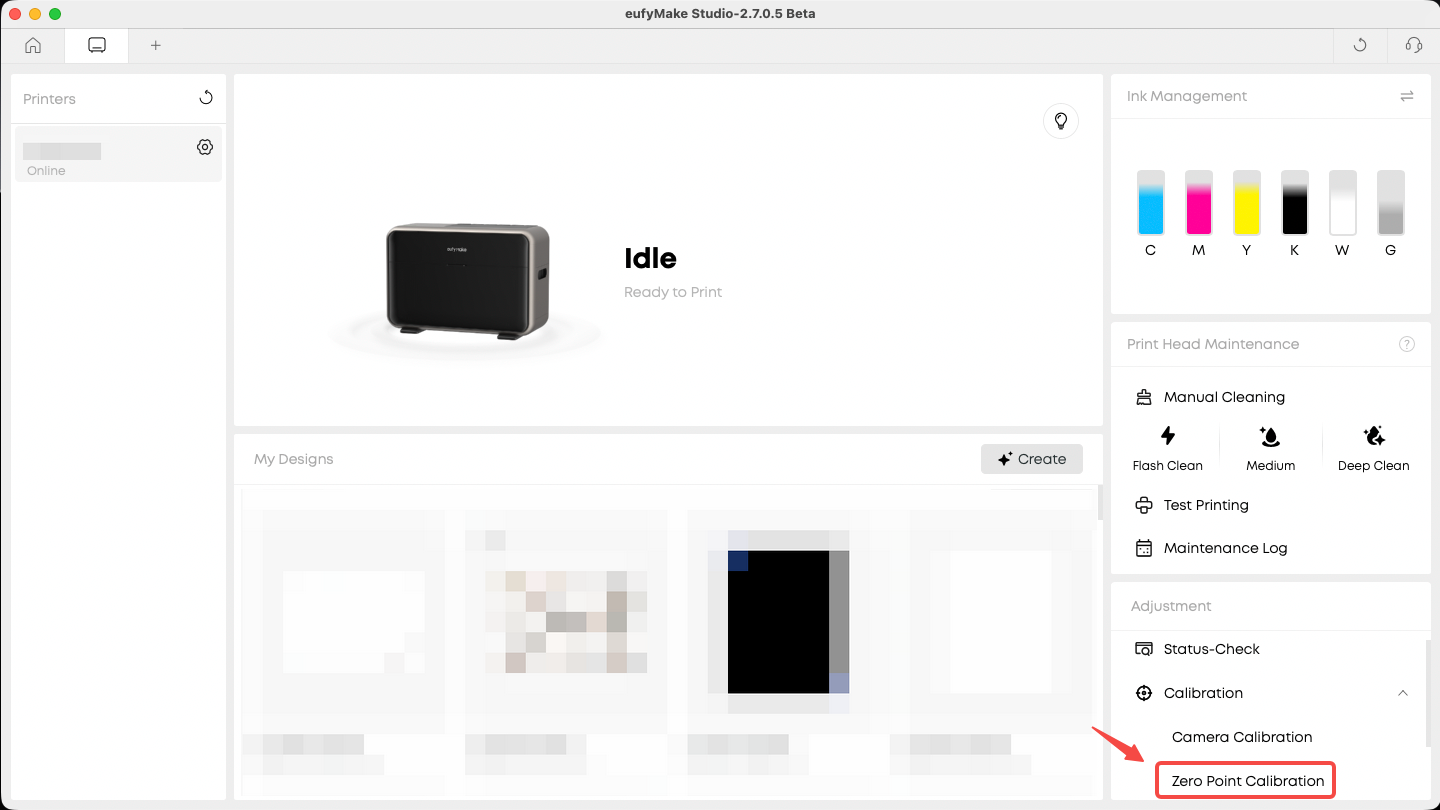
- In the client, go to Adjustment → Calibration → Zero Point Calibration to initiate zero point calibration.
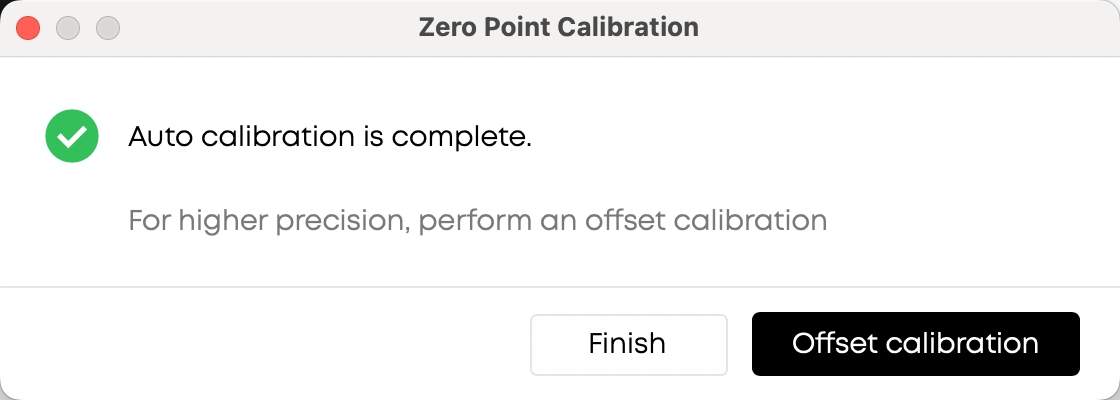
- Wait for the auto calibration to complete.
¶ Step 2: Use Zero Point Alignment for Printing
- Place the fixture or substrate at the zero point position of the printing mat, or at a specific coordinate position (e.g., 0, 6).
- Align the design in the editor according to the actual coordinate position of the substrate.
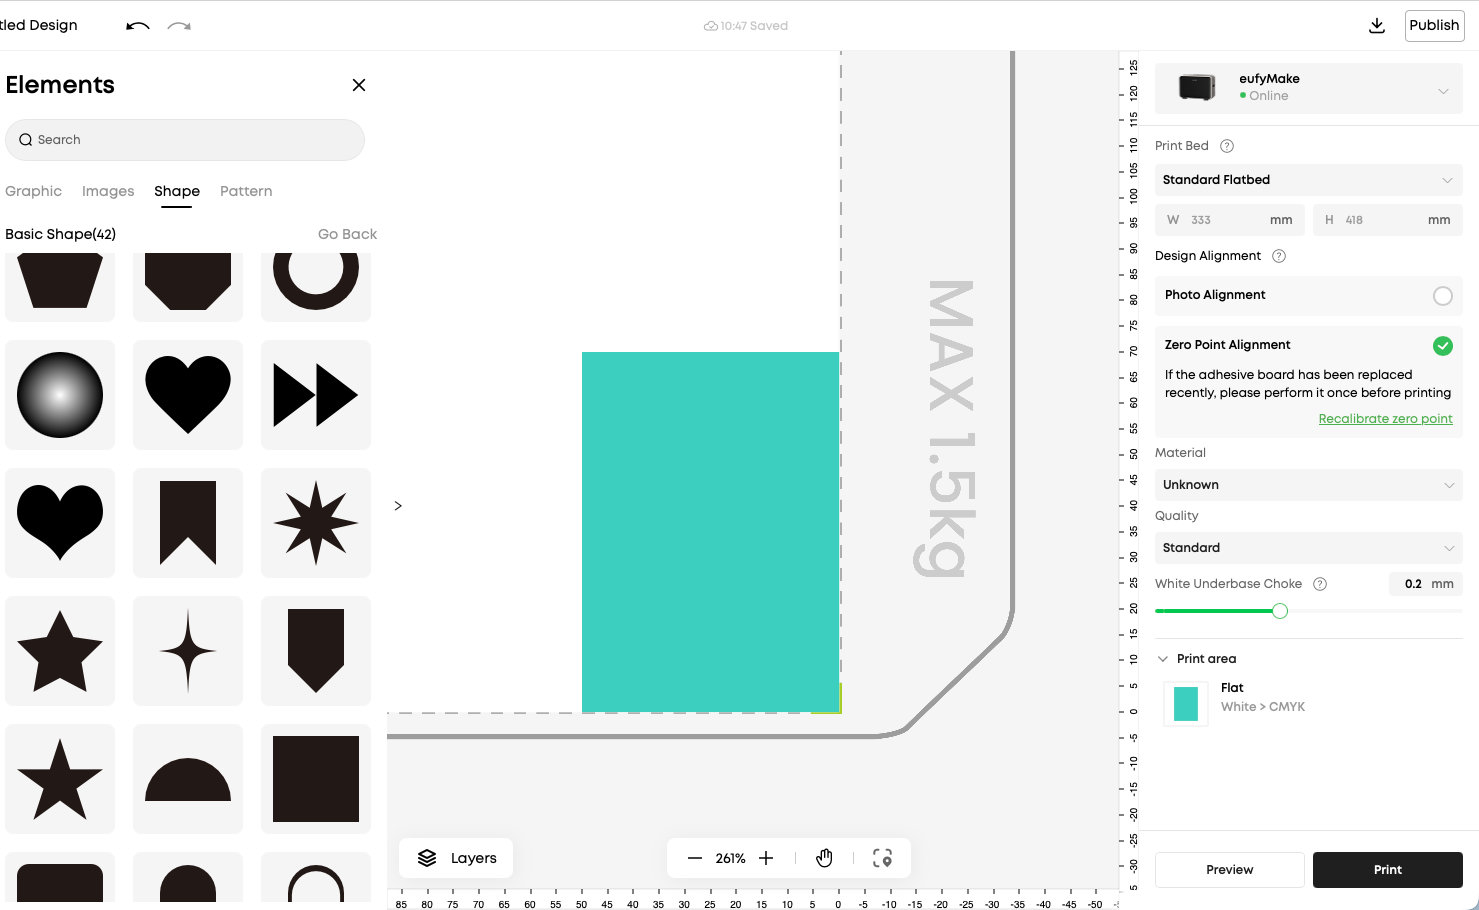
Click Print. After height measurement and file transfer are complete, confirm to initiate printing.
¶ Batch Printing (Optional)
- Keep the fixture/substrate position unchanged.
- Change the design file content.
- Directly initiate printing using Zero Point Alignment mode — no need to take photos again.
¶ Precise Offset Calibration
¶ How to Access
- If the offset is known, you can access the offset input page from the home page of the Zero Point Calibration dialog (independent entry point).
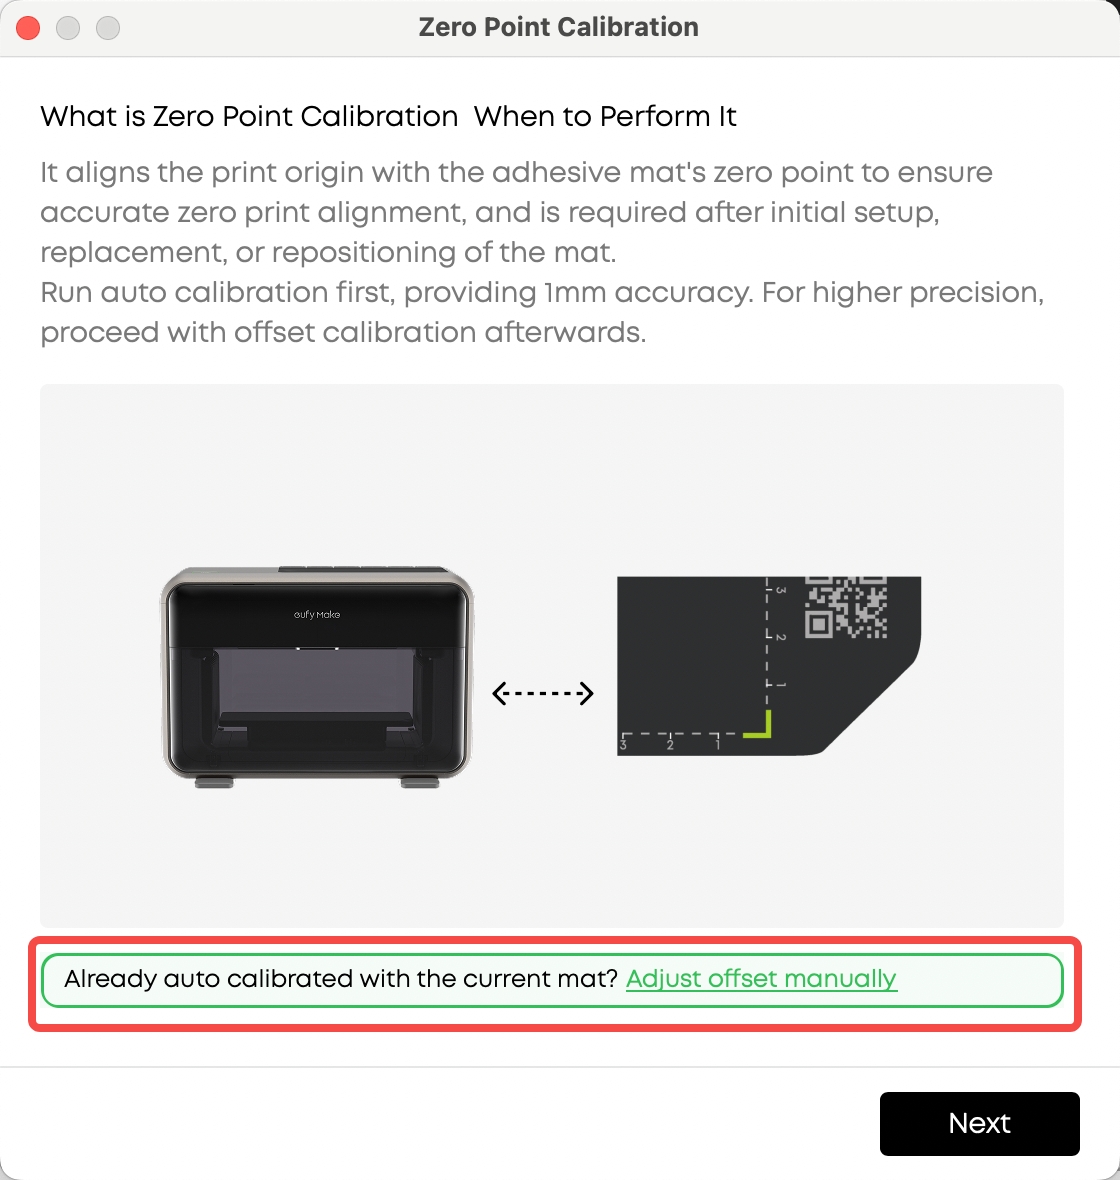
- If the offset is unknown, complete the auto measurement first, then proceed to Offset calibration.
¶ Operation Instructions
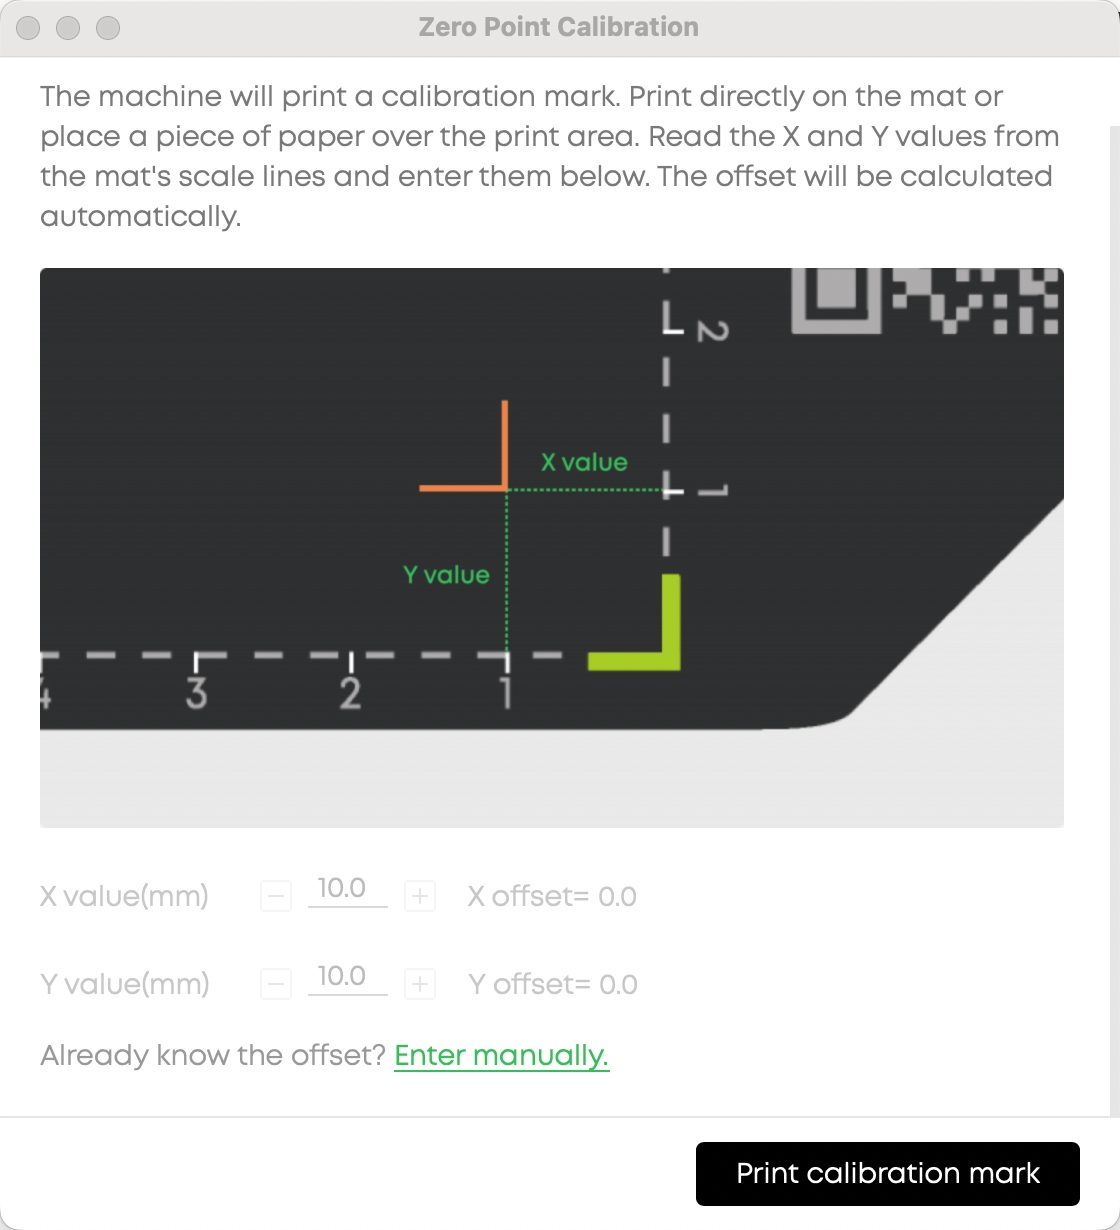
- The page displays the current X and Y axis offset values.
- Manually input the new offset values directly.
- Click Save to confirm changes, or click Cancel to discard changes.
- If the offset is unknown, click the Print Calibration Mark button on the page. The machine will print calibration marks for you to measure coordinates and further determine the offset.
¶ Calibration Process Paths
The system provides three calibration process paths. Users can choose based on their actual situation:
| Process | Applicable Scenario | Operation Steps |
| Full Process | First-time use or when a full calibration is needed | Entry → Guided Instructions → Auto Calibration → Complete → Precise Calibration Guide → Print Mark → Input Coordinates → Complete |
| Skip to Offset | Auto calibration is complete and the offset is known | After auto calibration → Click "Already know the offset?" → Directly input offset → Complete |
| Direct Offset | Skip auto calibration and adjust directly | Entry → Guided Instructions → Click "Skip to Offset Calibration" → Directly input offset → Complete |
¶ Key Notes
- Offset modifications take effect immediately — no need to re-execute the full zero point calibration process.
- If deviations are found during print verification, you can go directly to the offset input page to fine-tune, without starting over.
- You can also reprint calibration marks from the coordinate input dialog.
¶ Precautions
¶ 1. Device Safety
Ensure the substrate height is less than 100mm to prevent collision between the print head and the material.
¶ 2. Print Quality
The vertical distance between the target printing surface and the highest point of the substrate should not exceed 2mm.
¶ 3. Print Range
When using Zero Point Alignment, the printable area is reduced by 2mm in both length and width compared to Photo Alignment, and will strictly follow the edge scale lines. This is to ensure edge printing accuracy and reliability.
¶ 4. Offset Calibration
- Precise offset calibration is an optional step. Users may choose whether to perform it after auto calibration is complete.
- It is recommended to complete the full calibration process (auto calibration + precise offset calibration) when using zero point alignment for the first time, for optimal accuracy.
- Experienced users may skip auto calibration in subsequent uses and fine-tune directly through the offset input page.
¶ Frequently Asked Questions
Q: When do I need to re-execute zero point calibration?
A: It is recommended to re-execute zero point calibration after replacing the adhesive mat. If you notice print position deviations, you can also recalibrate to correct the reference point.
Q: After calibration is complete, the print has deviations. Do I need to recalibrate?
A: No need to re-execute the full calibration. You can directly go to the offset input page to view and fine-tune the X and Y axis offsets. Changes take effect after saving.
Q: Can offsets be modified directly?
A: Yes. After entering the offset input page, you can directly view and modify the current X and Y axis offsets. Changes take effect immediately after saving.
Q: What is the difference between Photo Alignment and Zero Point Alignment?
A: Photo Alignment captures the actual position of the substrate for visual alignment and works with any shape. Zero Point Alignment prints directly at preset coordinate positions, suitable for regular geometric shapes in batch production with higher efficiency. Both methods share the same print origin.
Q: Is auto calibration mandatory?
A: It is recommended to complete auto calibration during first-time use. In subsequent uses, if you already have accurate offset data, you can adjust directly through the offset input page, skipping the auto calibration step.