¶ What is a Jig?
A jig is an auxiliary tool used for small-batch, repeatable production. Once created, a jig allows you to repeatedly and accurately position substrates for printing, ensuring consistent results across batches.
Jigs are commonly used for batch customization of small items such as keychains, commemorative coins, coasters, golf balls, and pendants.
The most common types of jigs are 3D-printed and laser-cut jigs. This guide also explains how to create a jig directly using the UV printer itself, allowing you to make one even if you don't have access to a 3D printer or laser cutter.
Jig printing generally uses zero-point alignment (absolute-coordinate alignment). Before using a jig, make sure you have calibrated the zero point of the current adhesive mat.
In the following sections, we'll walk through the three main stages of jig printing: Set Up the Jig, Make the Jig, and Use the Jig.
¶ 1. Setup the Jig
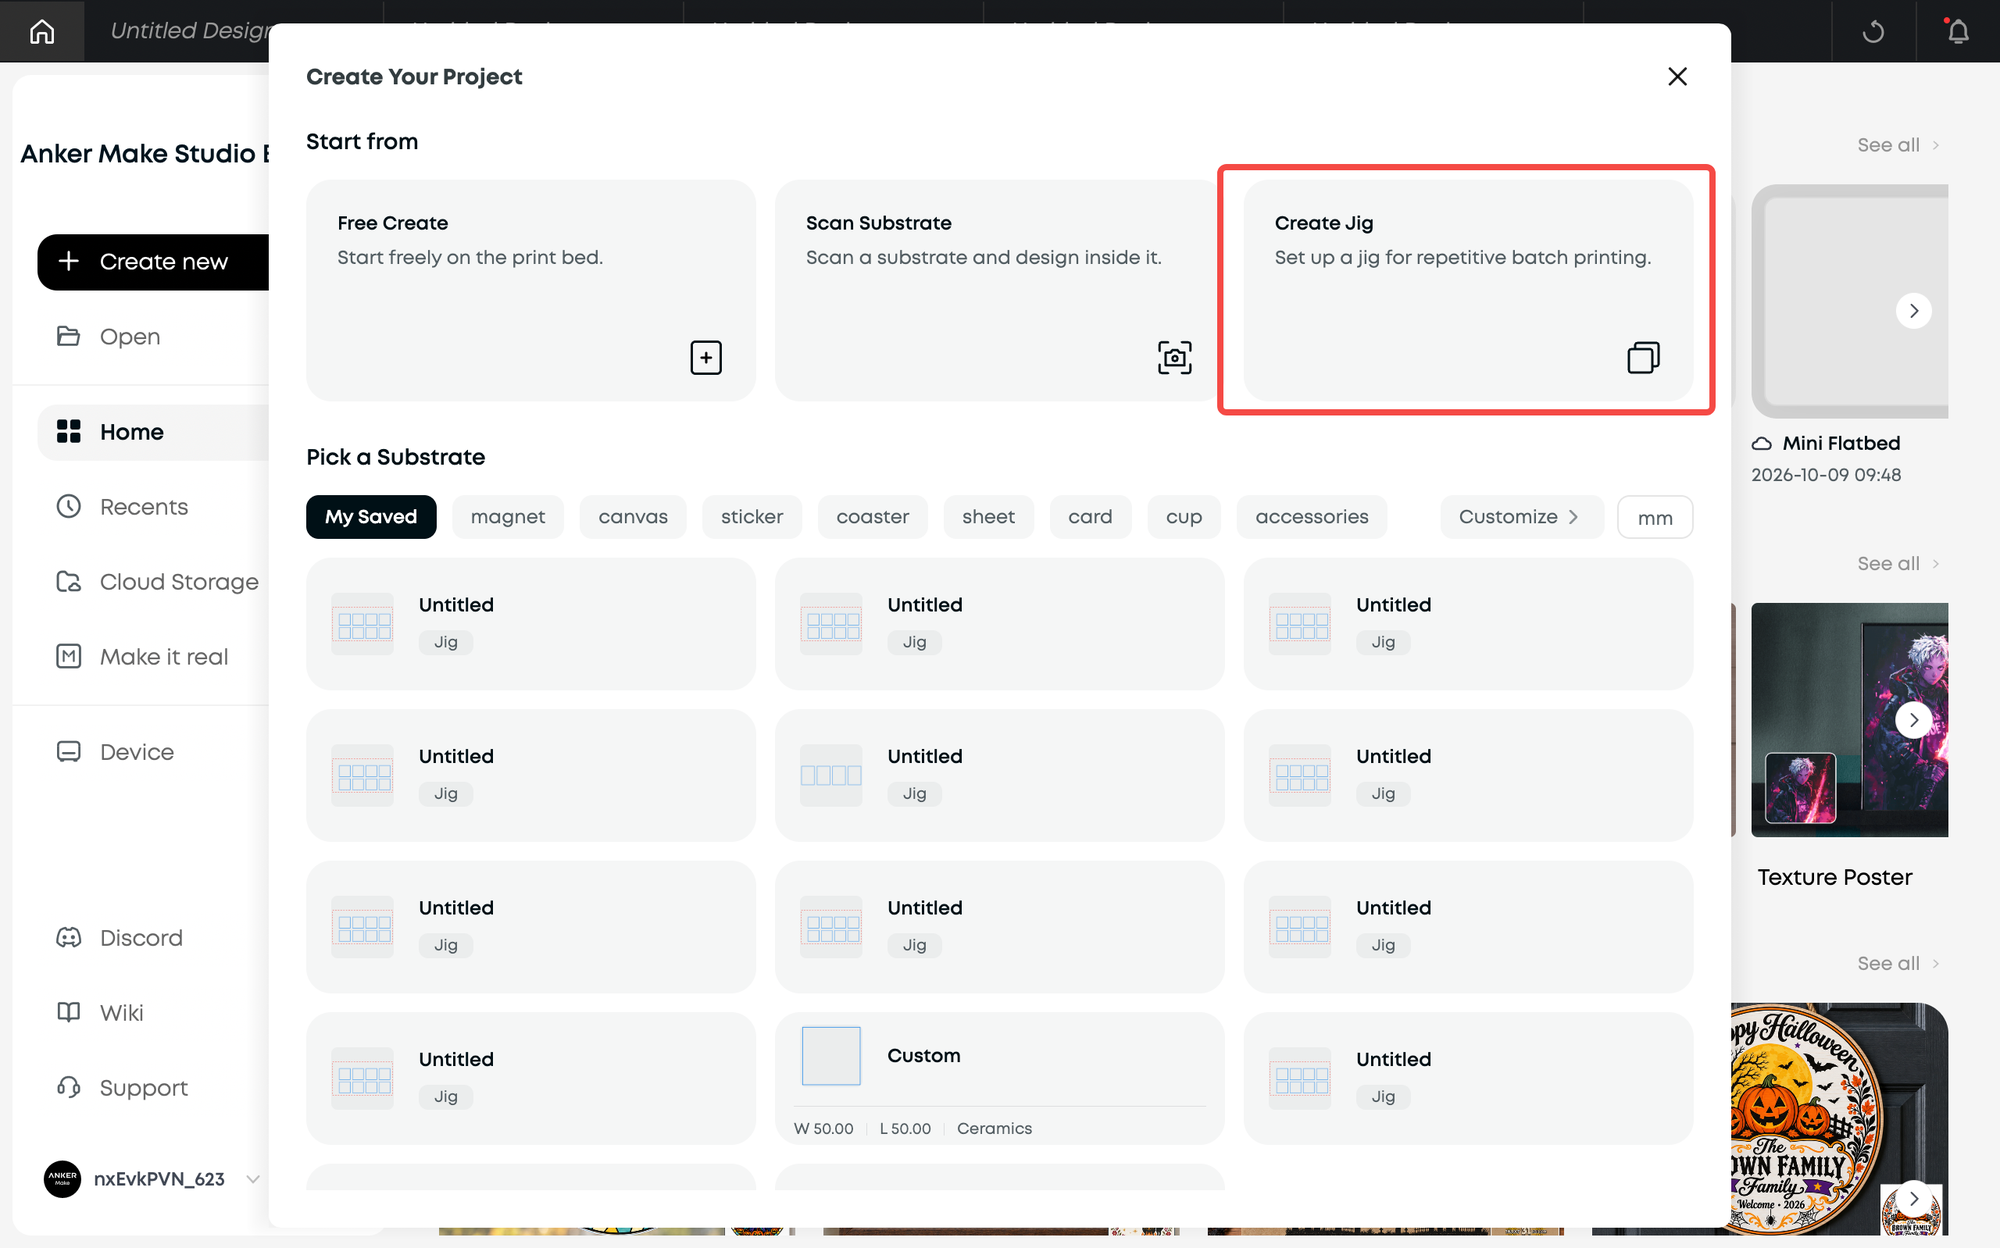
In the New Project panel, click Create New Jig to enter the Setup page, where you configure a new jig. The table below explains each setting on this page.
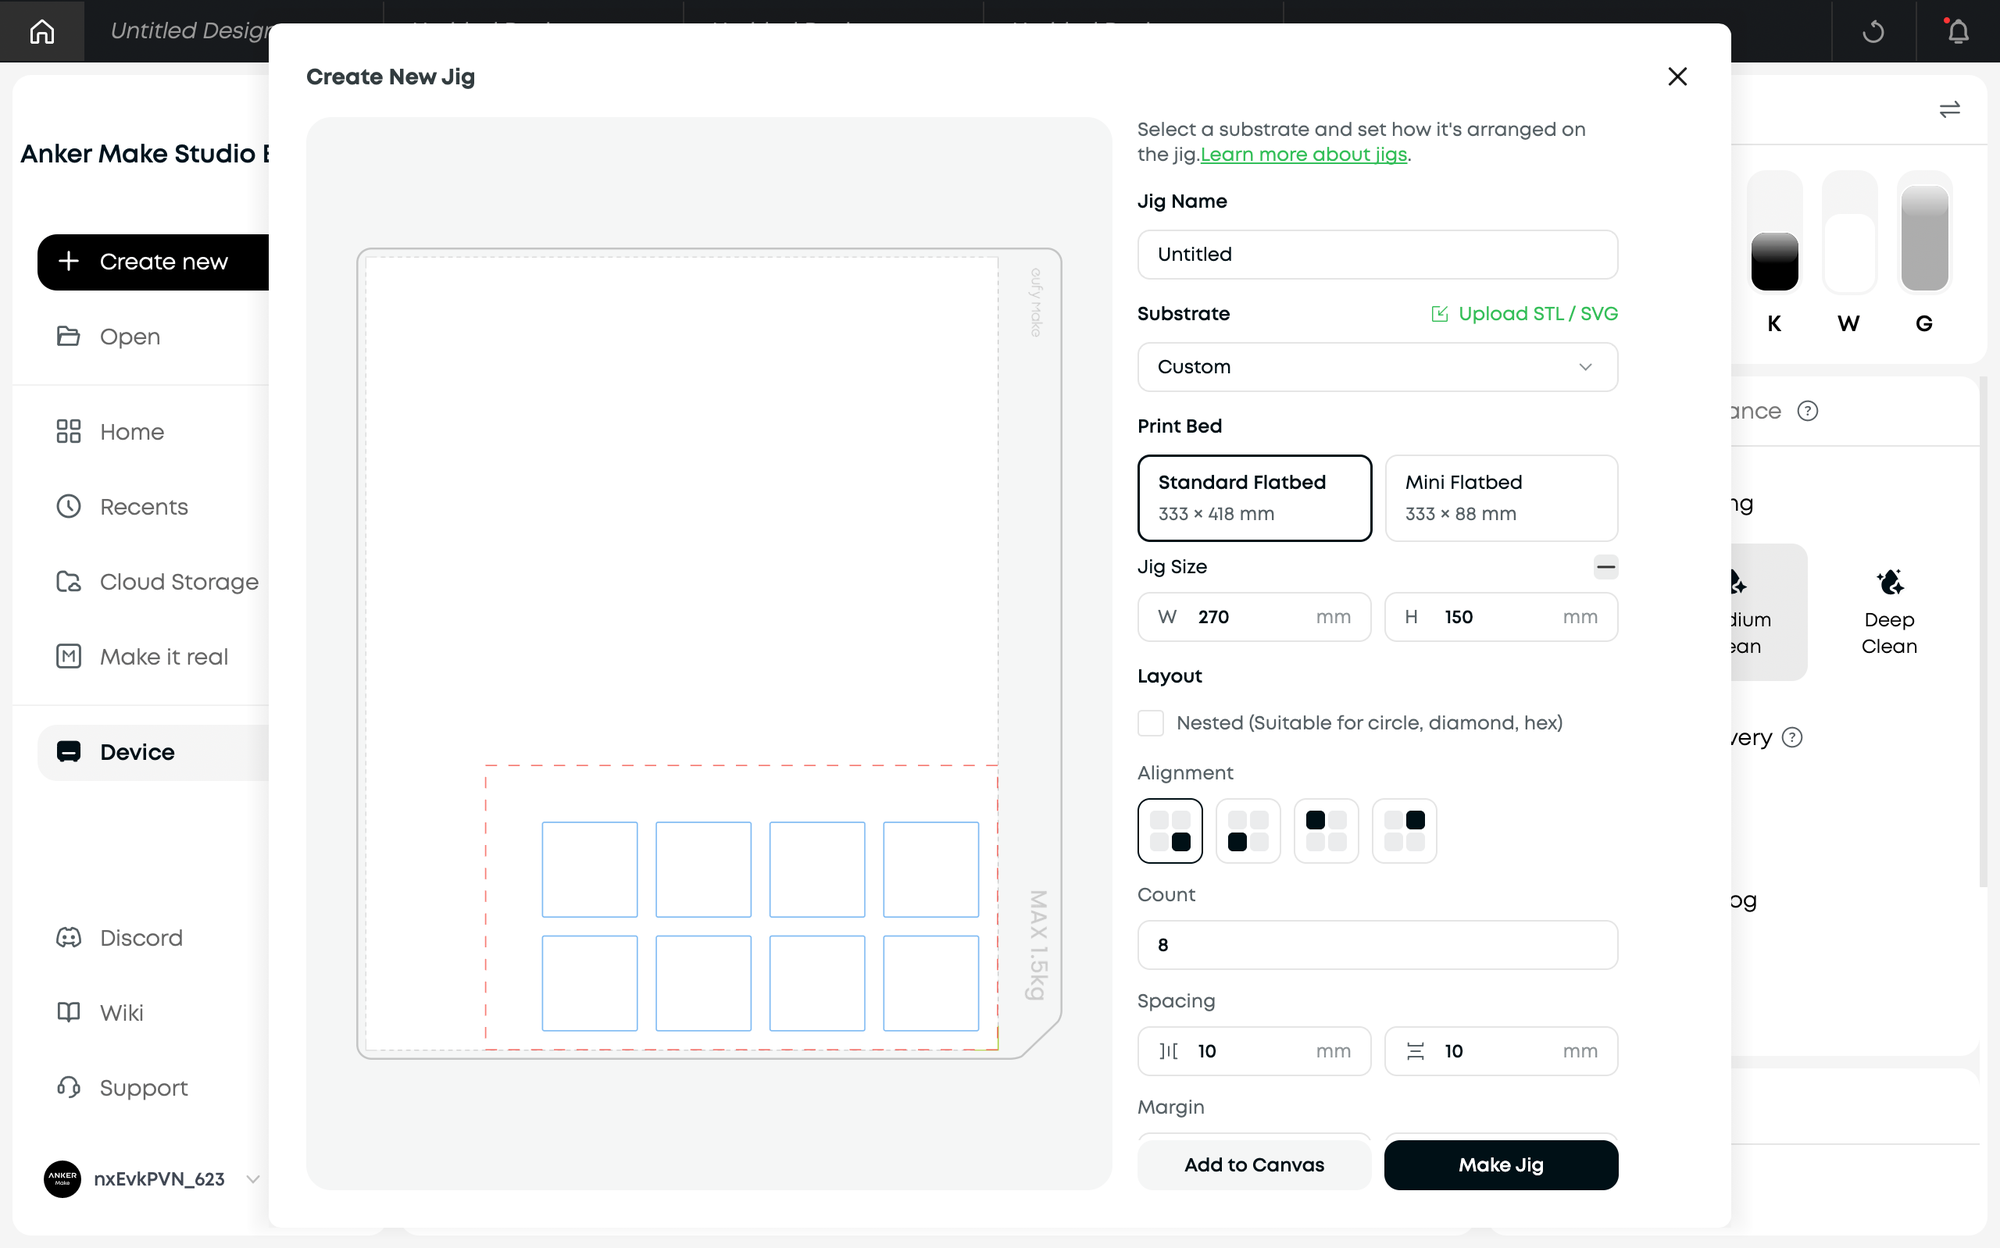
| Setting | Description |
| Name | Type a name so you can find this configuration easily later. |
| Substrate | Select from the drop-down menu, or upload an SVG or STL file. For an STL, the bottom projection is used as the substrate's contour and added to the layout. |
| Print Bed & Jig Size | Jig Size defaults to the same size as the Print Bed. You can also customize the Jig Size, and the system arranges substrates automatically according to the Jig Size you set. |
| Arrangement | How substrates are arranged. Grid is best for square shapes; Nested is best for rounded, diamond, and hex shapes. |
| Alignment | How the jig aligns with the adhesive mat — generally aligned at the zero point at the bottom-right of the adhesive mat. |
| Count | The number of substrates to print on this jig. |
| Clearance | Because substrates have slight tolerances between them, the pocket is generally designed to expand slightly outward, so the substrate can fit in easily. |
| X Spacing / Y Spacing | The spacing between pockets. |
| Margin X / Margin Y | The X and Y distance from the pocket nearest to the alignment point, to that alignment point. |
¶ 2. Make the Jig
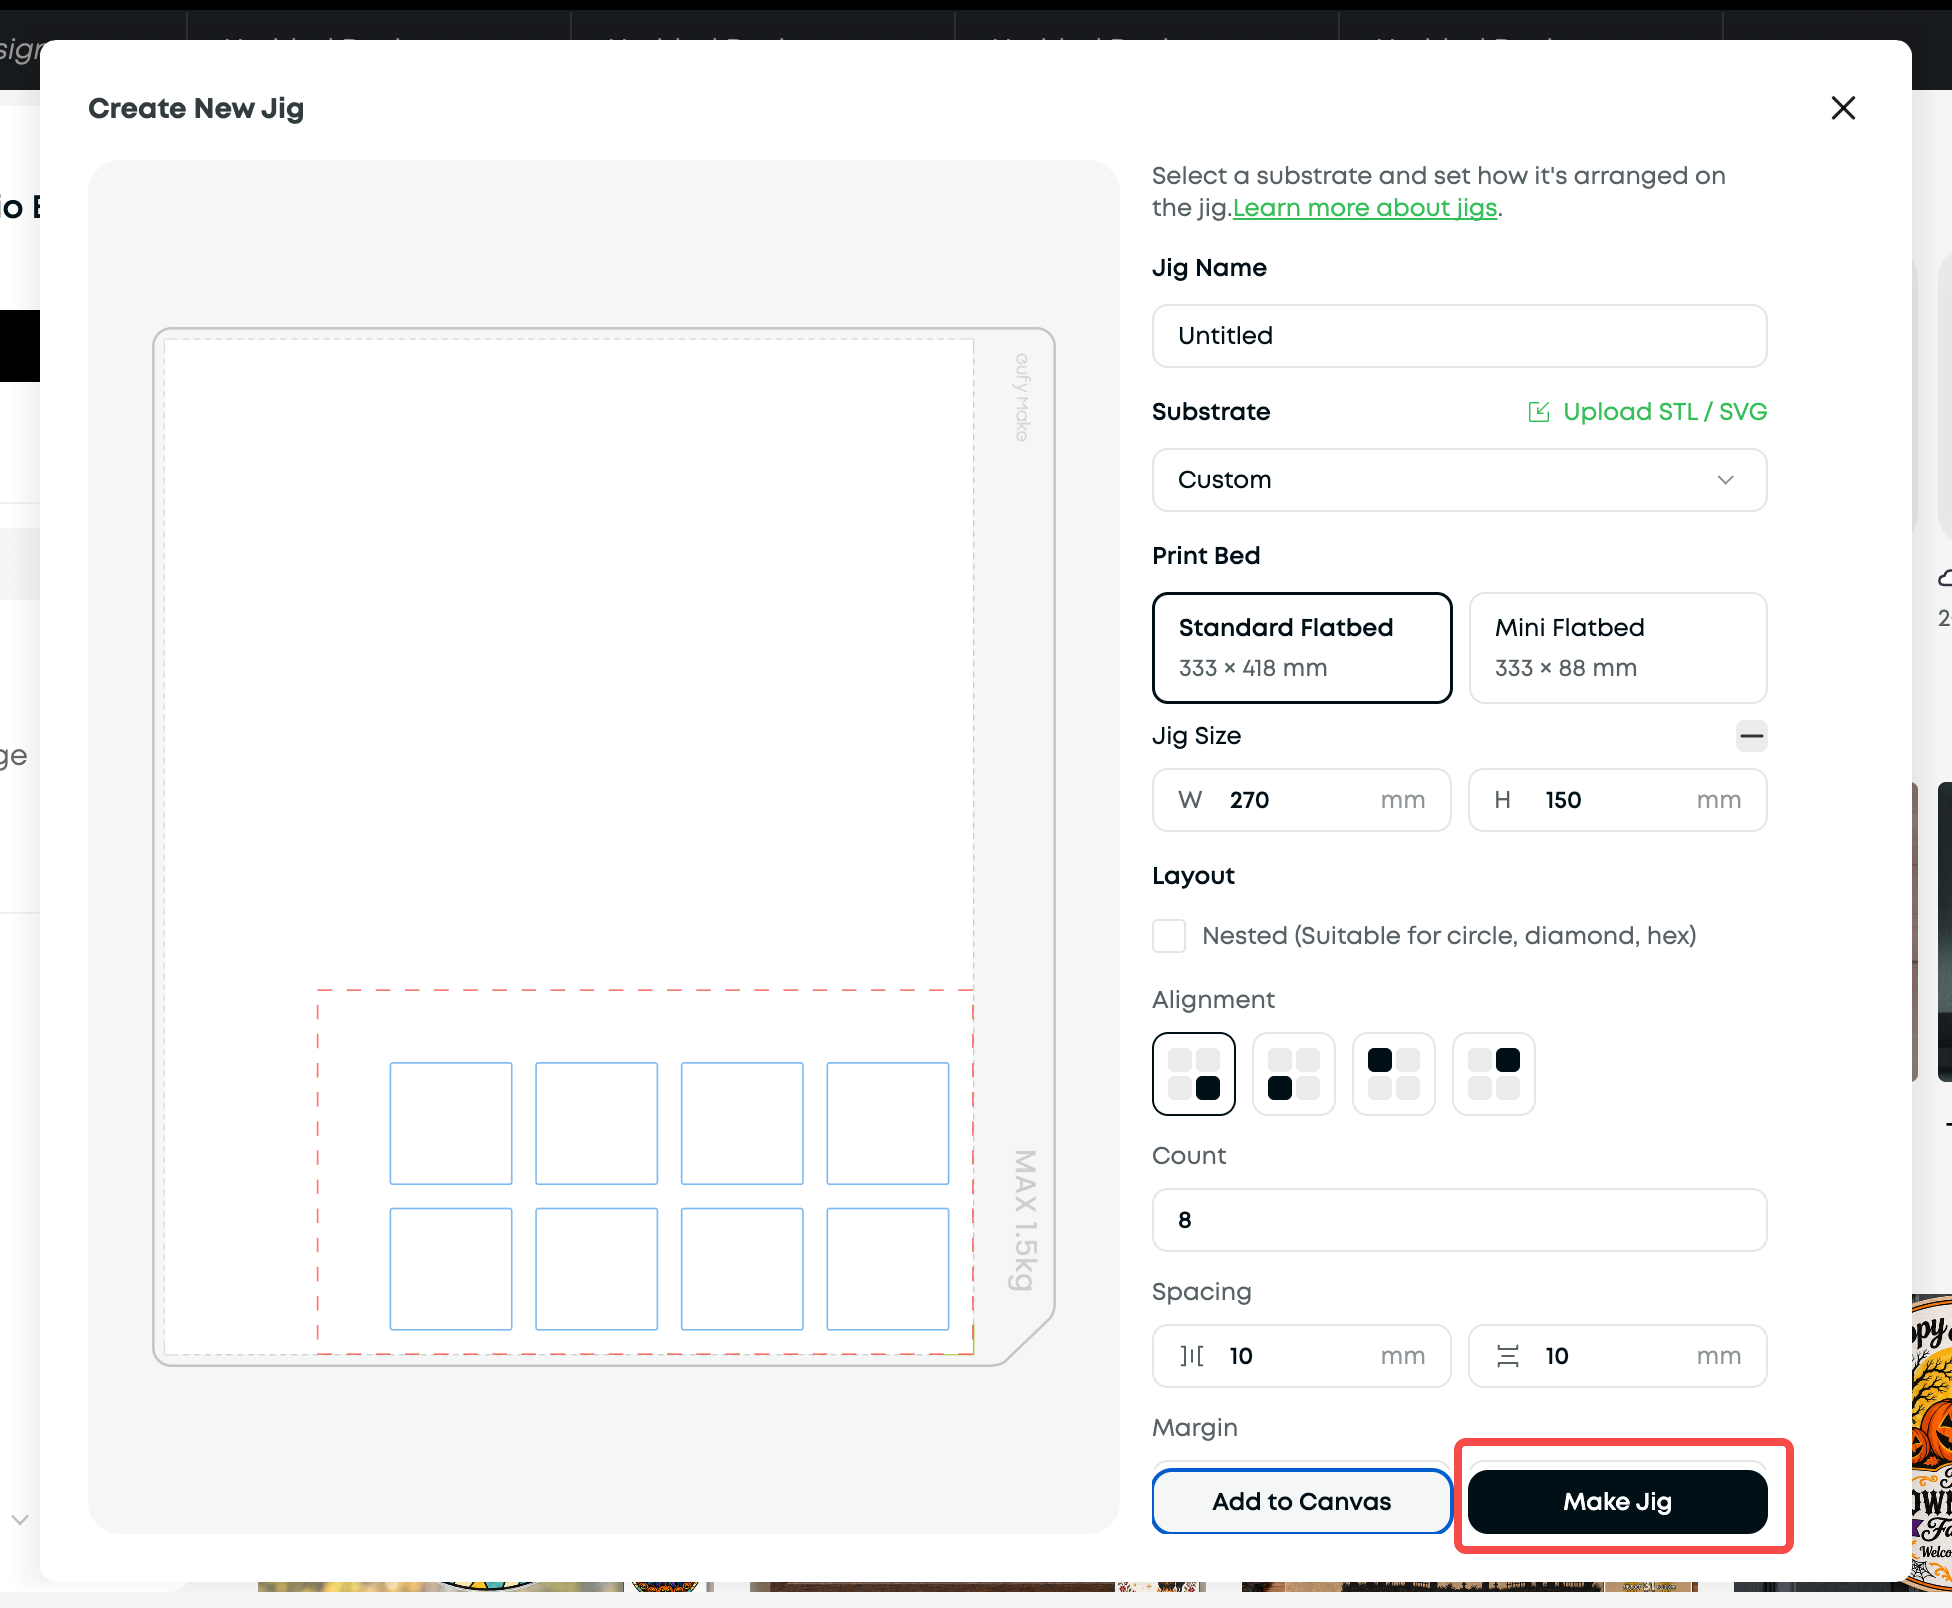
After completing the setup, click Make Jig and choose one of the methods below to create your jig.
If you already have a finished jig, you can skip this step and simply add your saved jig layout to the canvas to start using it.
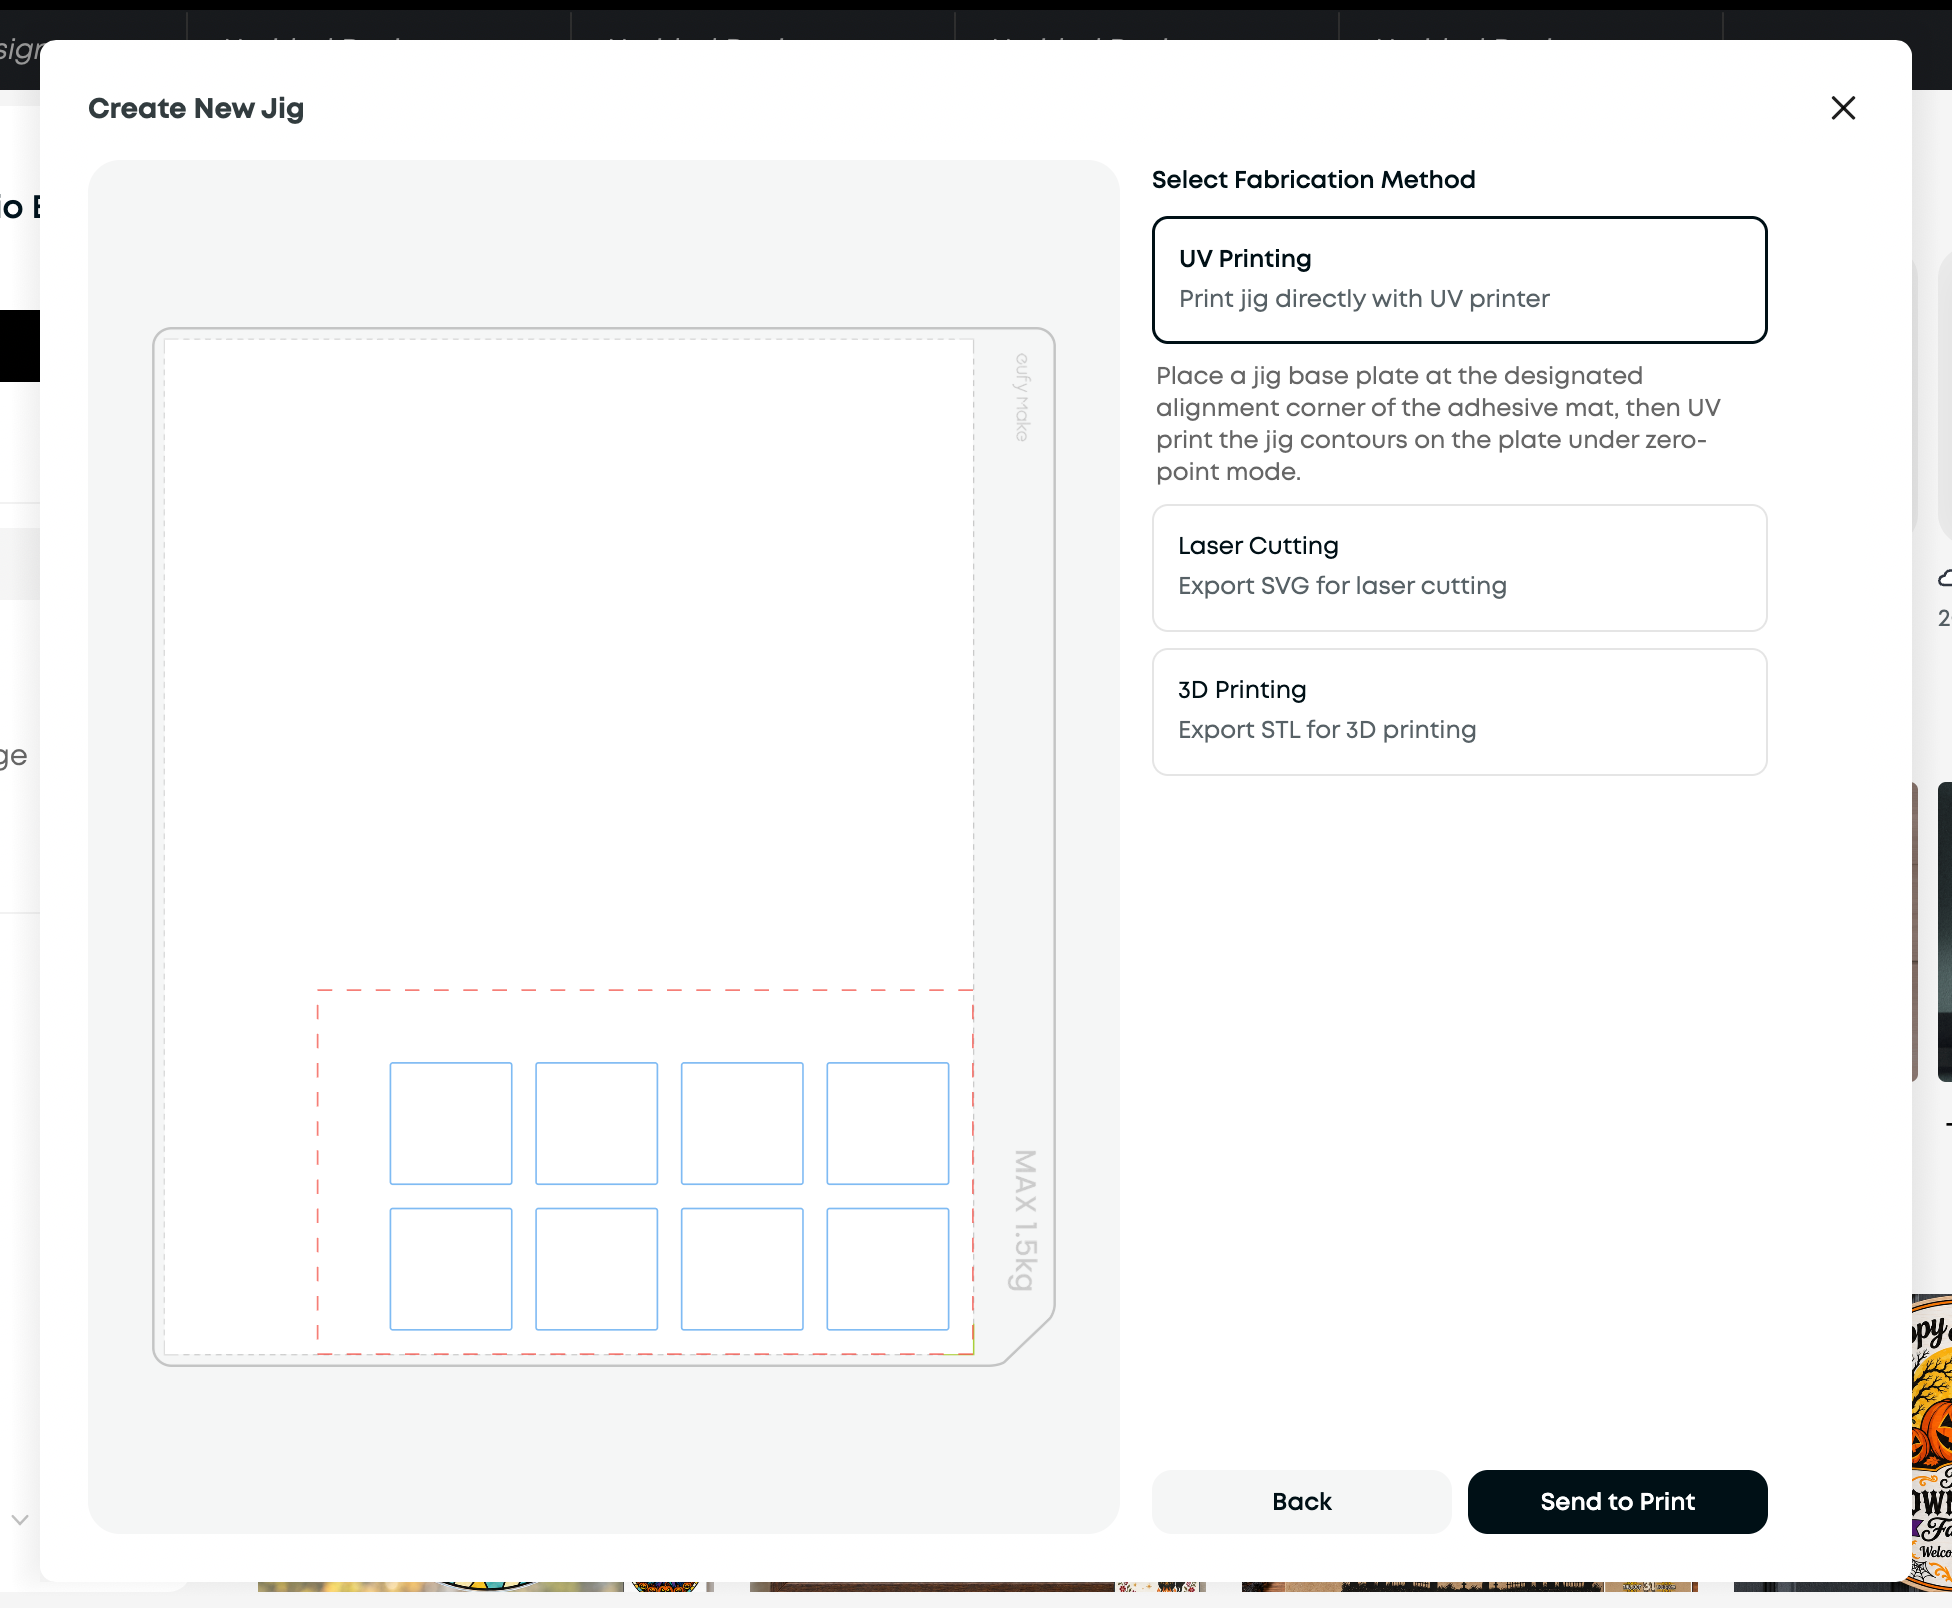
1. UV Print the Jig
Creating a jig using UV printing involves three steps. If you don't have access to a 3D printer or laser cutter, or simply need a quick jig, you can create one directly using the UV printer.

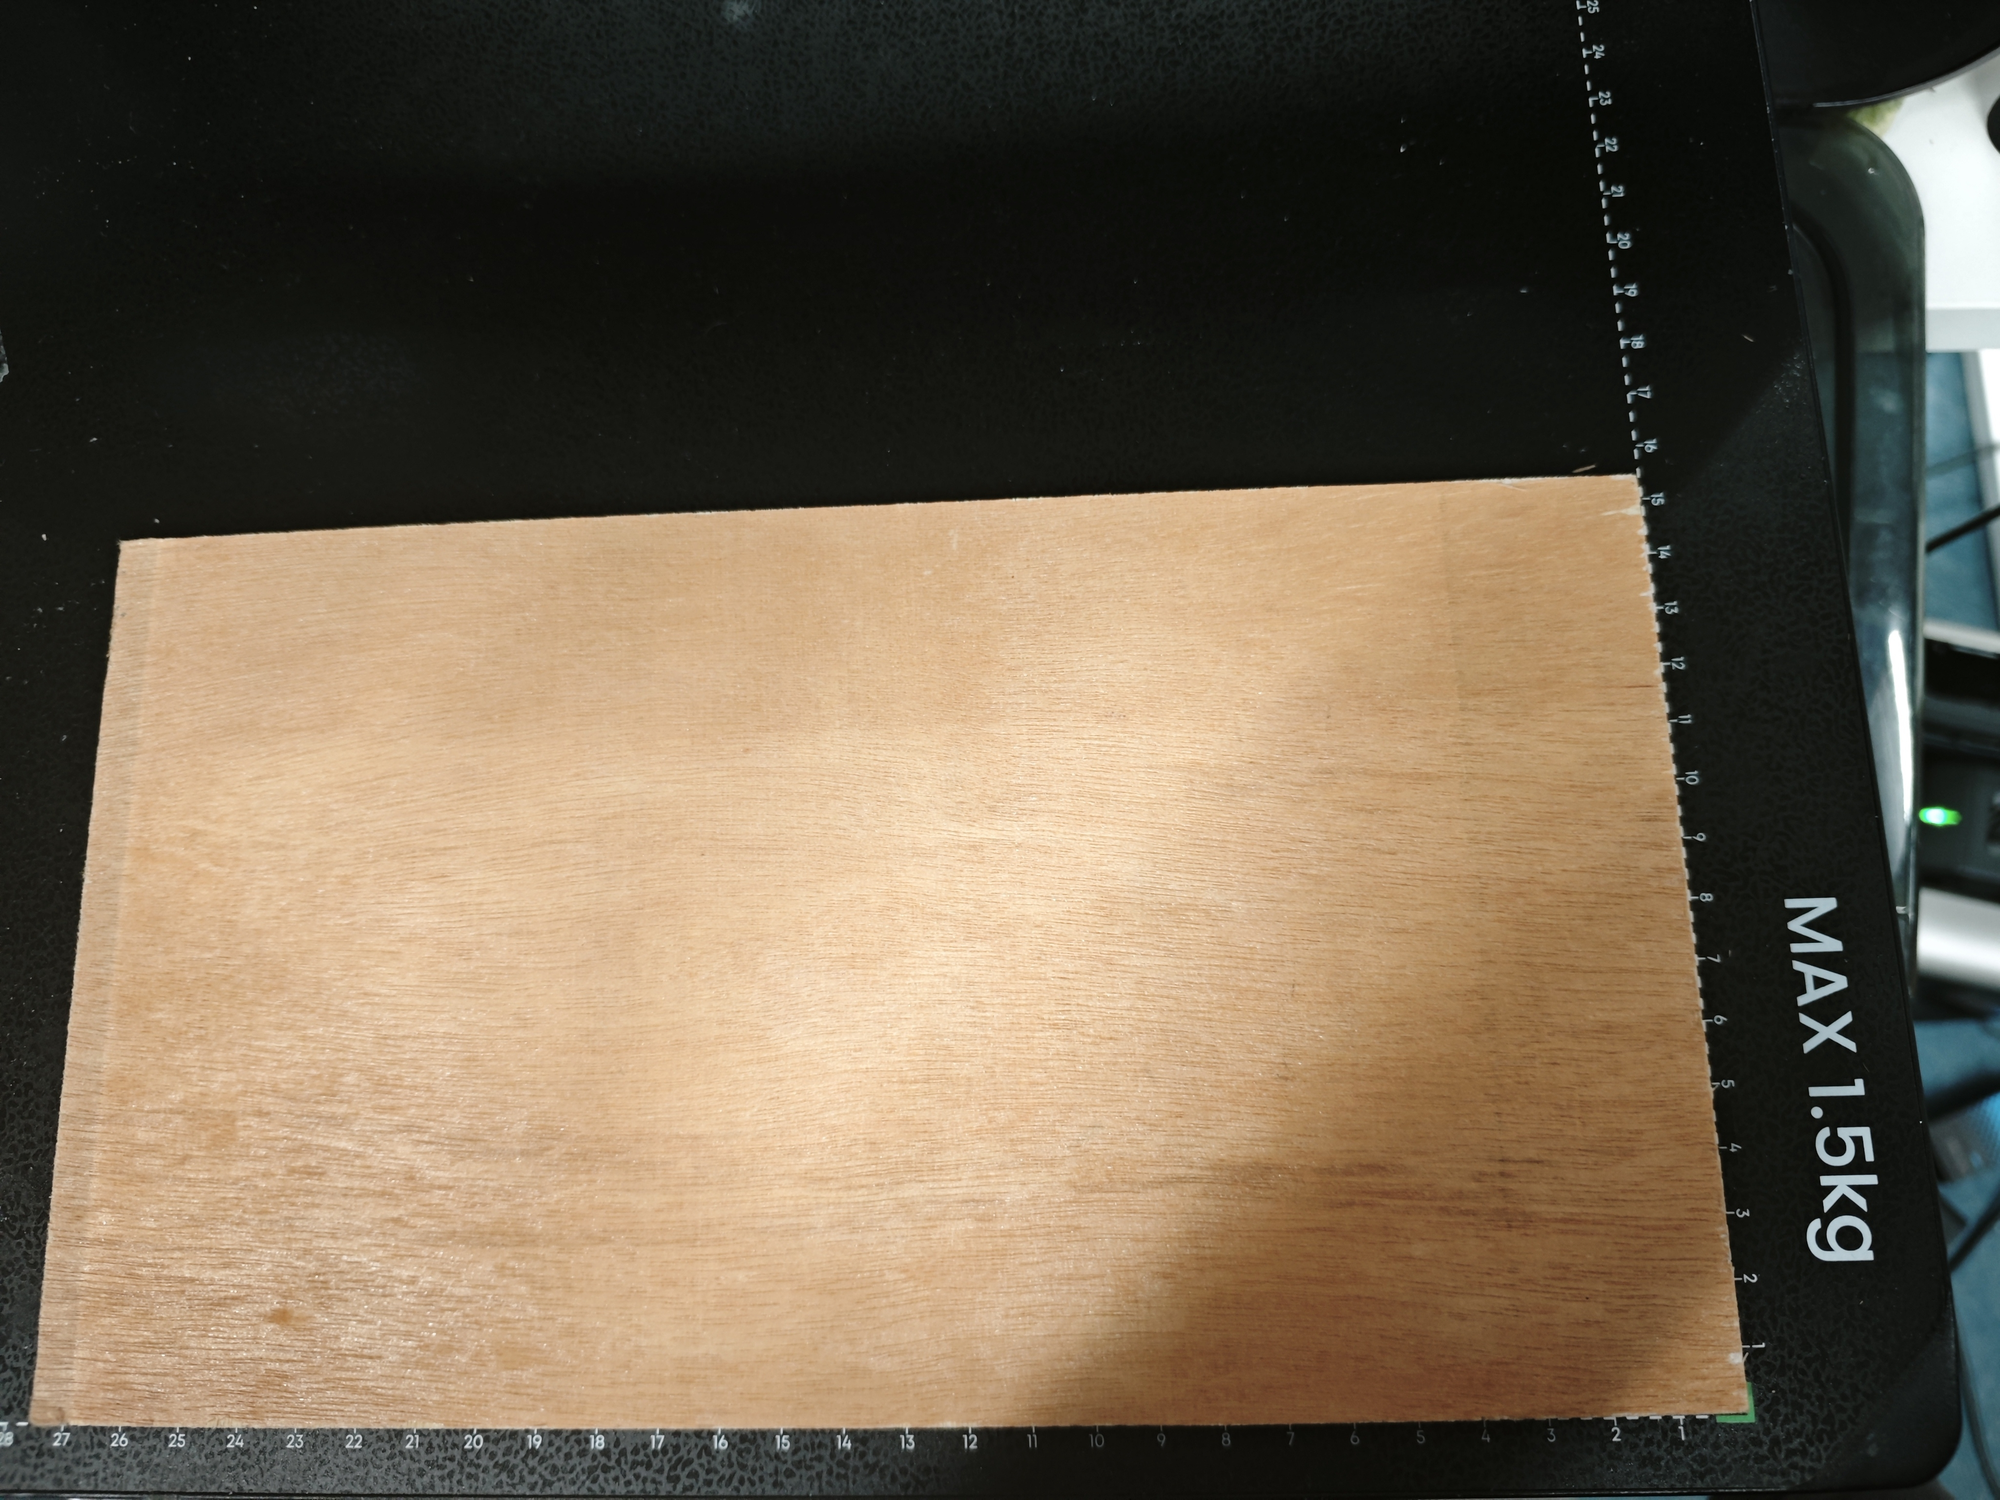
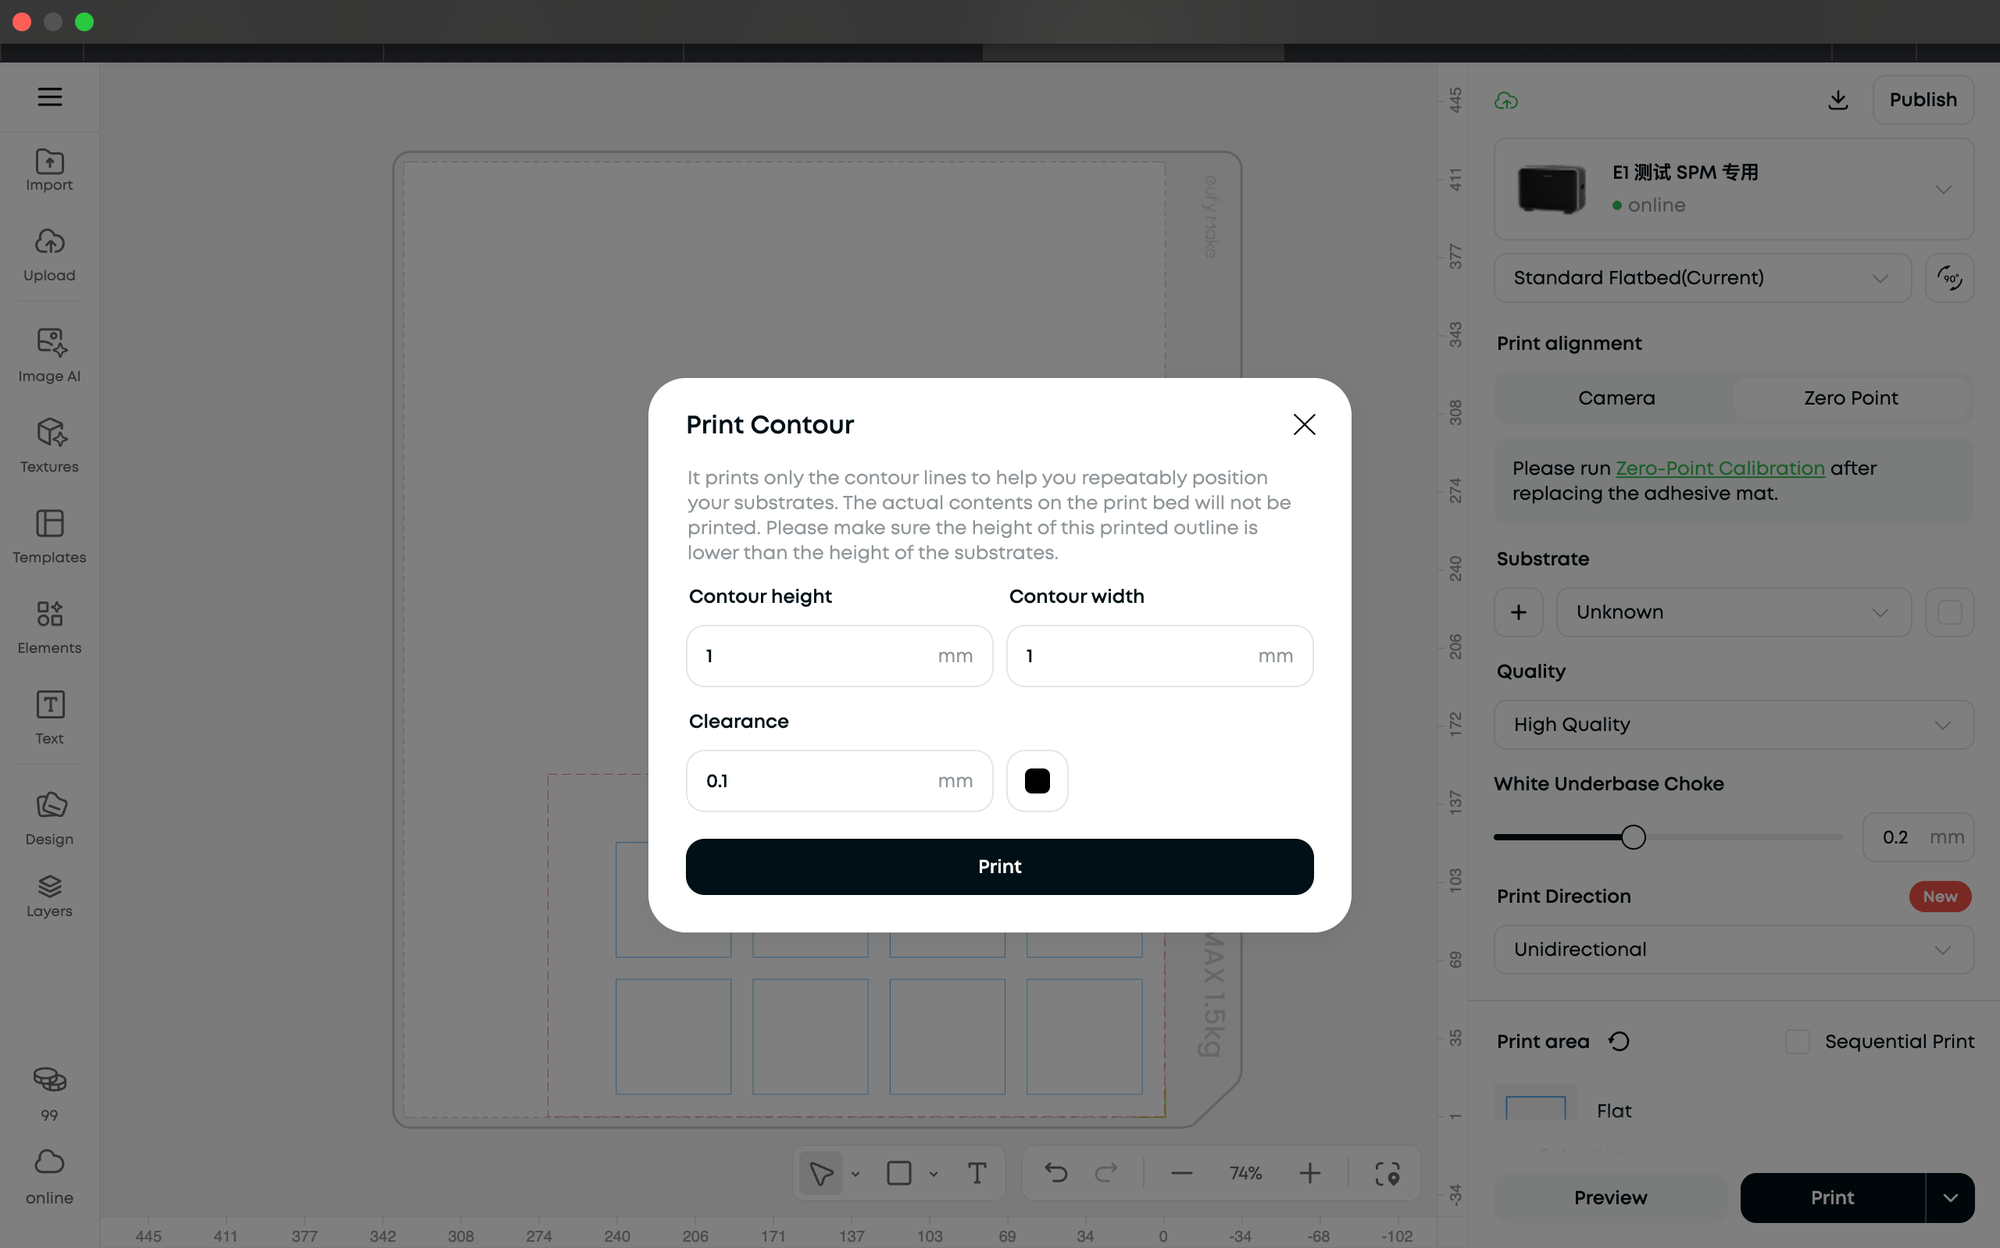
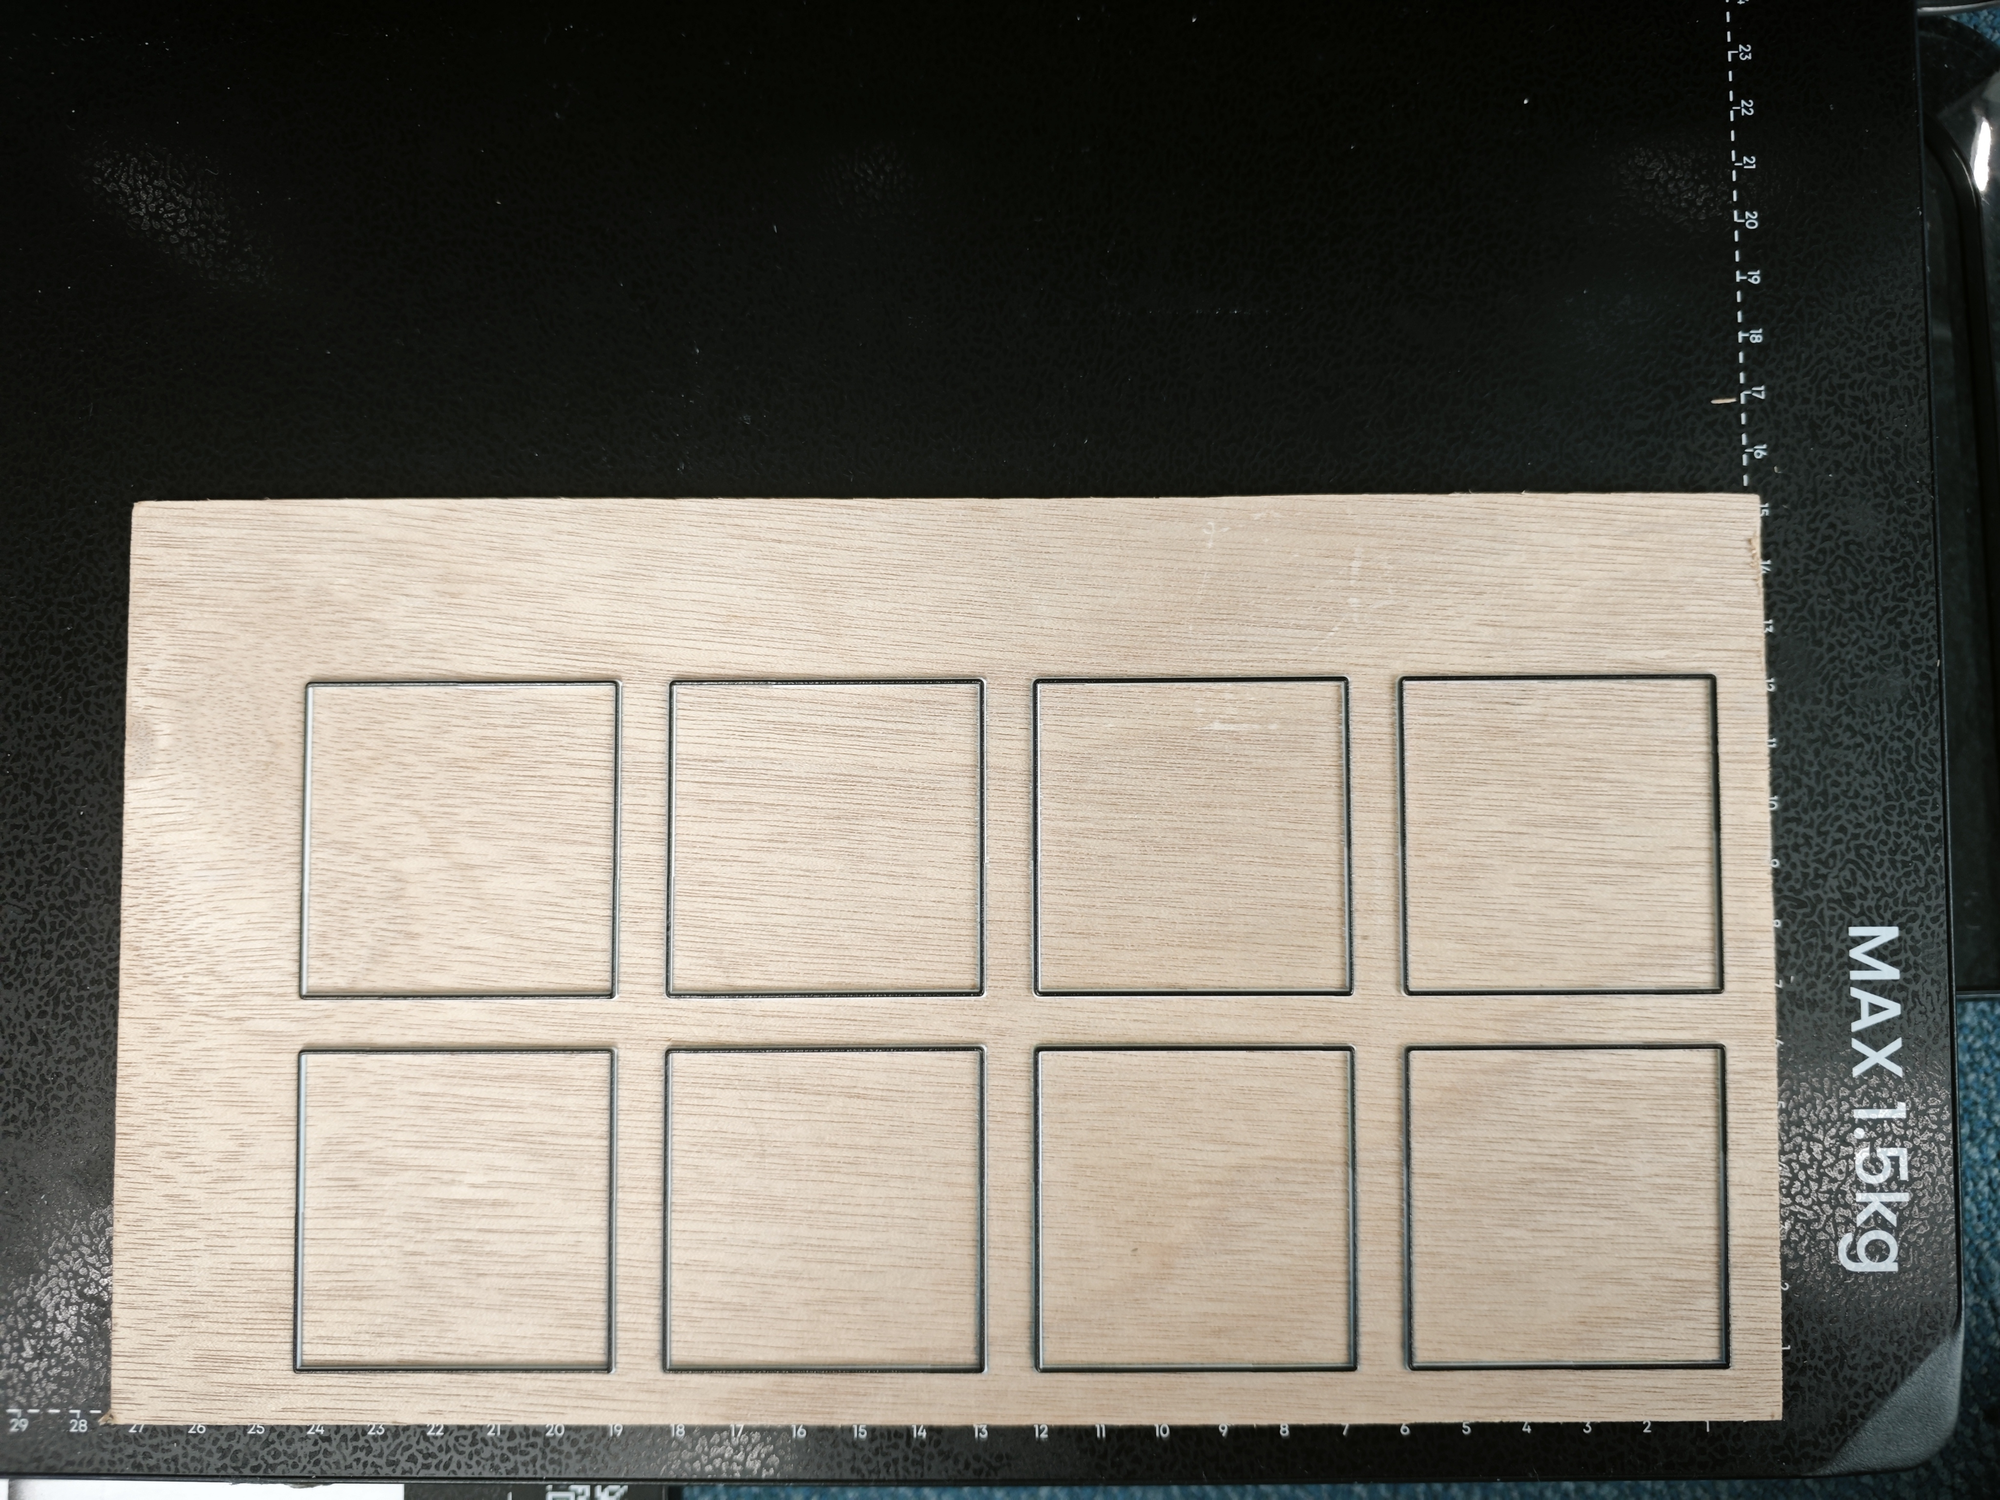
| Step 1 · Place the jig base plate | Step 2 · Print the contour lines | Step 3 · Get a UV-printed jig |
 |
 |
 |
|
Prepare a flat, rigid board (e.g., wood) and place it at the alignment point (e.g., the zero point at the bottom-right of the adhesive mat).
|
Select UV Printing on the Make Jig interface and send to print. The jig's contours will be added to the canvas, and a contour printing pop-up opens. Set the outward width and height of the contour line — printing a certain height is recommended, so the substrate fits in and sits more securely.
|
You now have a UV-printed jig ready for reuse.
|
2. Laser Cut the Jig
Download the jig as an SVG file, then import it into laser-cutting software to send the cut.
3. 3D Print the Jig
Download the jig as an STL file, then import it into a 3D printer to send the print.
¶ 3. Use a Jig for Batch Printing
Once you've set up the jig layout in the software and made the jig, you're ready to start batch production with your finished jig.
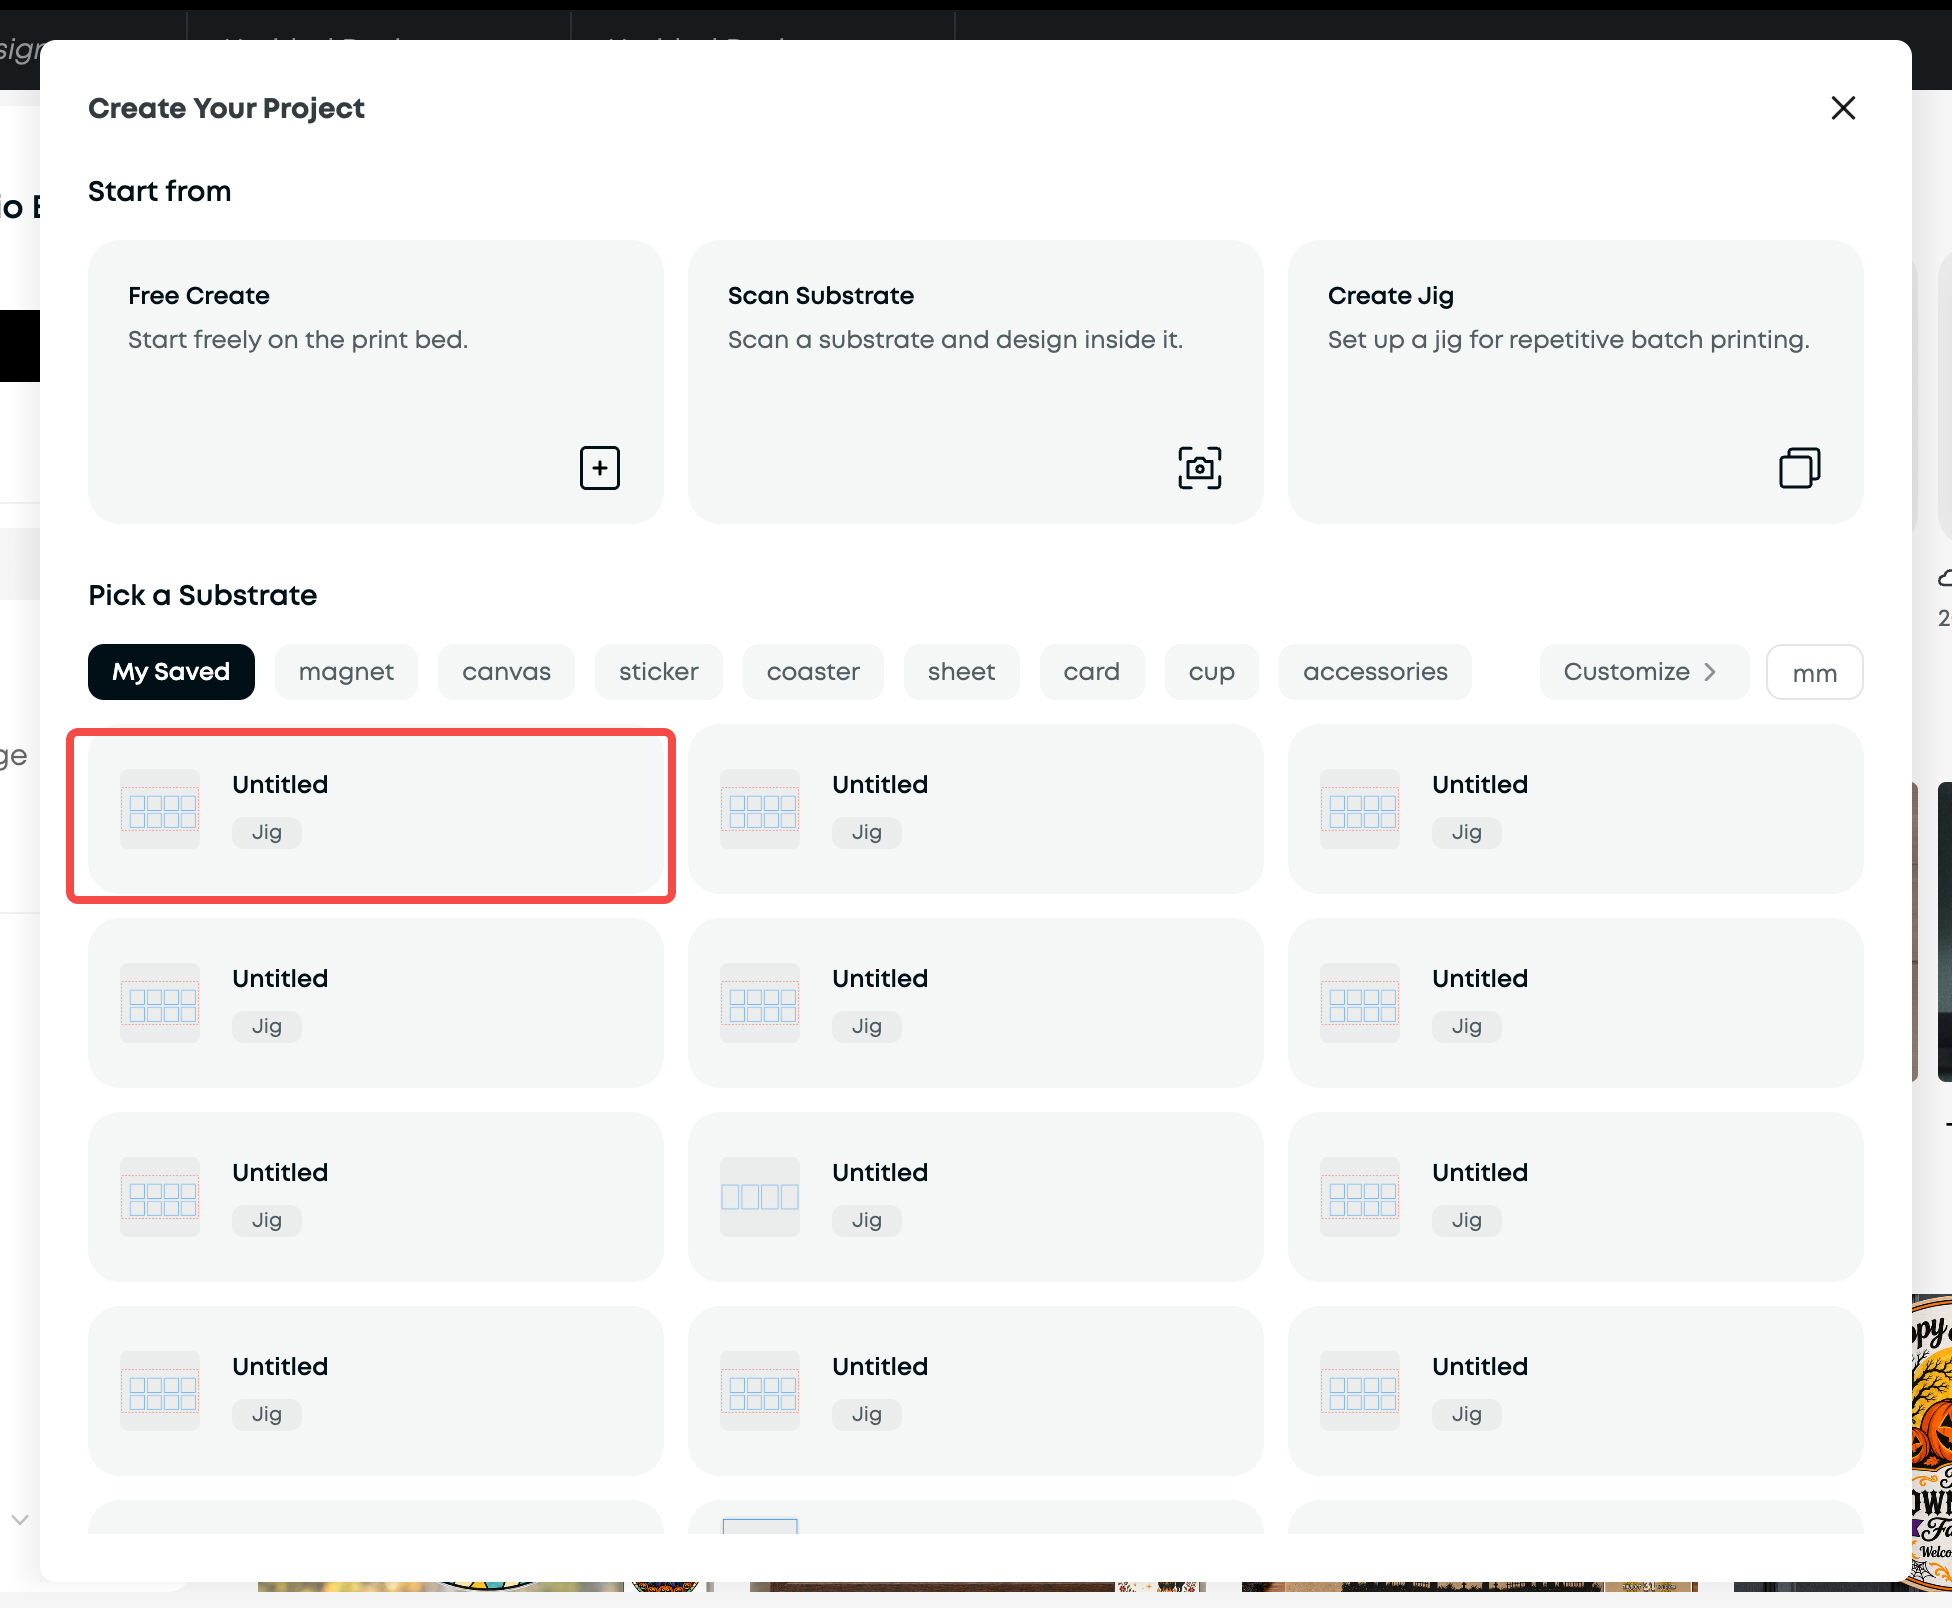
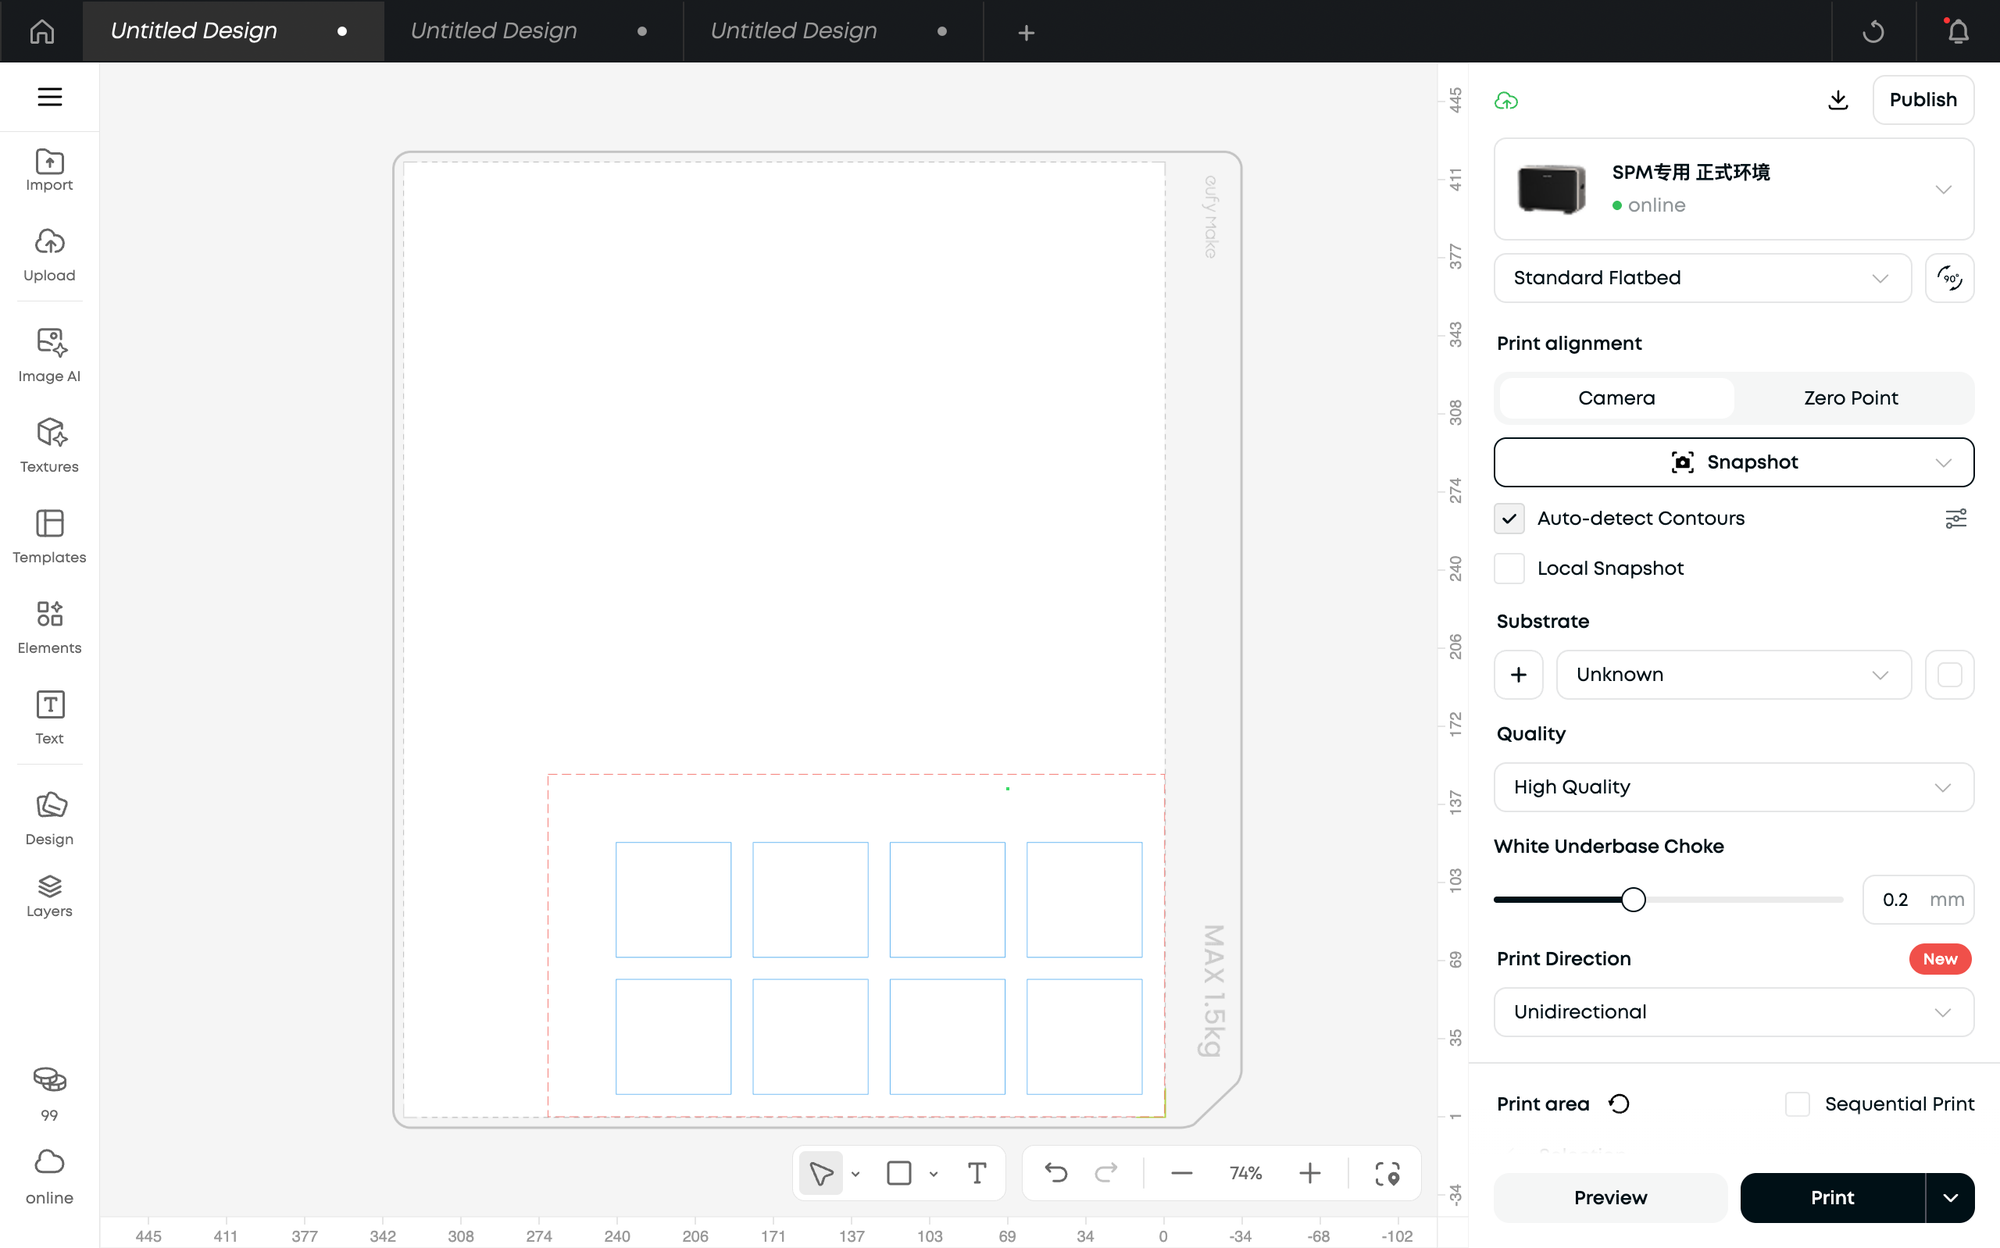
1. Add the jig layout to the canvas: Open a previously saved jig from My Saved in the New Project panel, or click the plus icon in the Substrate module in the editor to see your saved jigs under My Saved. The jig's contours and their relative positions are added to the canvas.
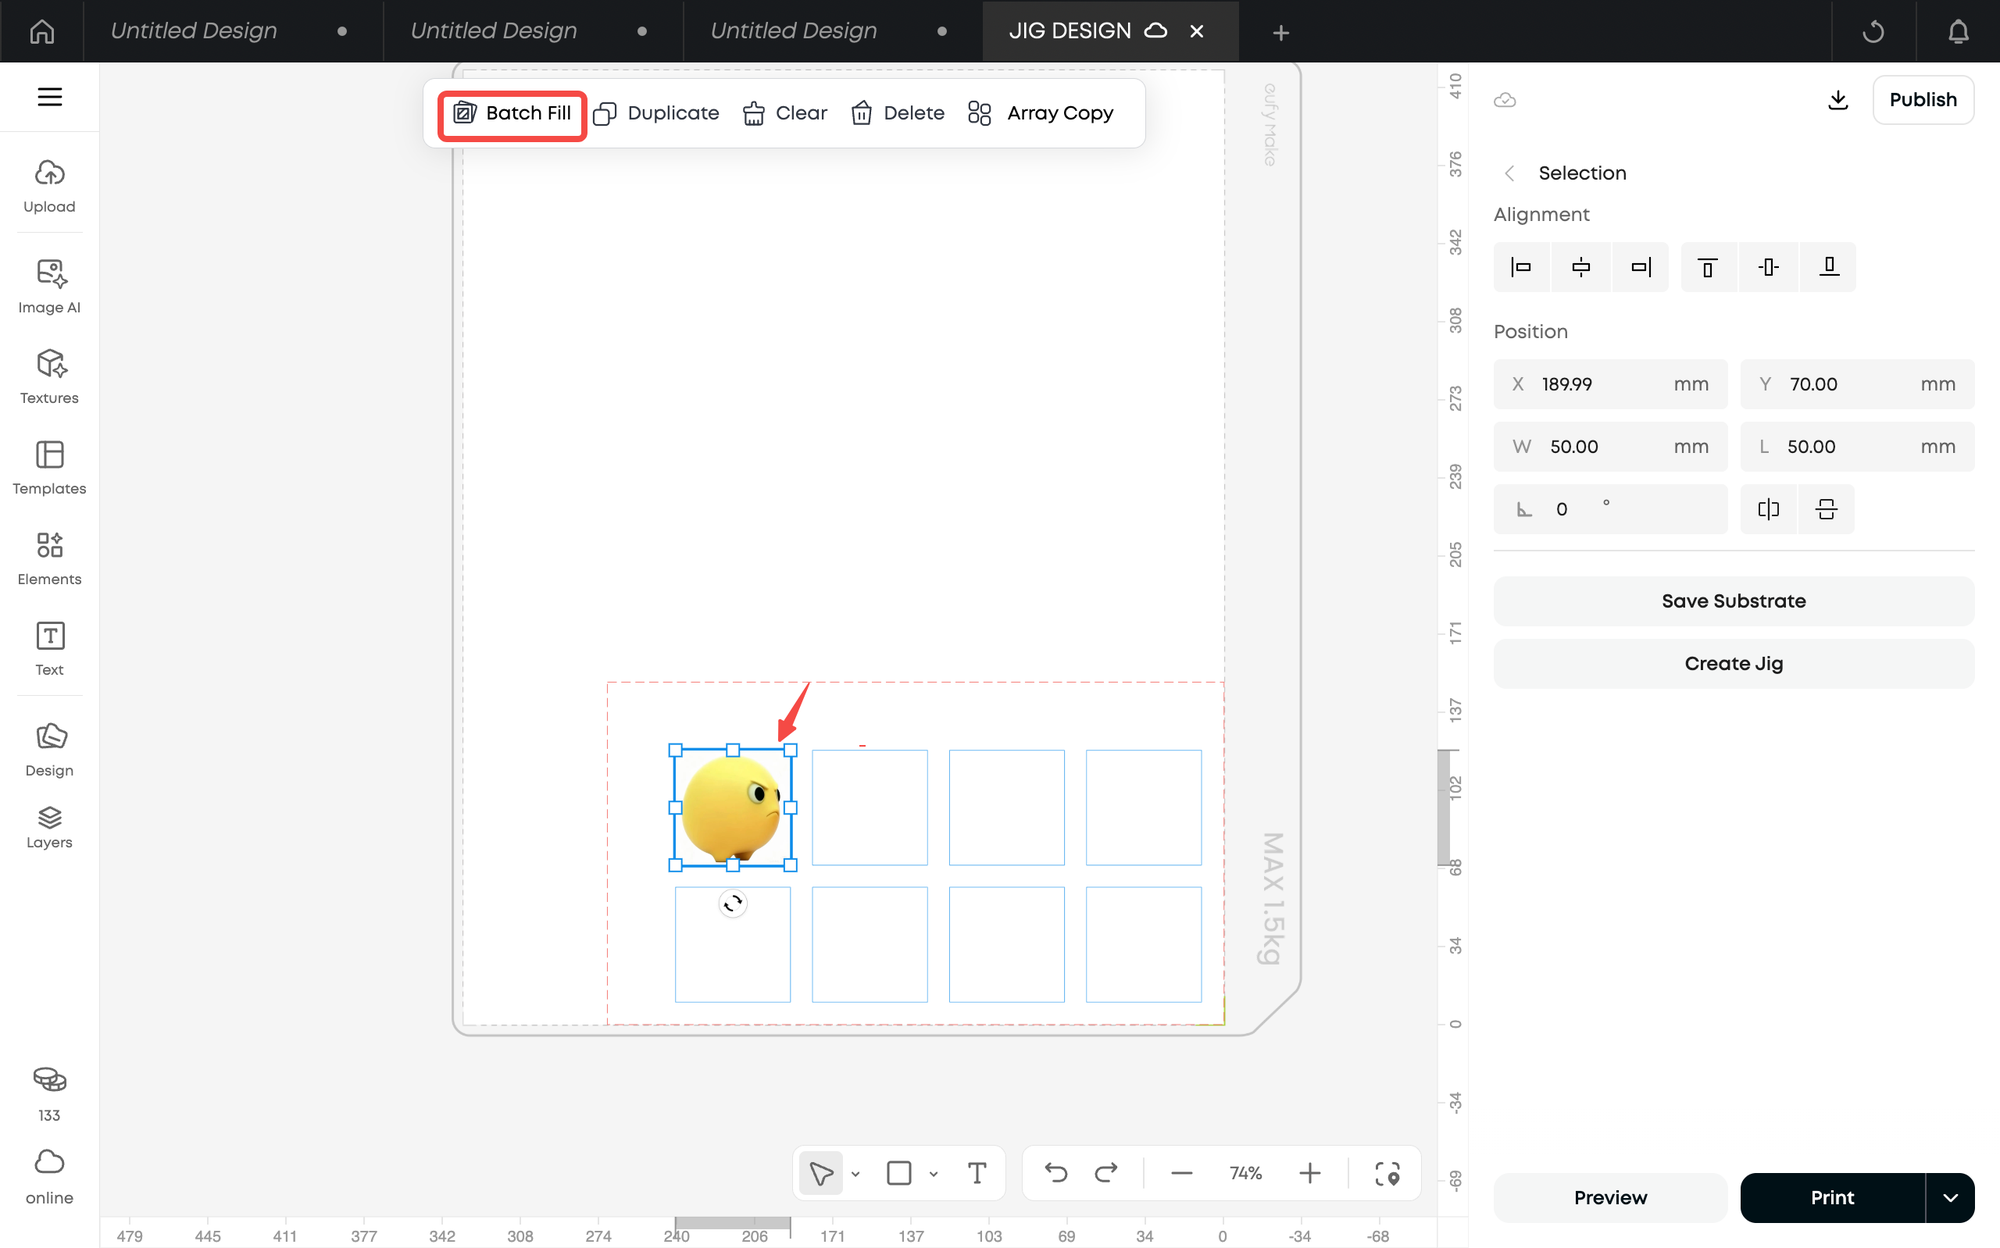
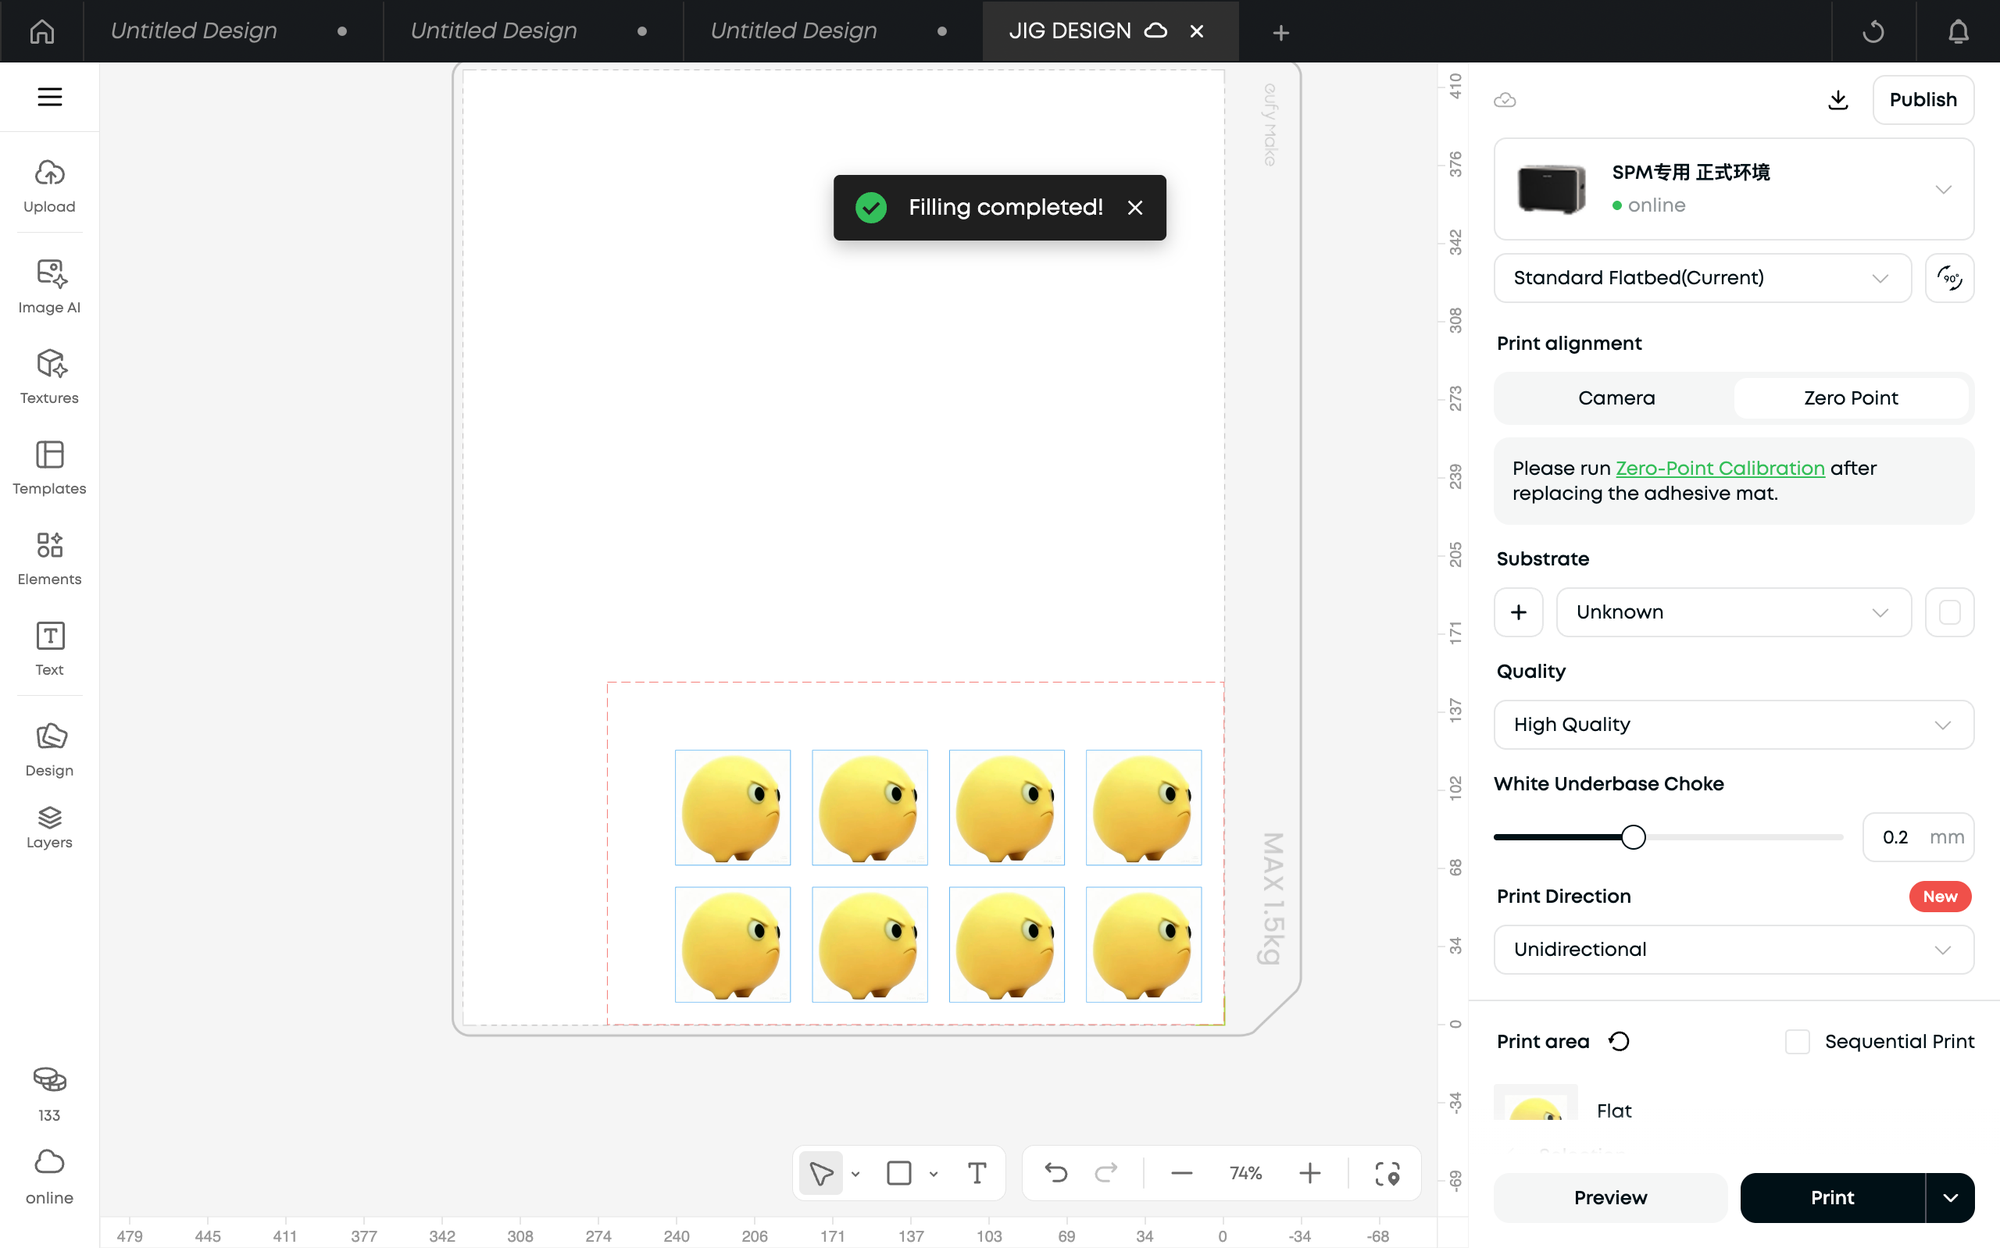
2. Batch Fill the design: For batch printing with the same design, drag an image into one contour, then click that contour and choose Batch Fill to fill the design into all contours on the jig.
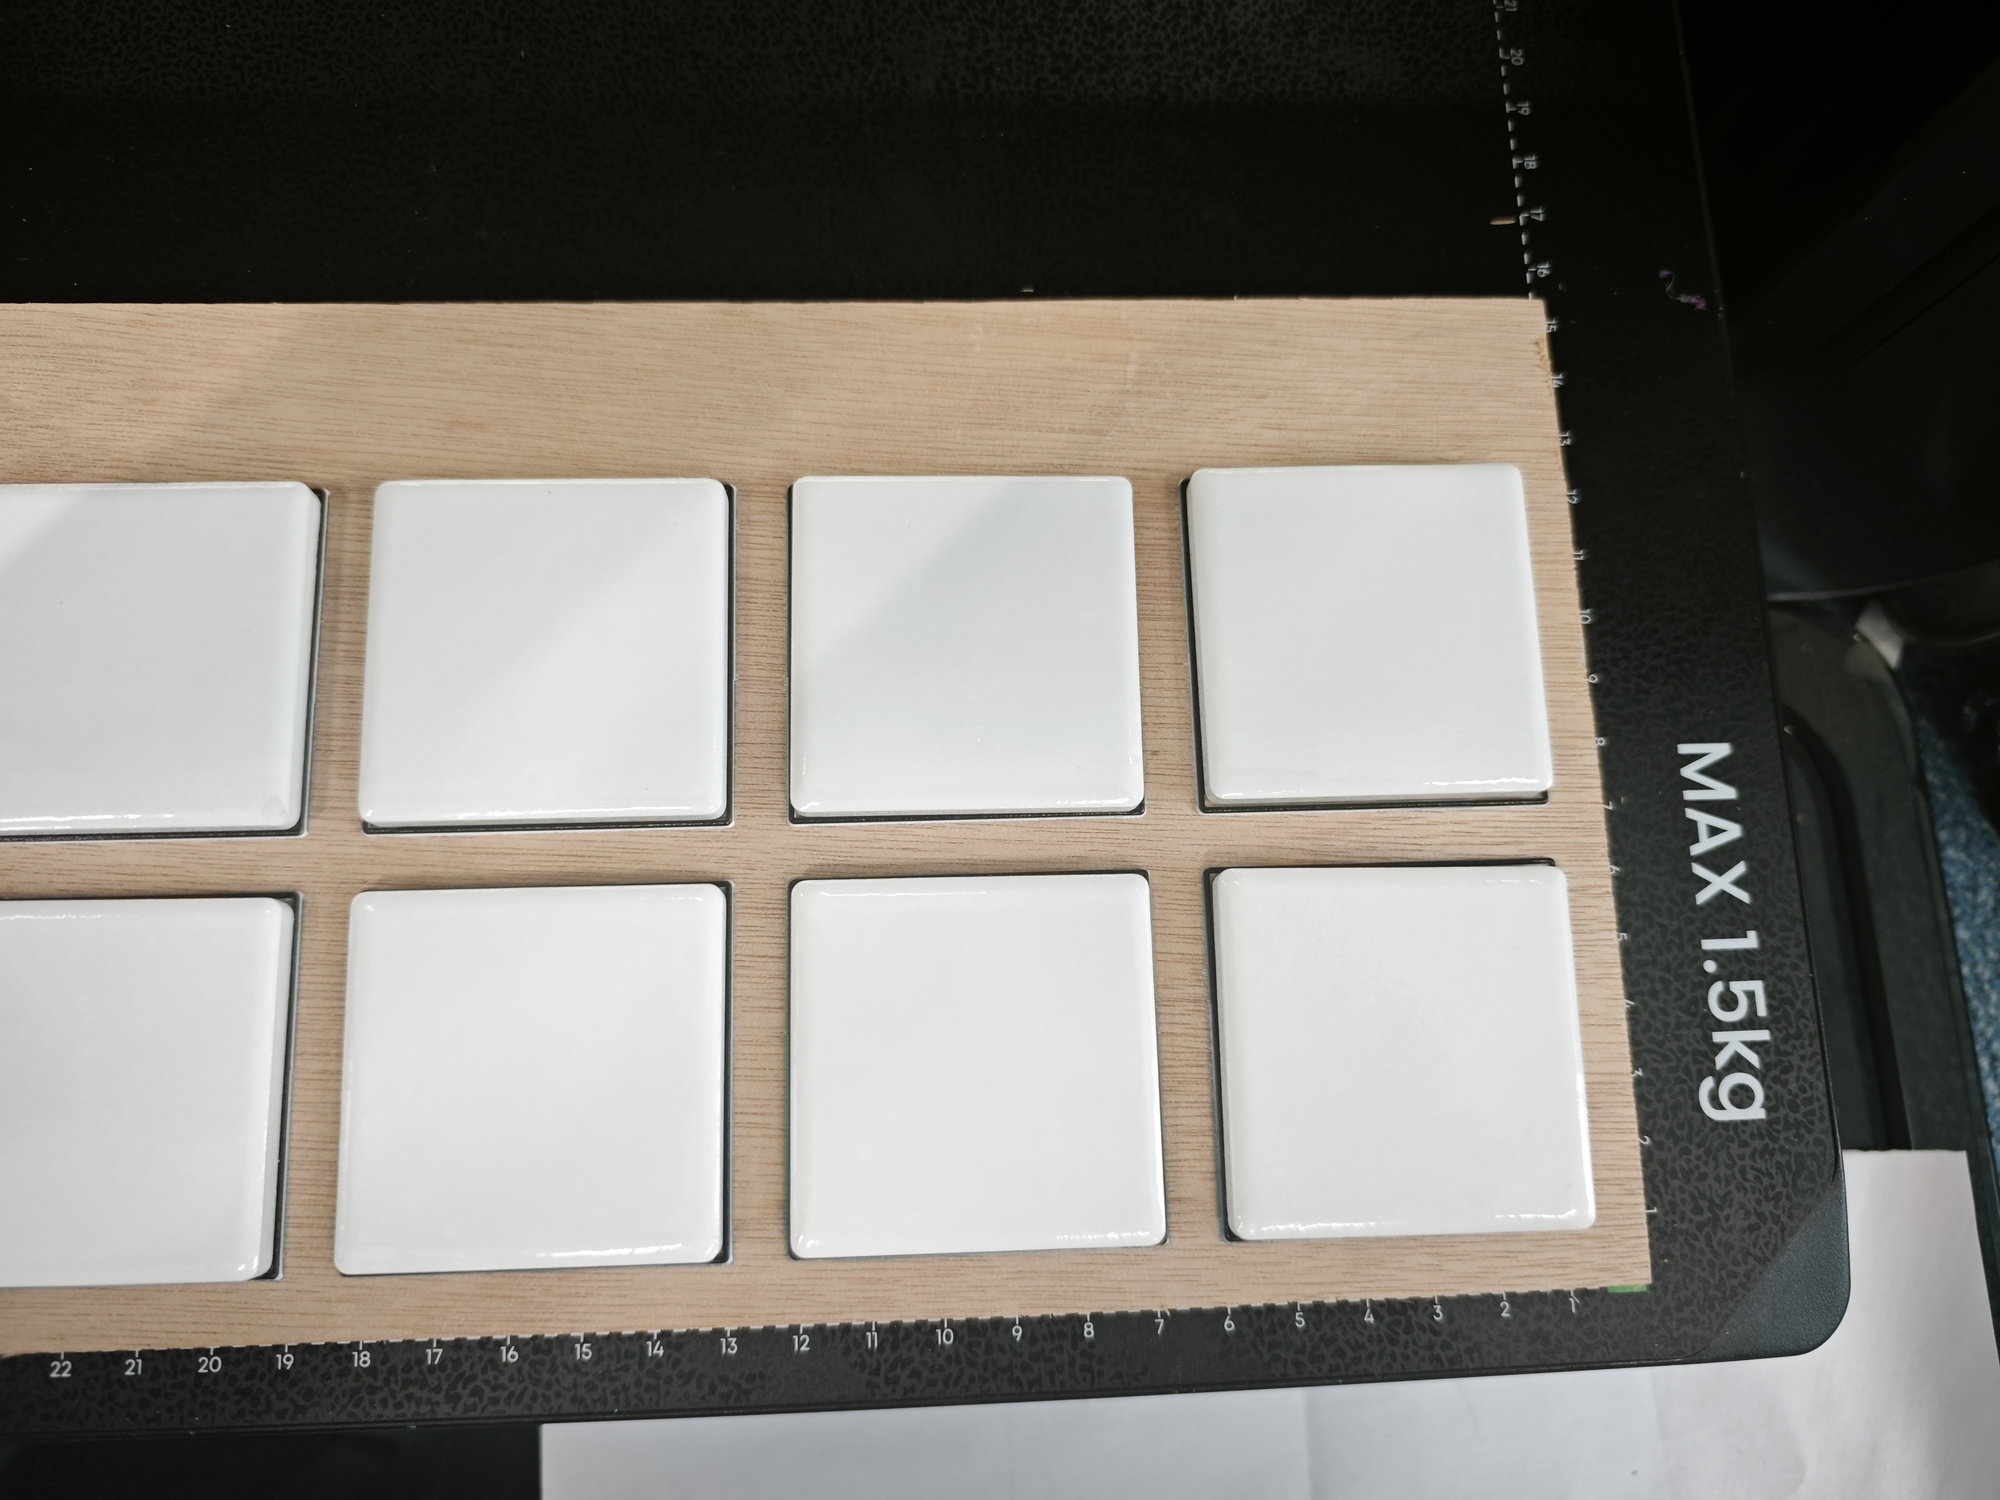
3. Place the jig and substrates: First place the substrates into the jig, then place the jig (with the substrates inside) at the alignment point you set earlier, such as the zero point at the bottom-right.
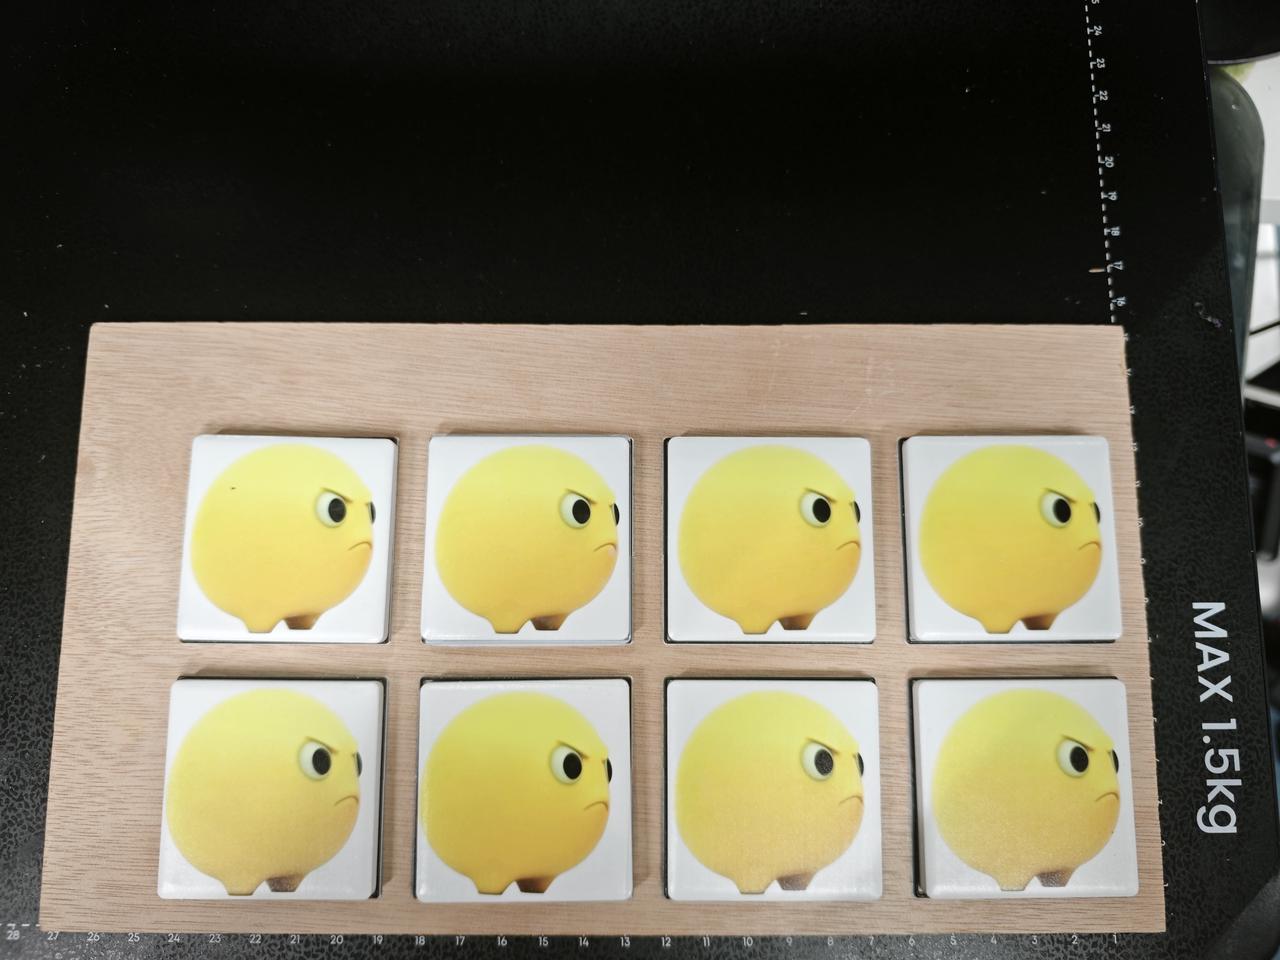
4. Send the print:
Send the print job using zero-point alignment mode.
Once printing is complete, you've successfully finished a batch of items.