¶ What's in the box?
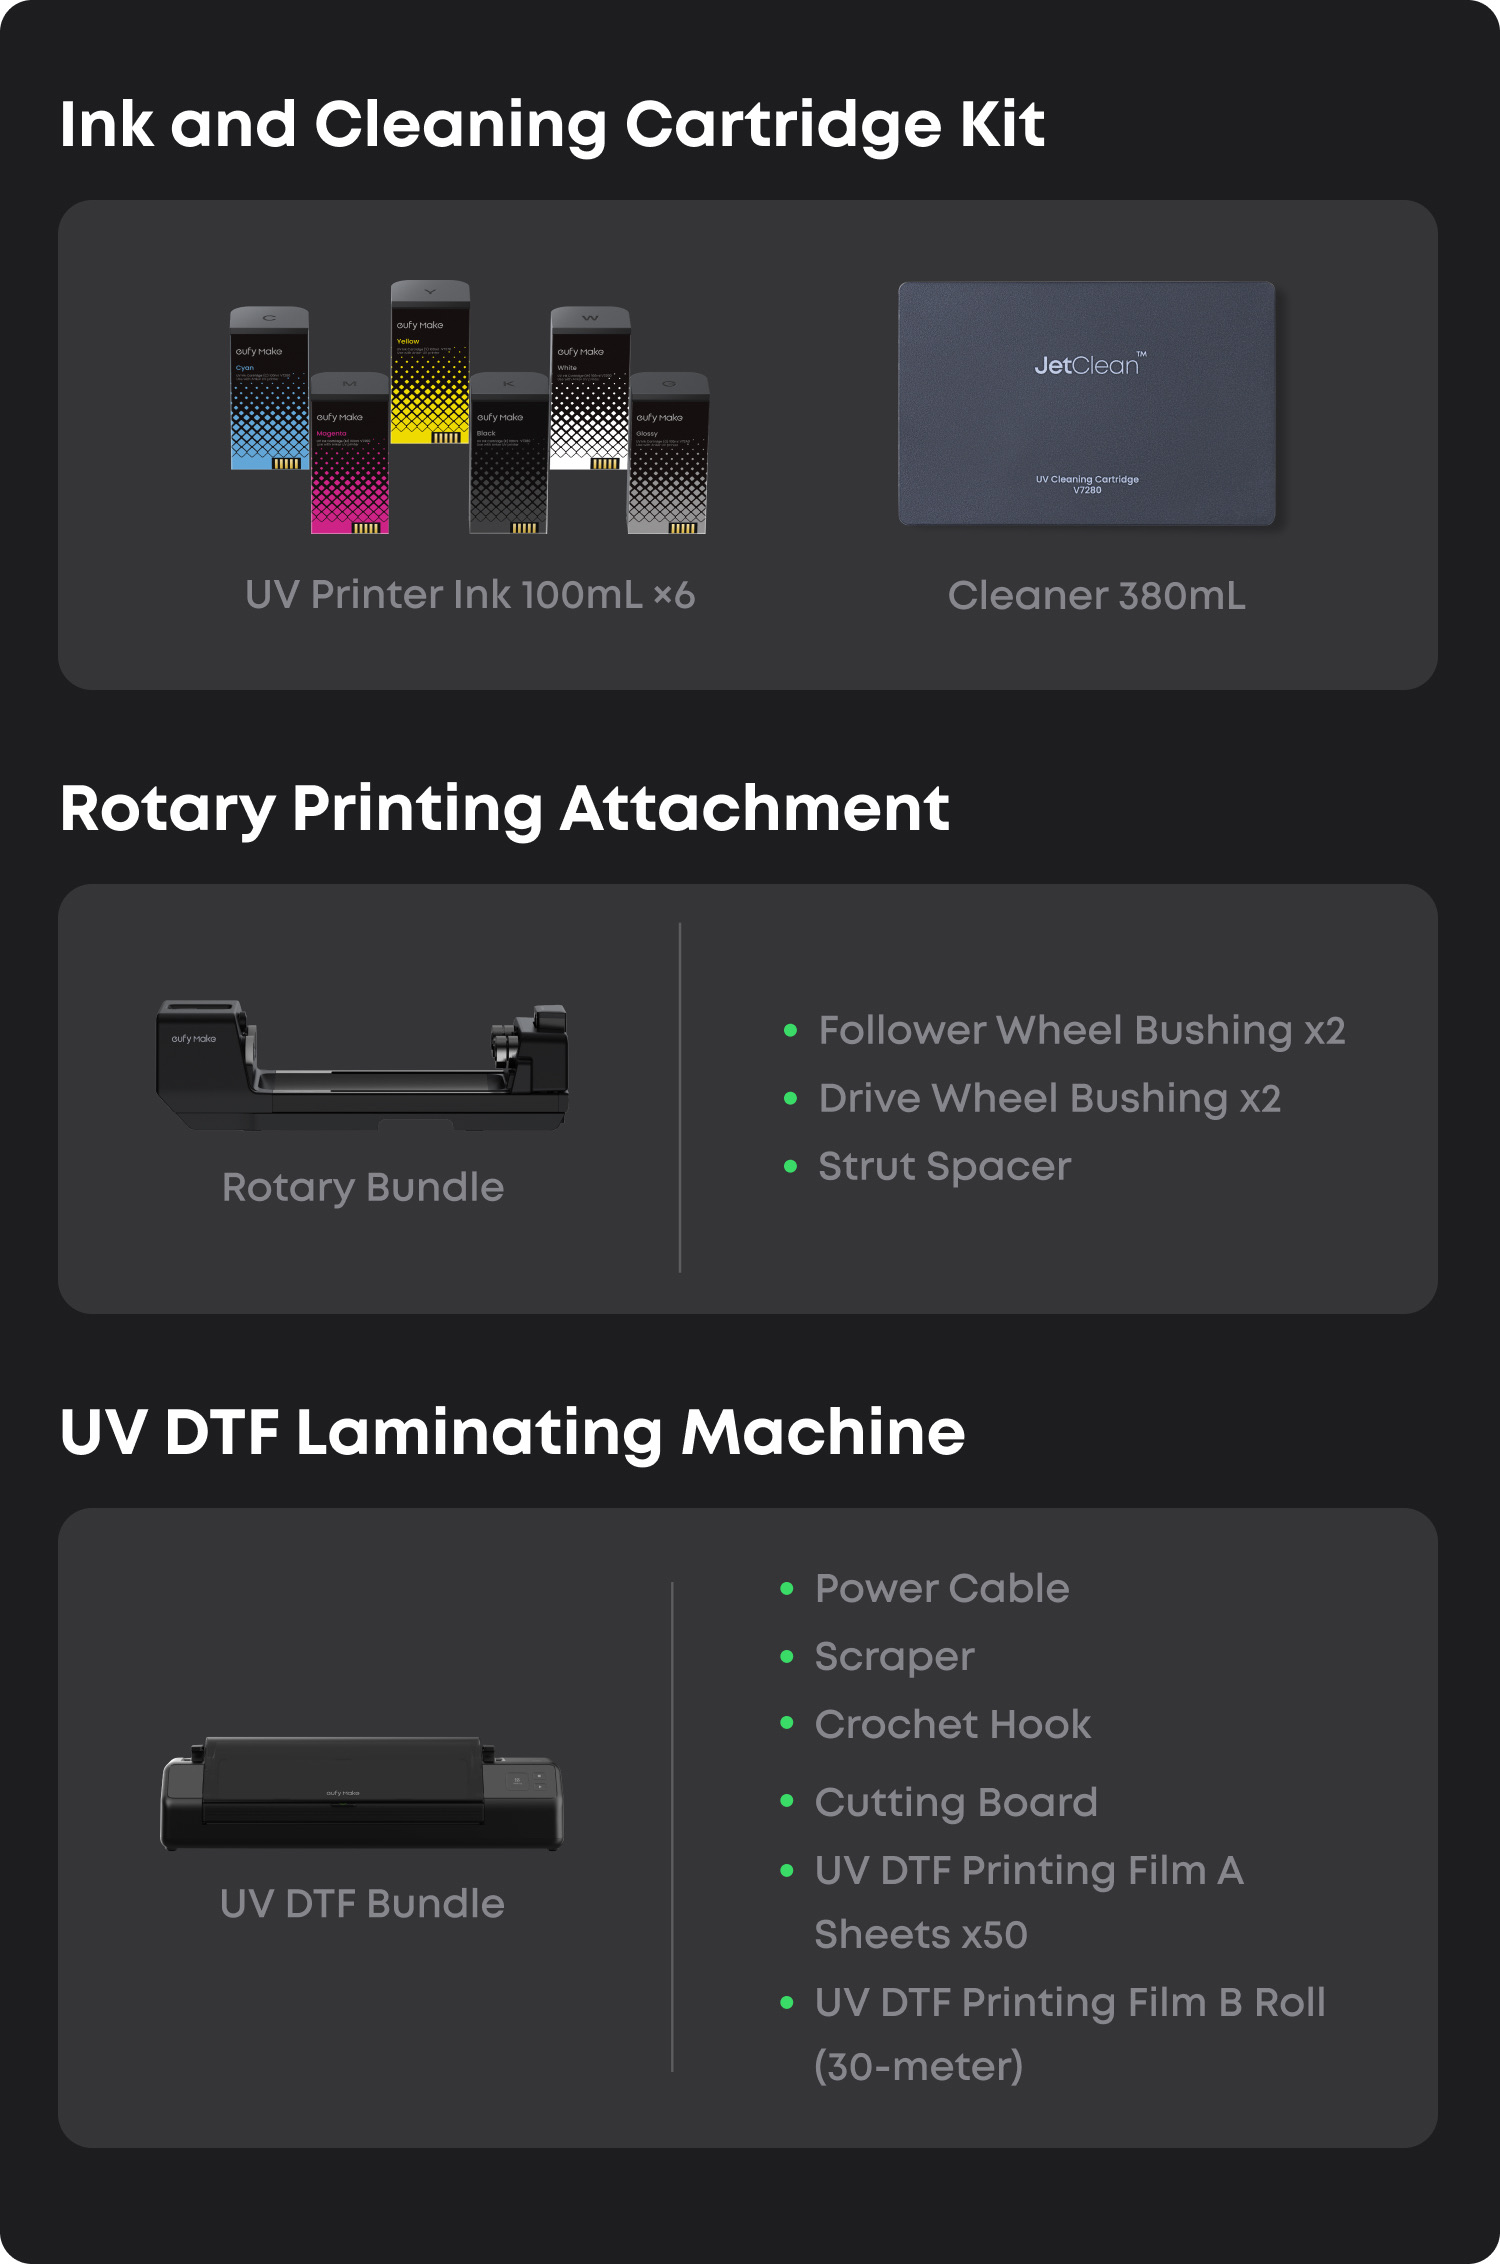
The product is delivered in two separate packages: one containing the UV printer and the other containing the ink cartridges and cleaning cartridges.
Please confirm that you have received both packages before unpacking. Begin by checking the condition of each package.
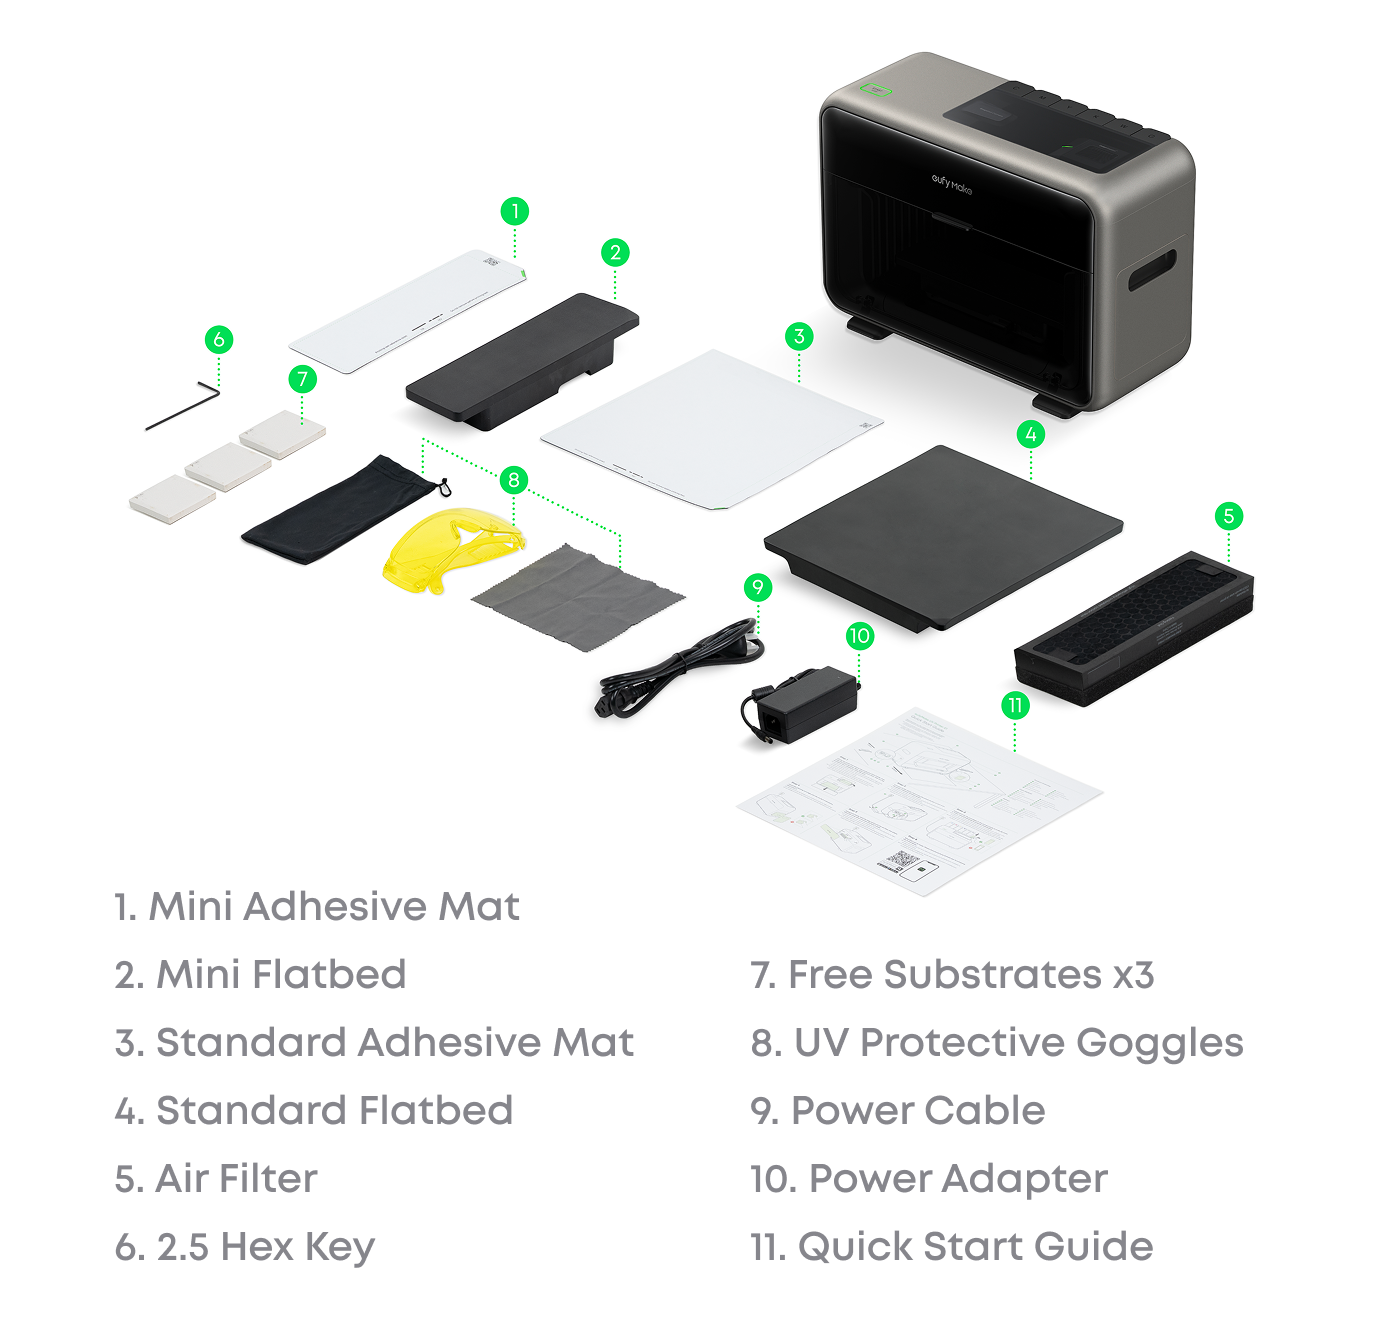
The printer includes a set of accessories for printing and routine maintenance. Accessory types and quantities may vary depending on product updates, so please refer to the actual contents of your package.
To help you understand the accessories and their purposes, and to make the unpacking inspection clearer, refer to the following descriptions and images.
View Tutorial >>
| Serial Number | Name | Quantity | Physical illustration | Usage |
|---|---|---|---|---|
| 1 | Standard flatbed | 1 |
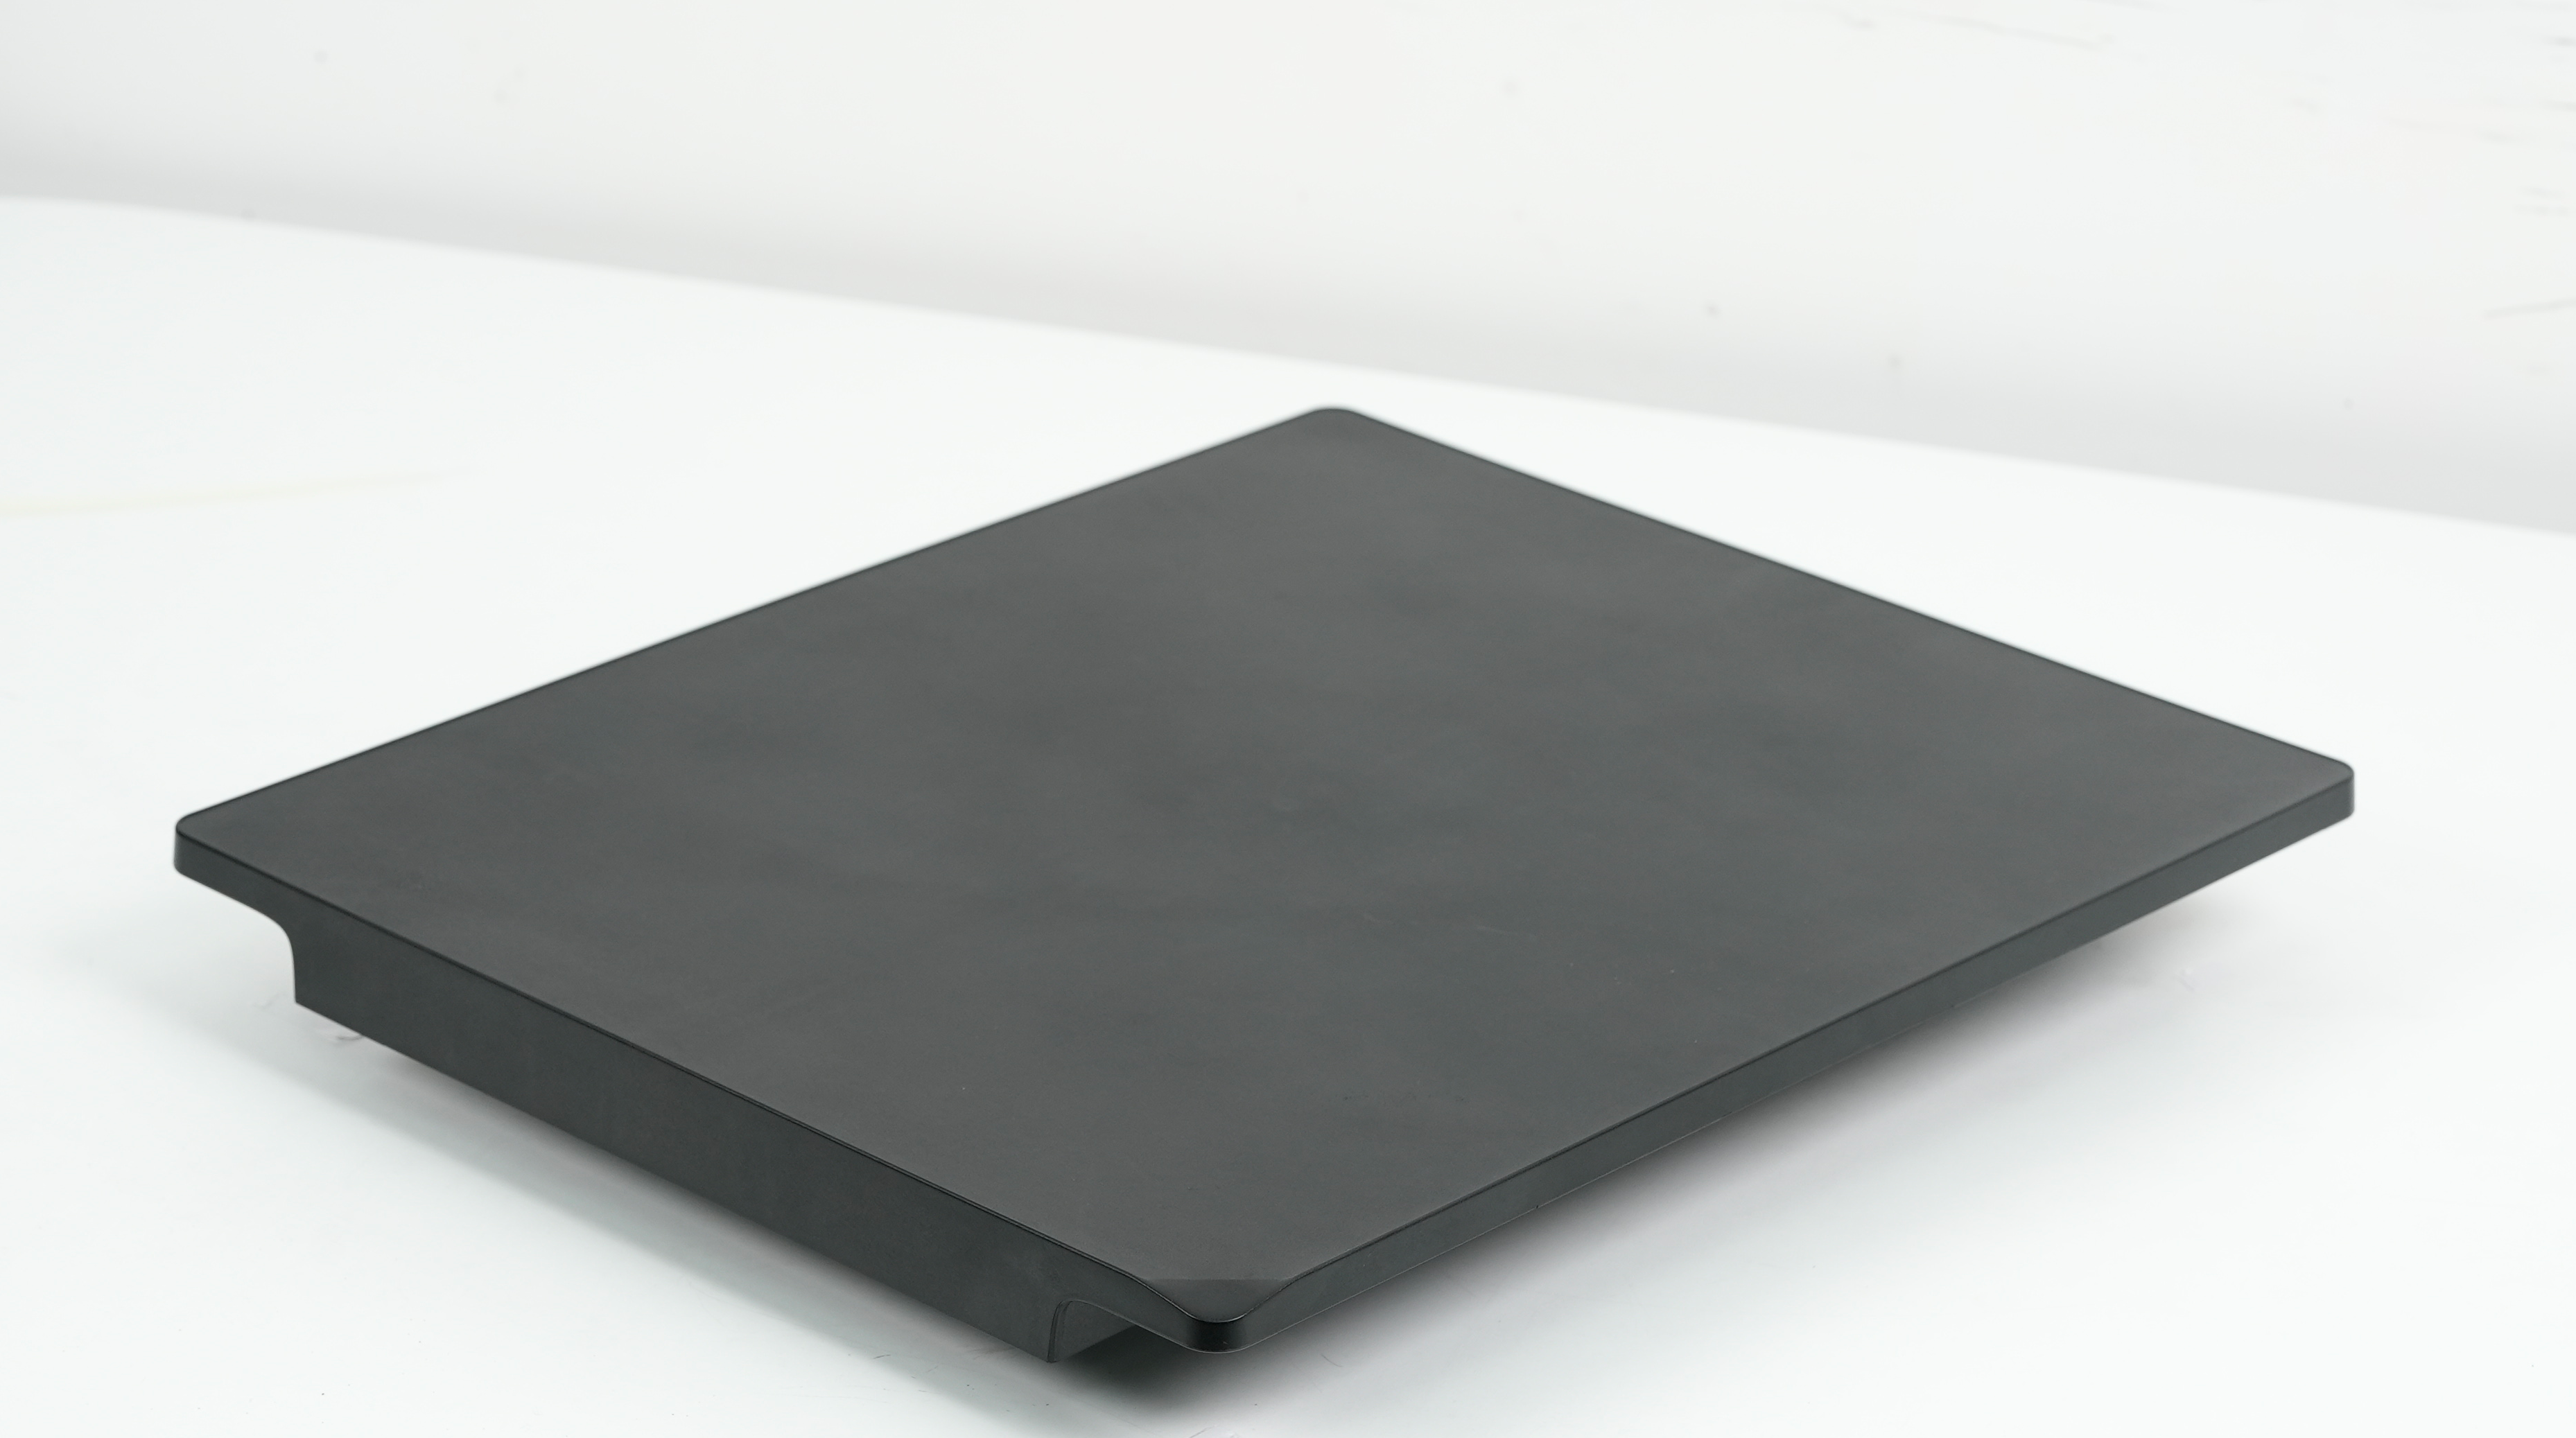 |
Used with the main unit for printing large substrates in flatbed mode. |
| 2 | Mini flatbed | 1 |
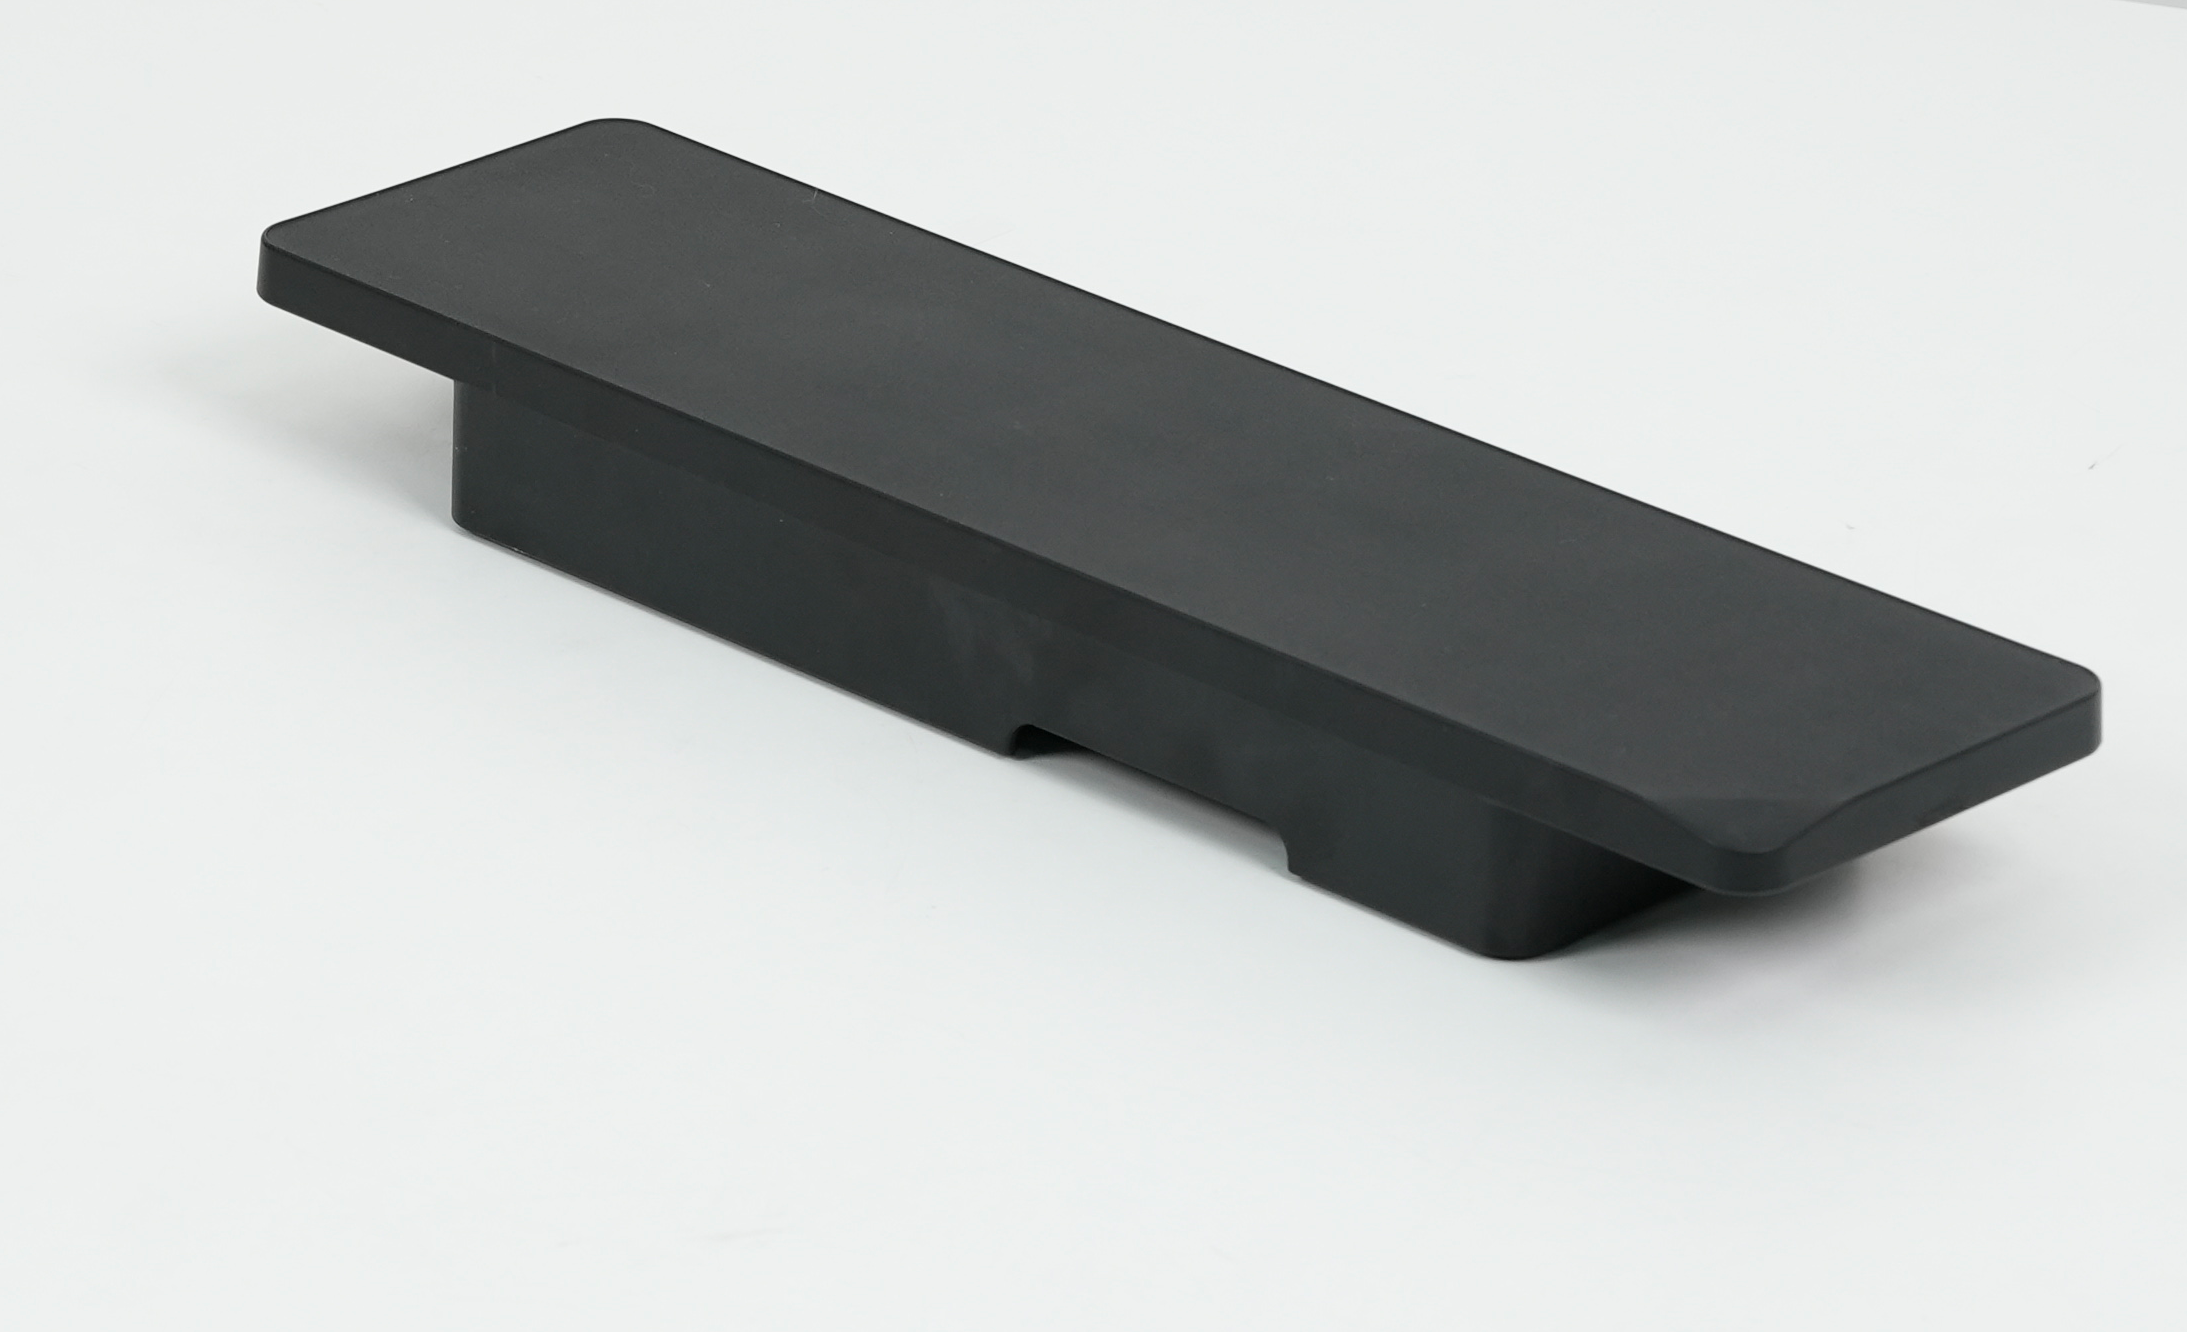 |
Used with the main unit for printing small substrates in flatbed mode. |
| 3 | Mini Adhesive Mat | 1 |
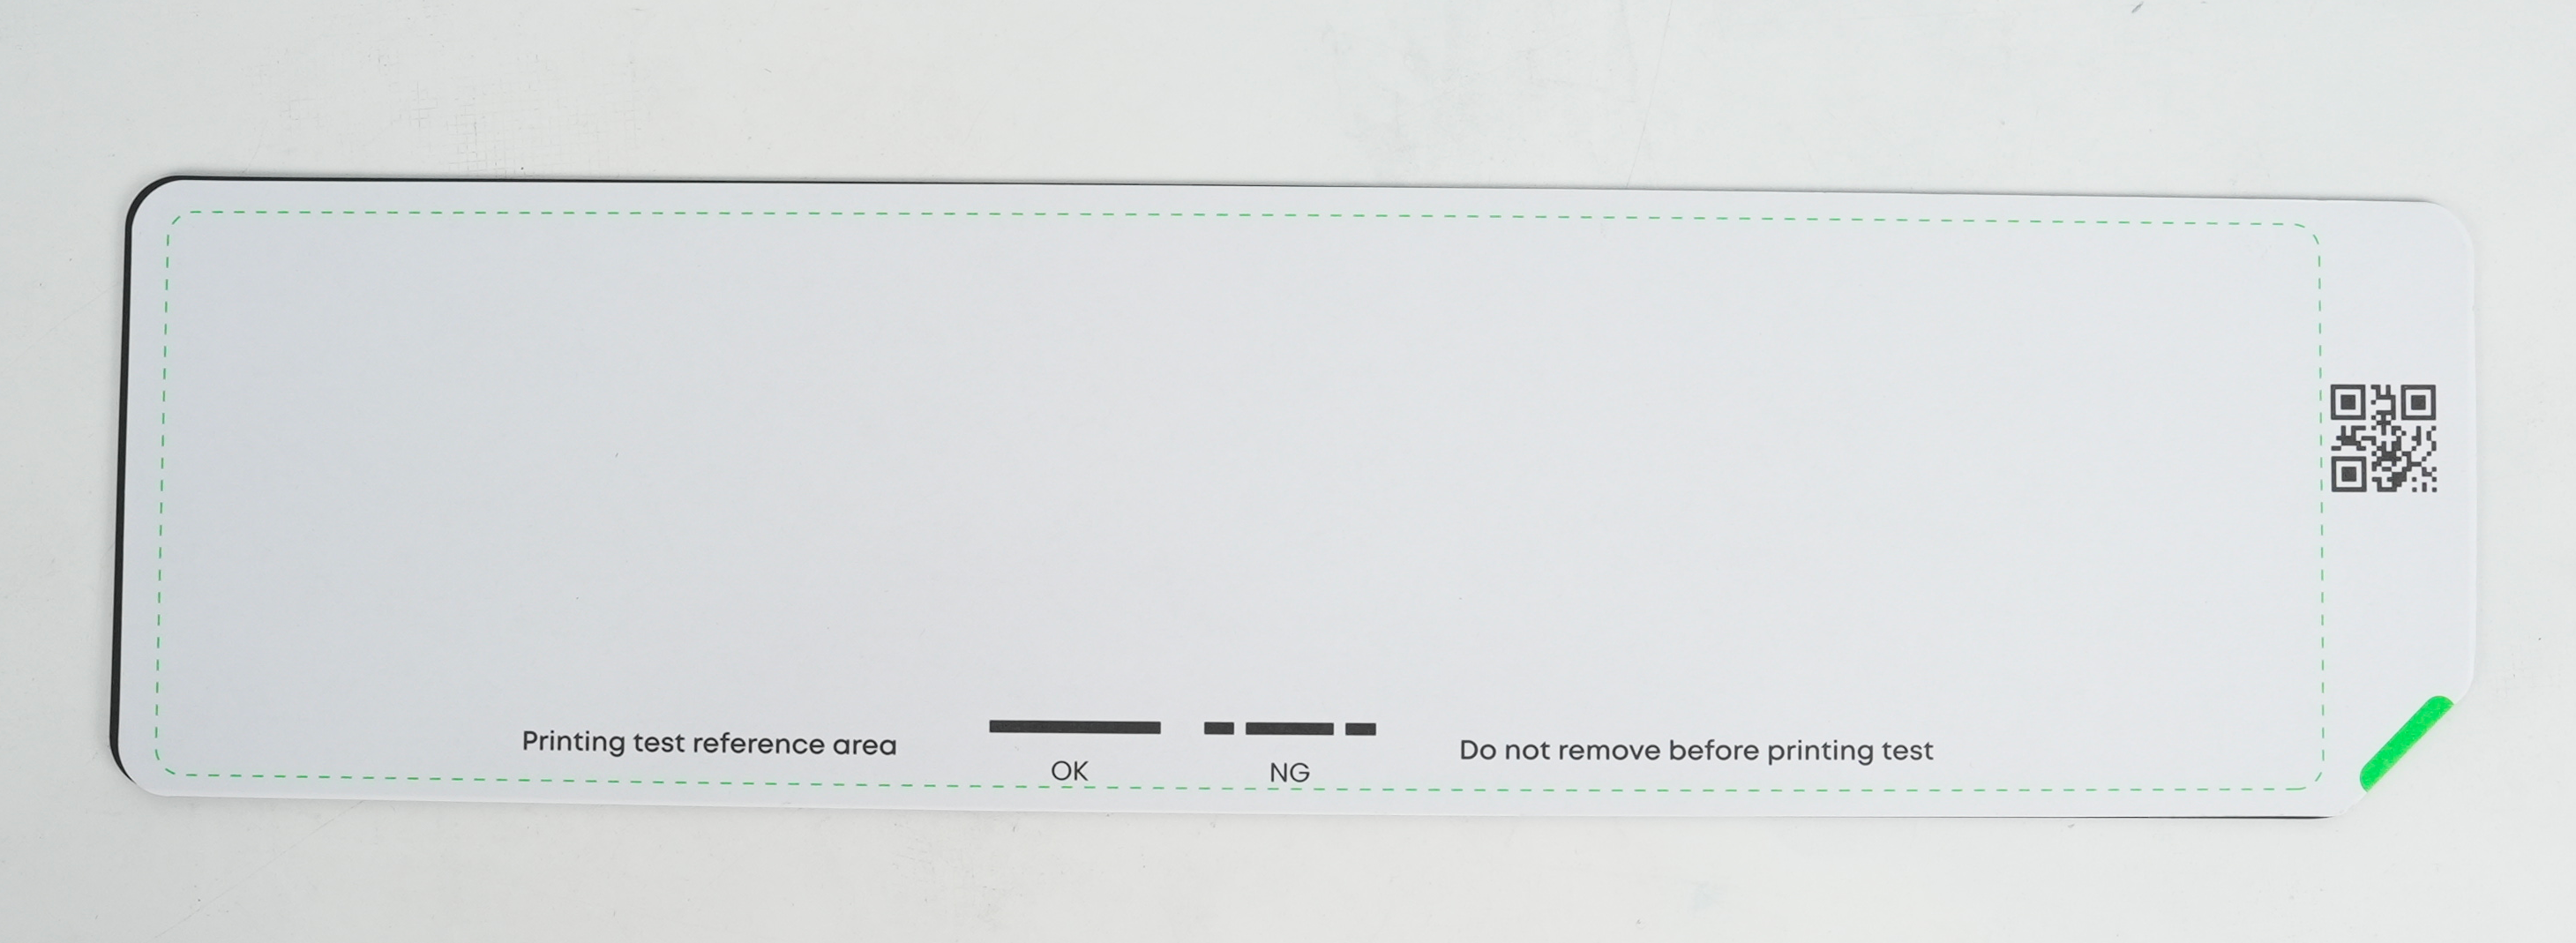 |
Applied to the mini flatbed for position calibration and fixing printed objects. |
| 4 | Standard Adhesive Mat | 1 |
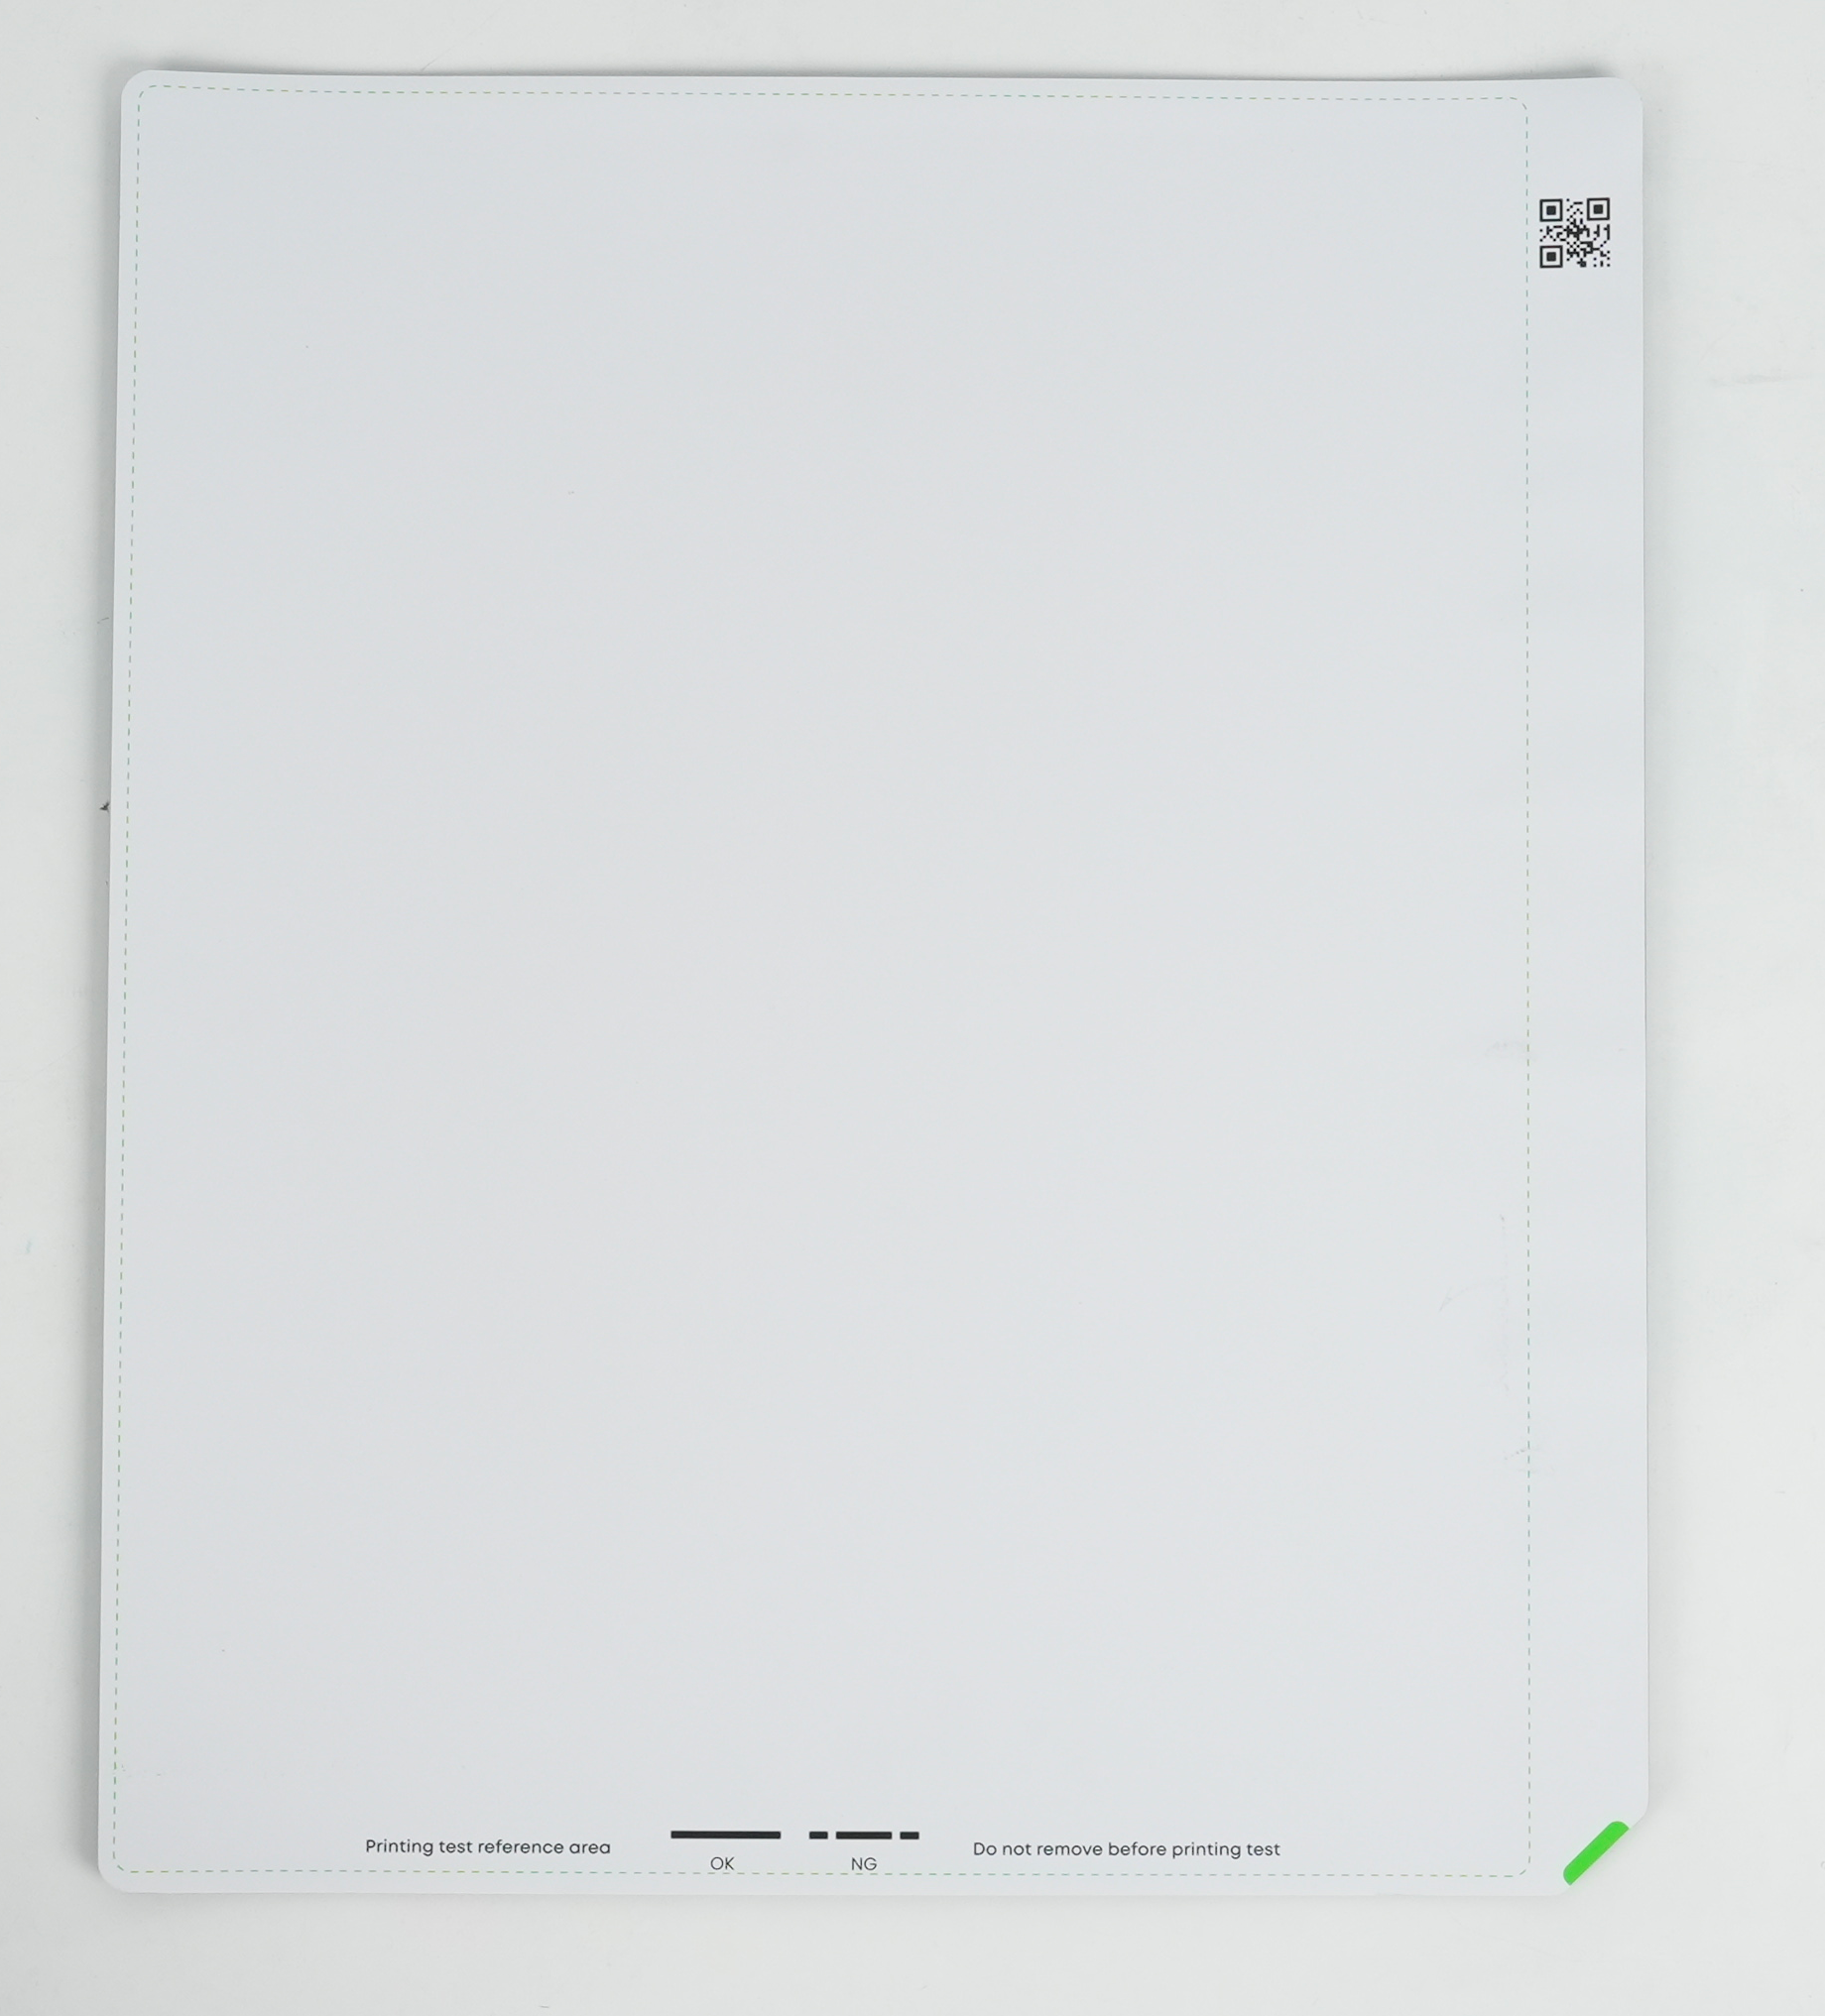 |
Applied to the standard flatbed for position calibration and fixing printed objects. |
| 5 | Air Filter Cartridge | 1 |
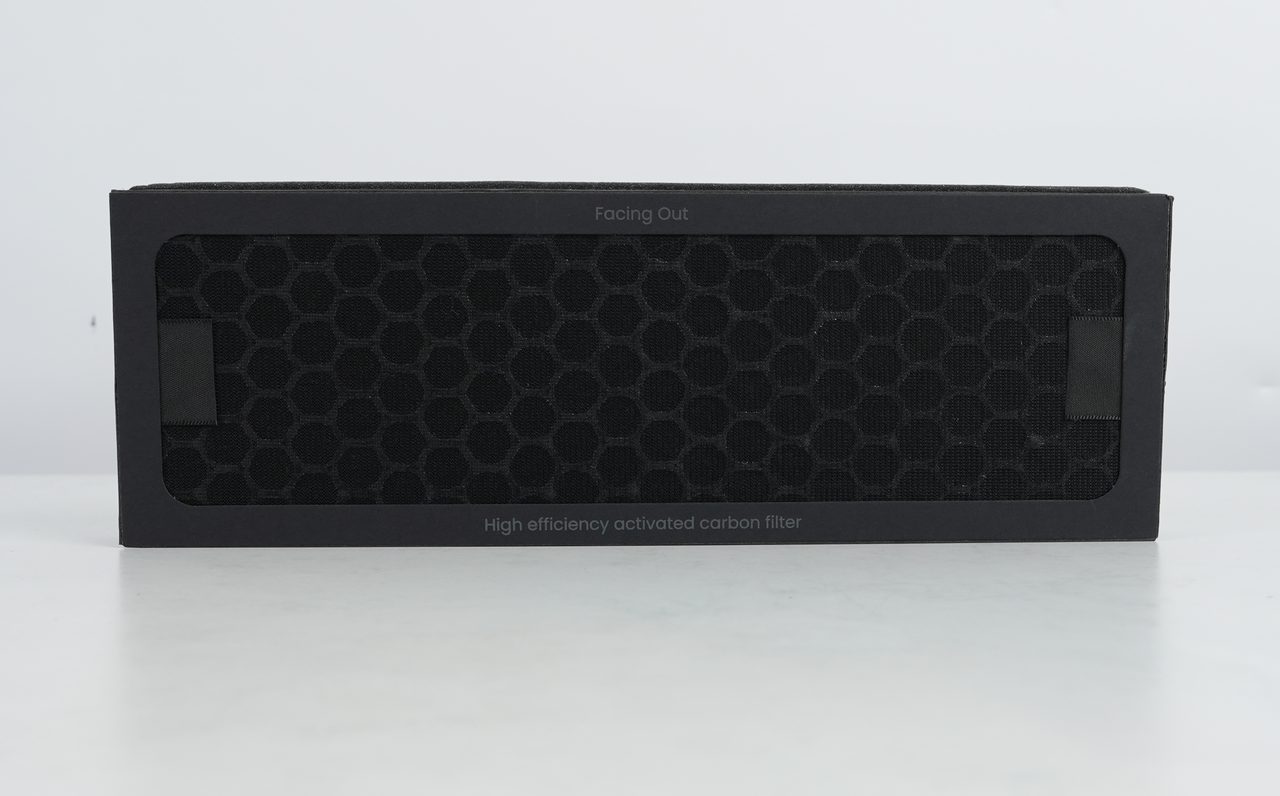 |
Filters and absorbs odors and harmful gases. |
| 6 | Power adapter and power cord | 1 |
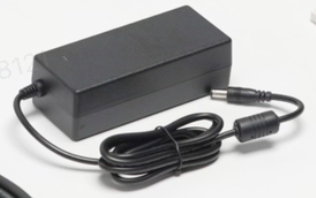 |
UV Printer Power Adapter and Power Cord |
| 7 | Blue light-blocking glasses | 1 |
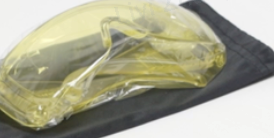 |
Blocks UV light and protects the eyes |
| 8 | Free substrate | 3 |
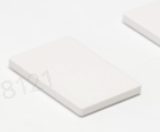 |
Printing substrate |
| 9 | QSG Instructions | 1 |
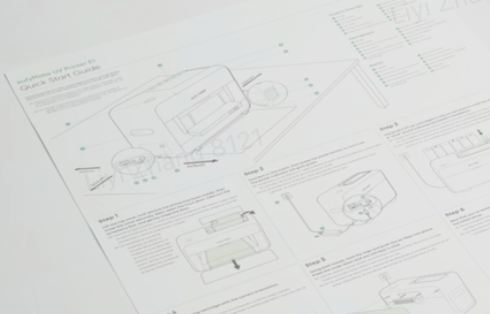 |
Product QSG instruction manual, included in the standard platform box. |
| 10 | What's in the box Instructions | 1 |
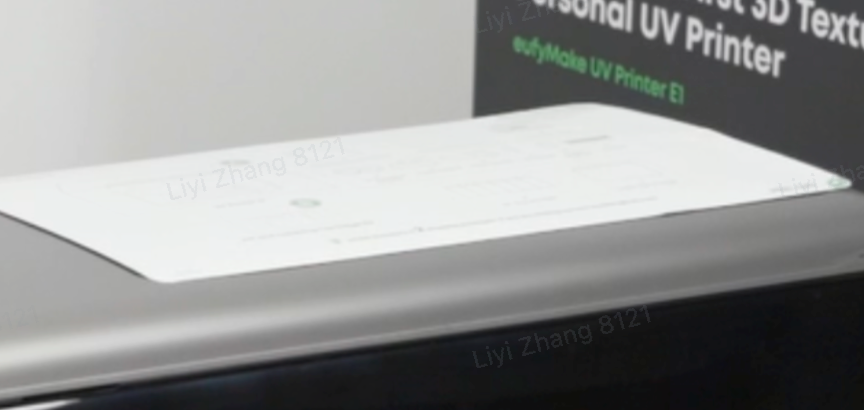 |
Instruction sheet attached to the top cover of the device. |
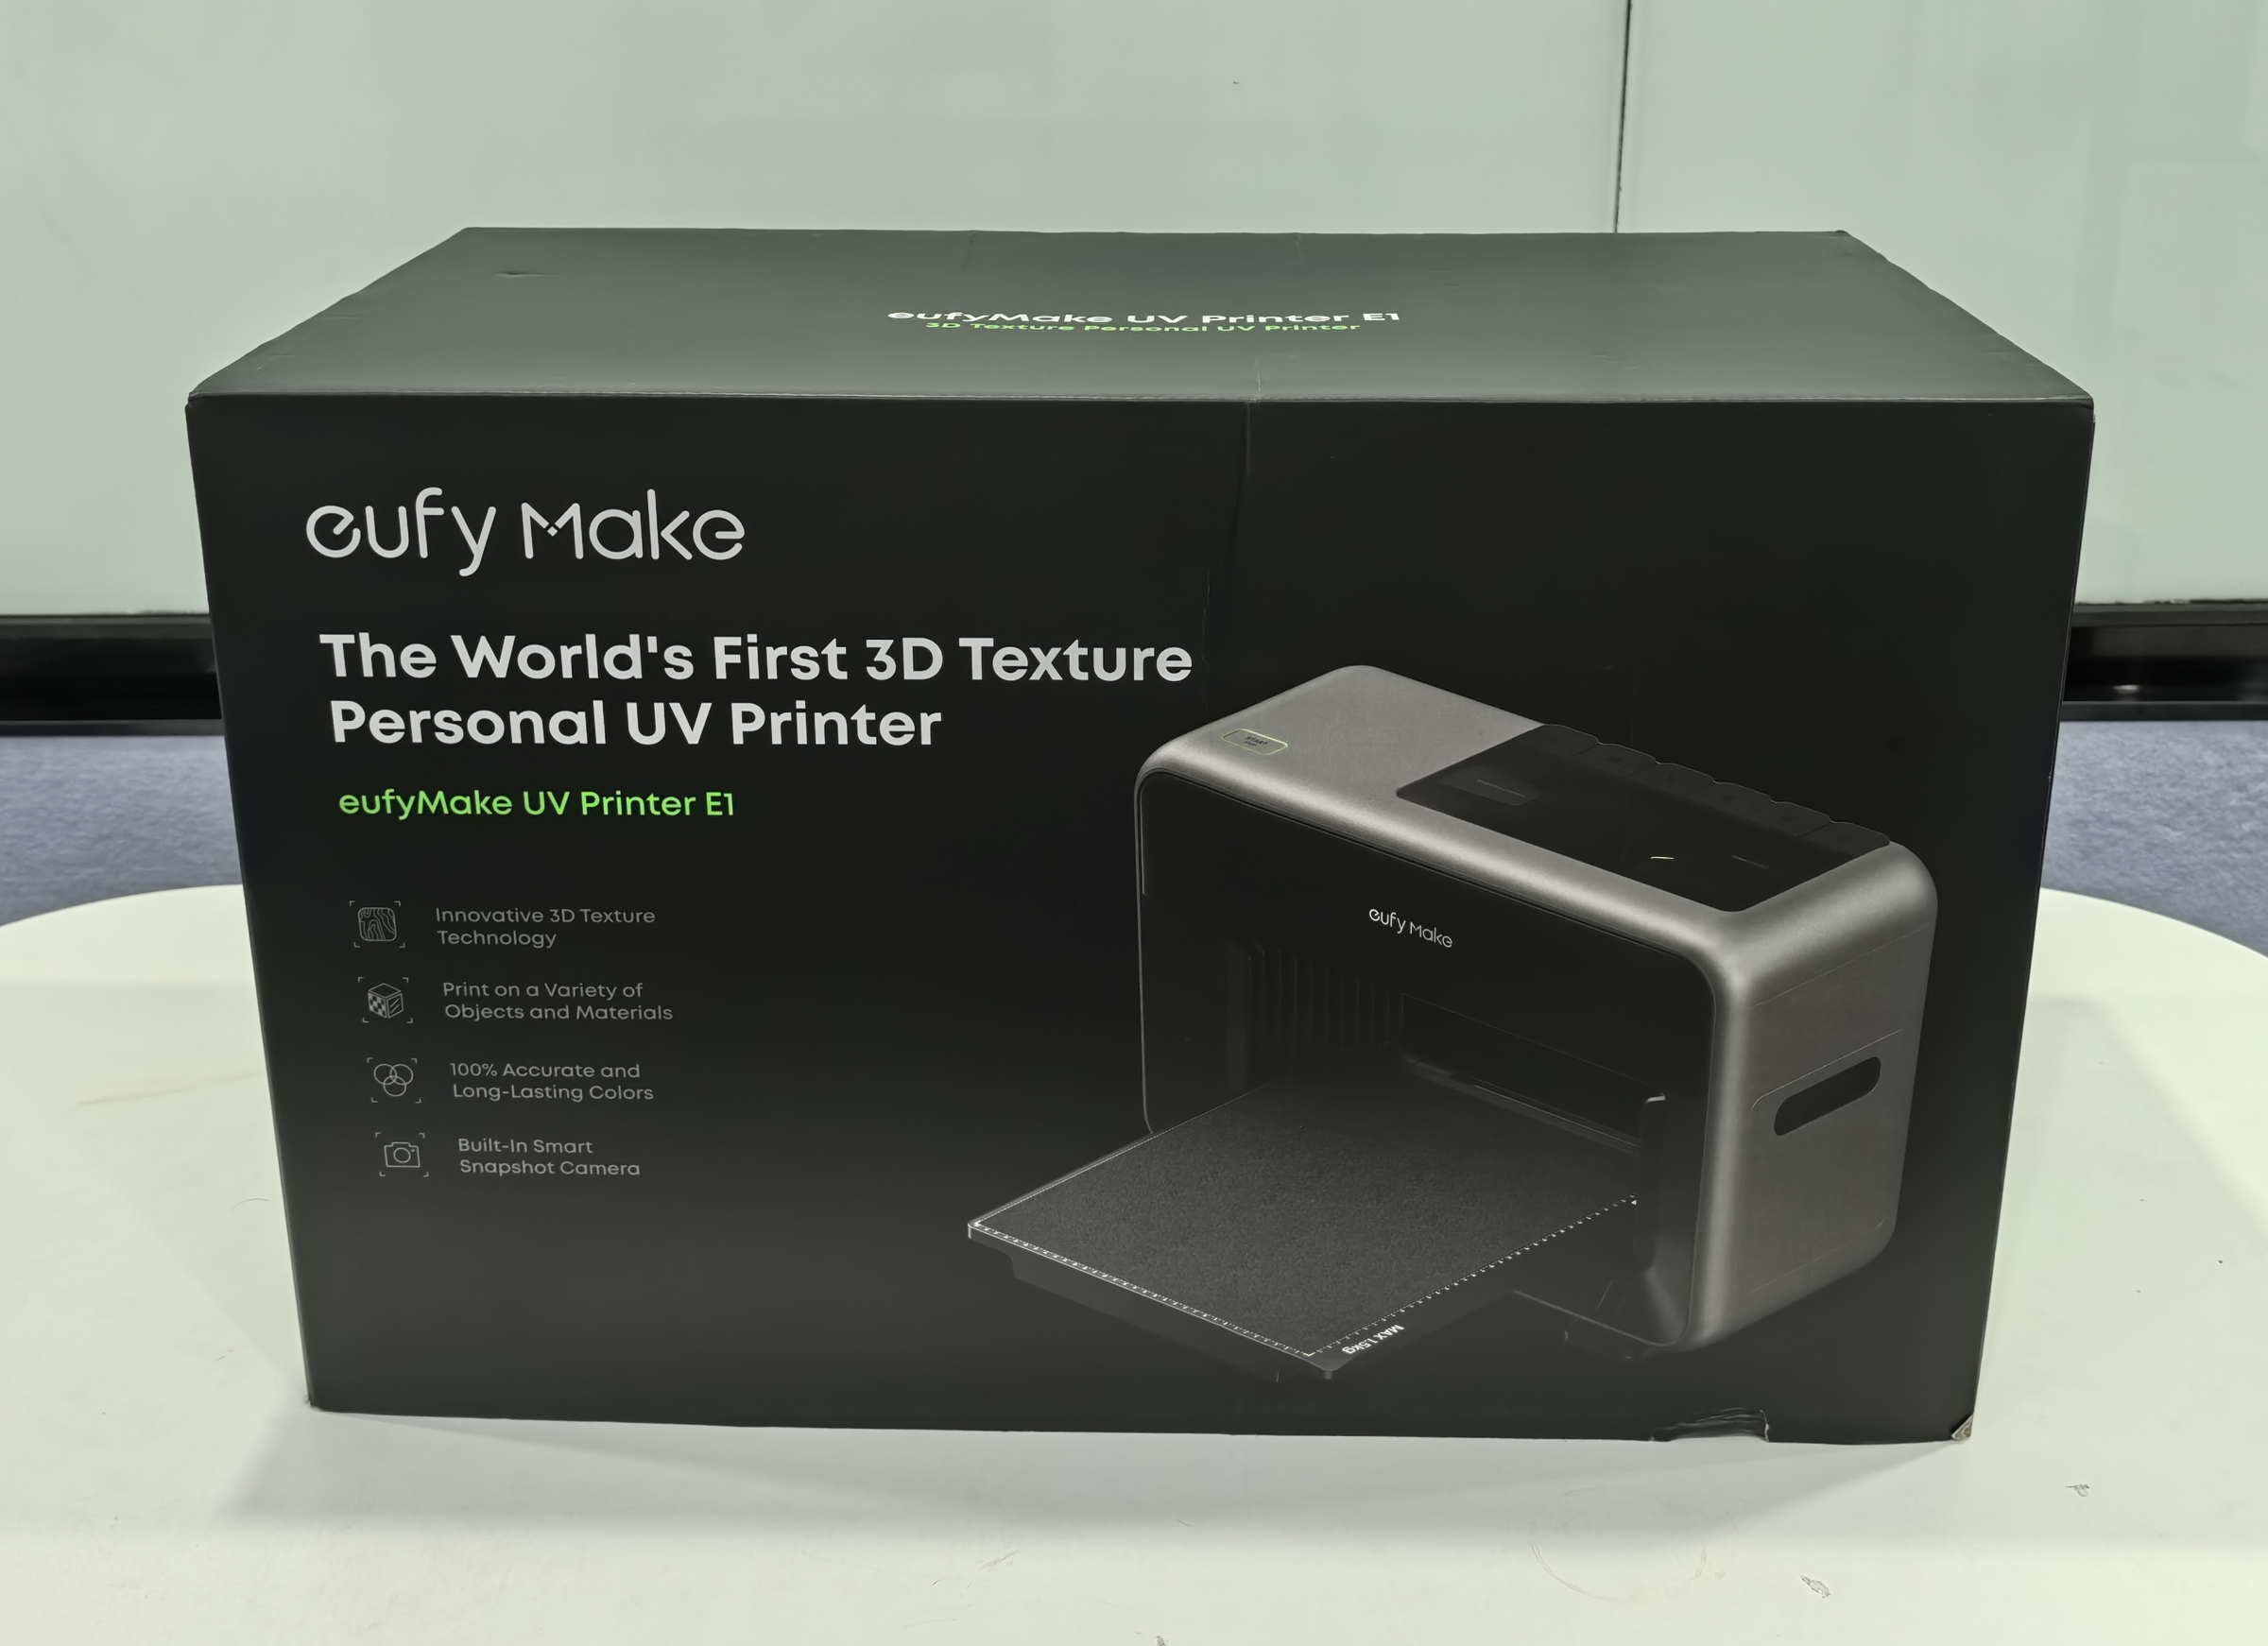
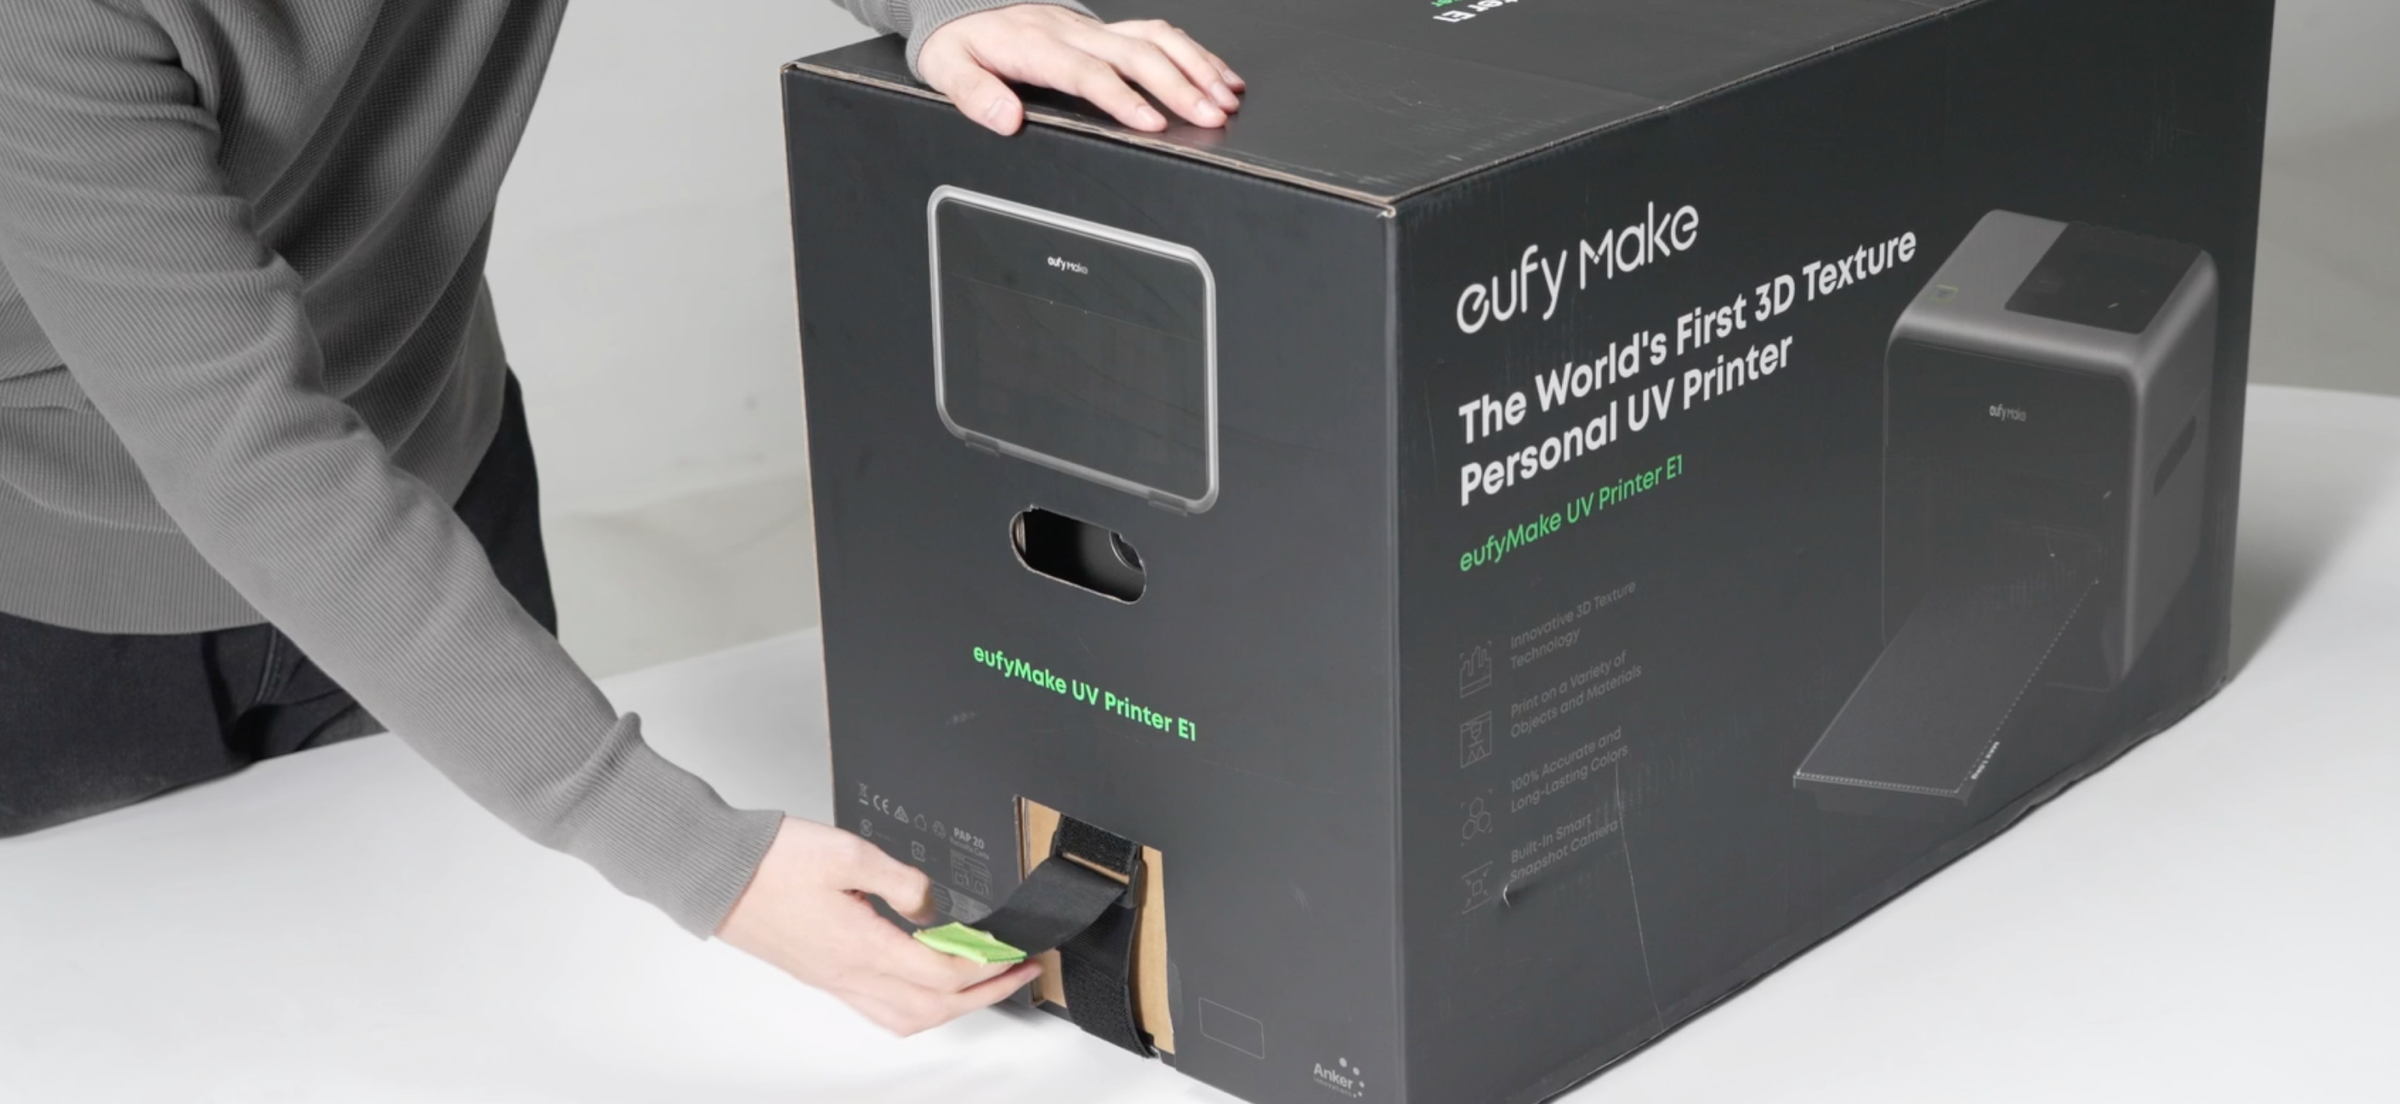
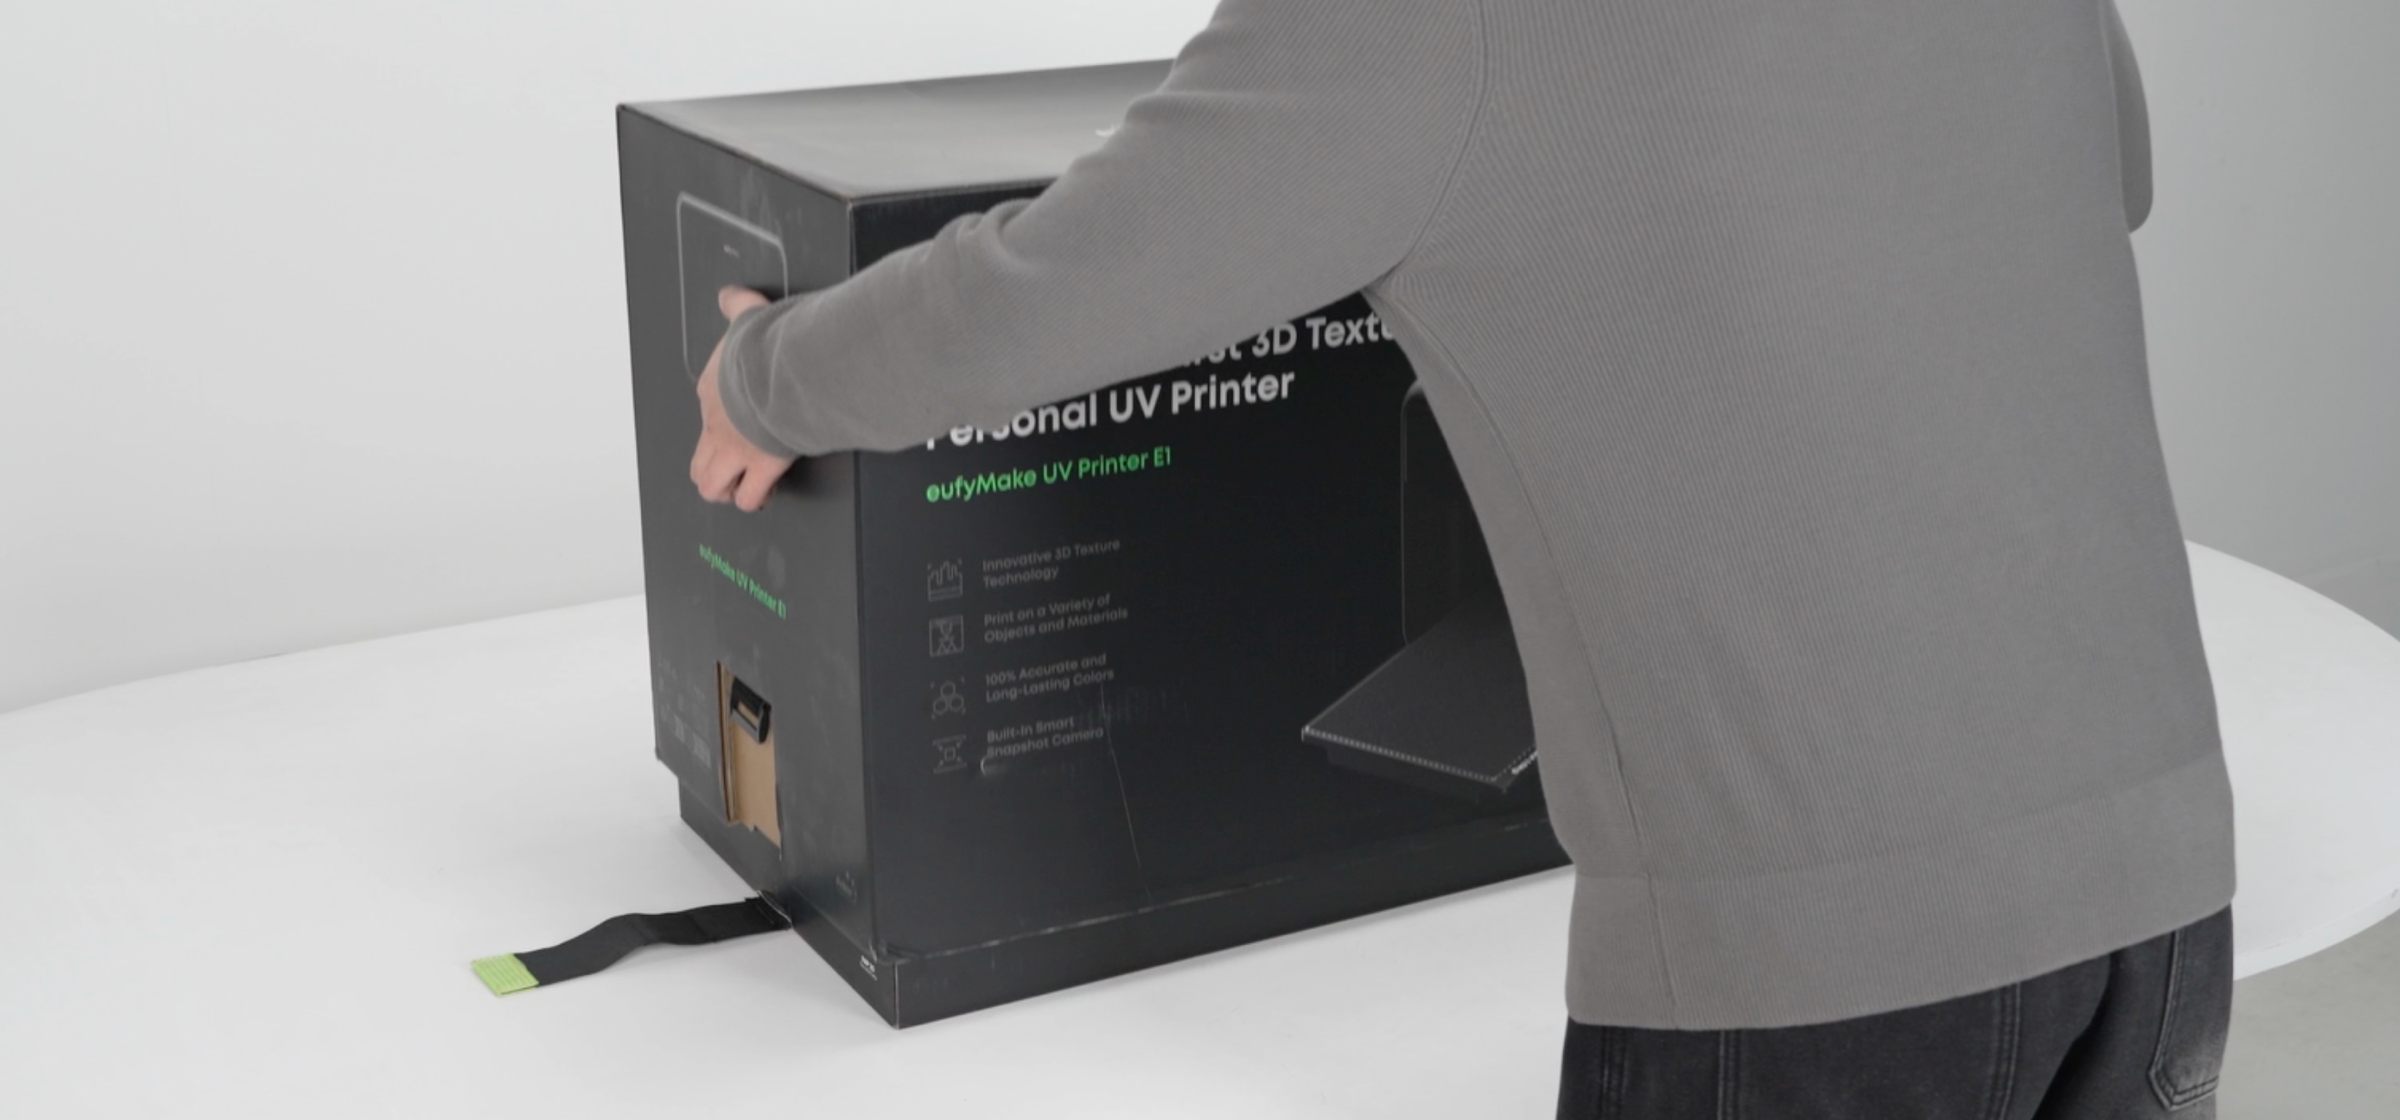
¶ Step 1 - Tear open the Velcro at the bottom of both ends of the box and pull upward to remove the box
After placing the box, locate the Velcro strips on both sides at the bottom. Tear them outward, pull them out, and then pull the box upward.
¶ Step 2 - Lift out the machine and the standard flatbed crate
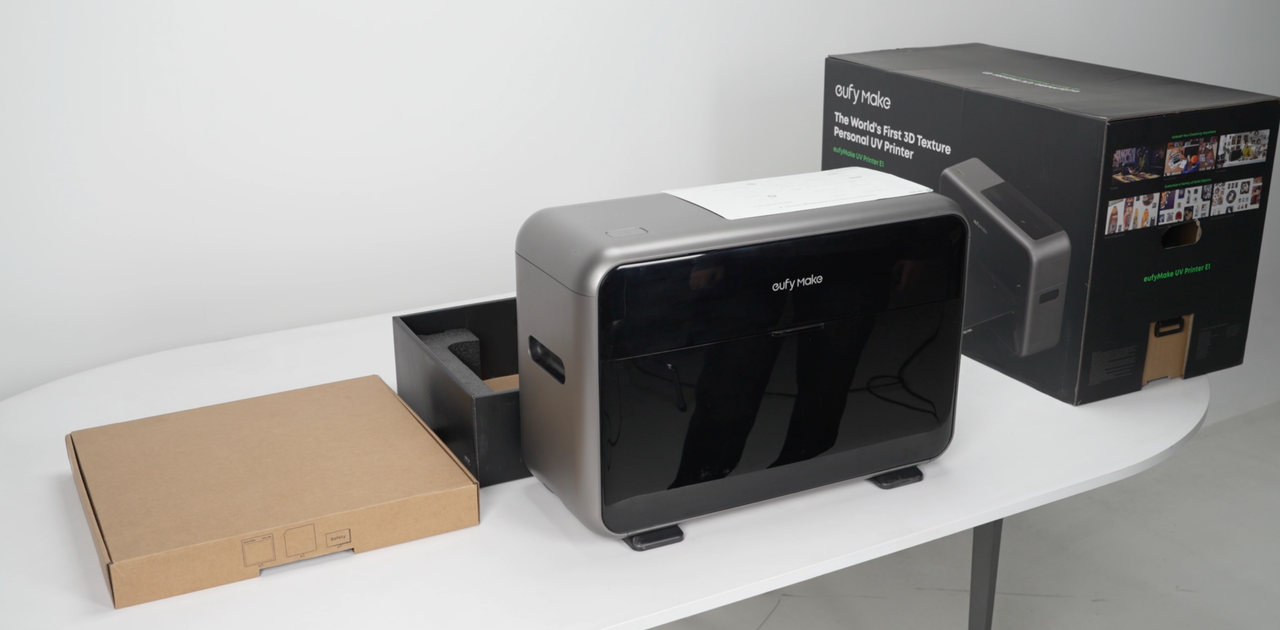
Remove the machine and standard flatbed crate for inspection, and check whether the appearance of the equipment and accessories is intact.
¶ Step 3 - Unpack the standard platform box and confirm the contents
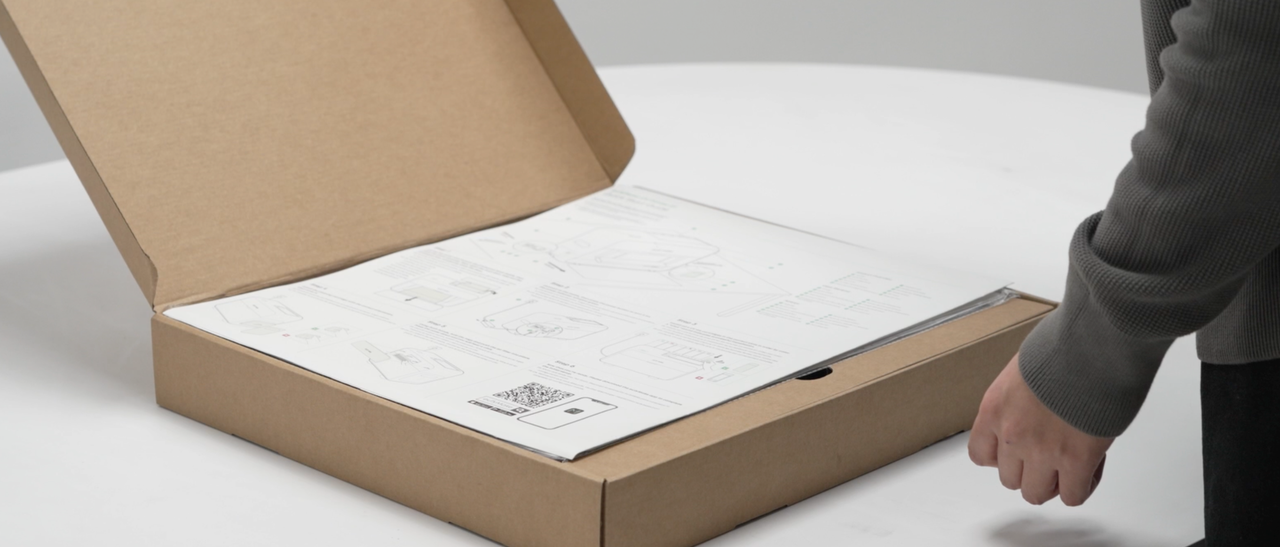
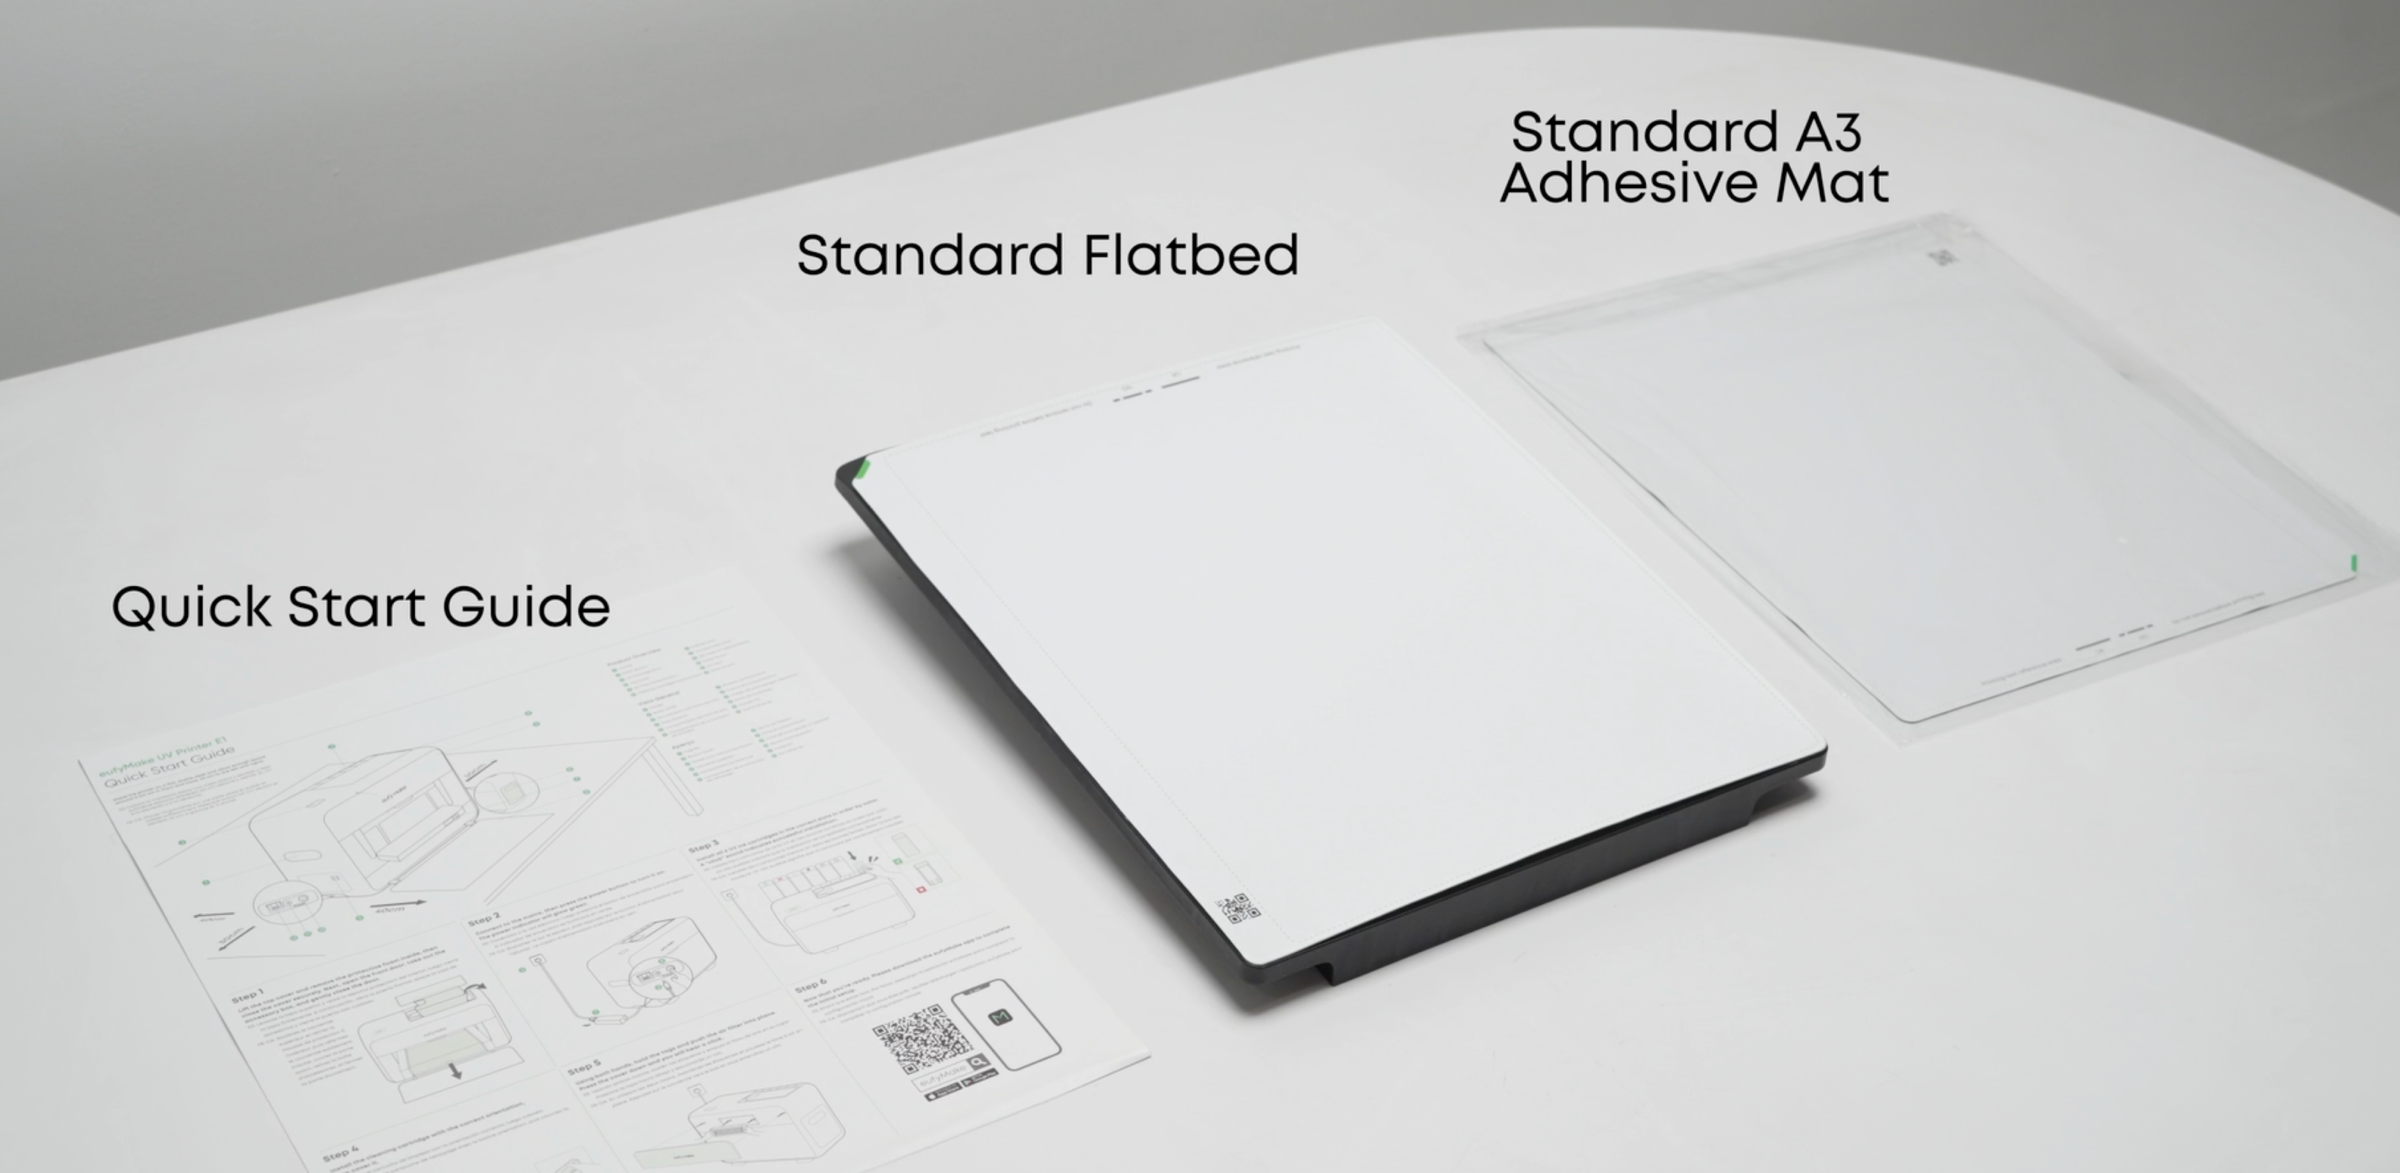
The box contains the standard flatbed, QSG, and standard adhesive Mat. Follow the QSG for subsequent setup steps.
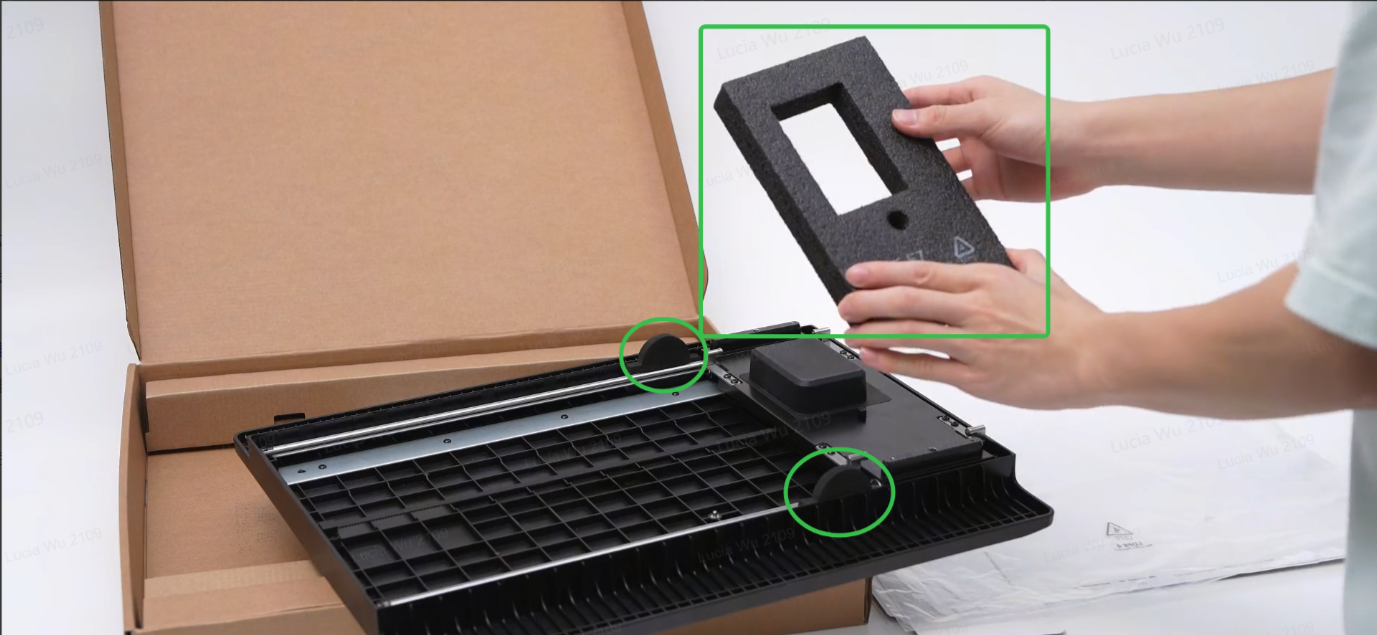
Please remove the foam pad as shown to ensure normal use of the standard flatbed.
¶ Step 4 - Confirm the placement space for the machine
Select a flat surface (tilt <10°) that meets the Printer Placement Requirements, ensuring sufficient space and load-bearing capacity.
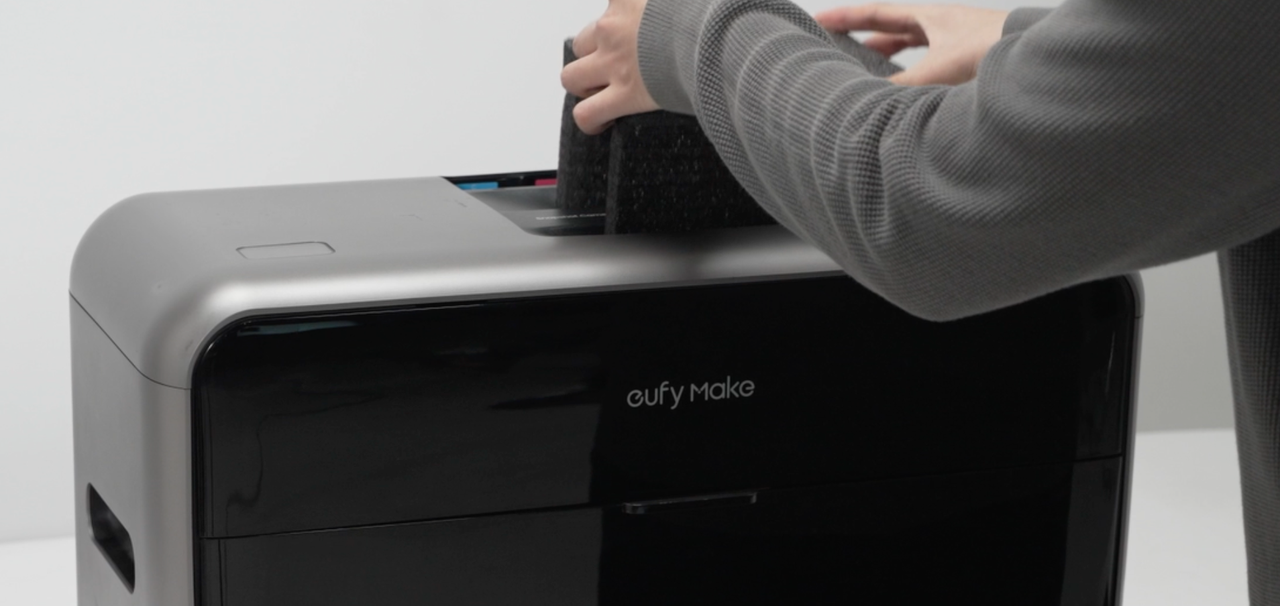
¶ Step 5 - Push the upper cover plate forward and remove the foam pad upward
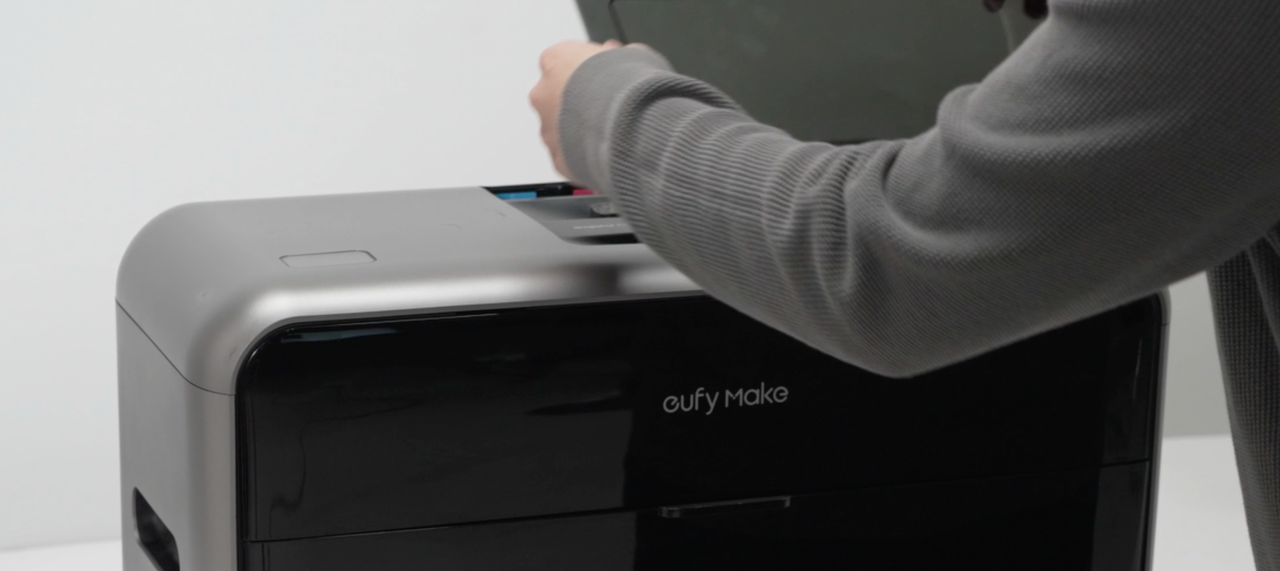
After placing the machine, push the upper cover forward and lift the foam pad vertically.
¶ Step 6 - Open the front cover and take out the accessory box
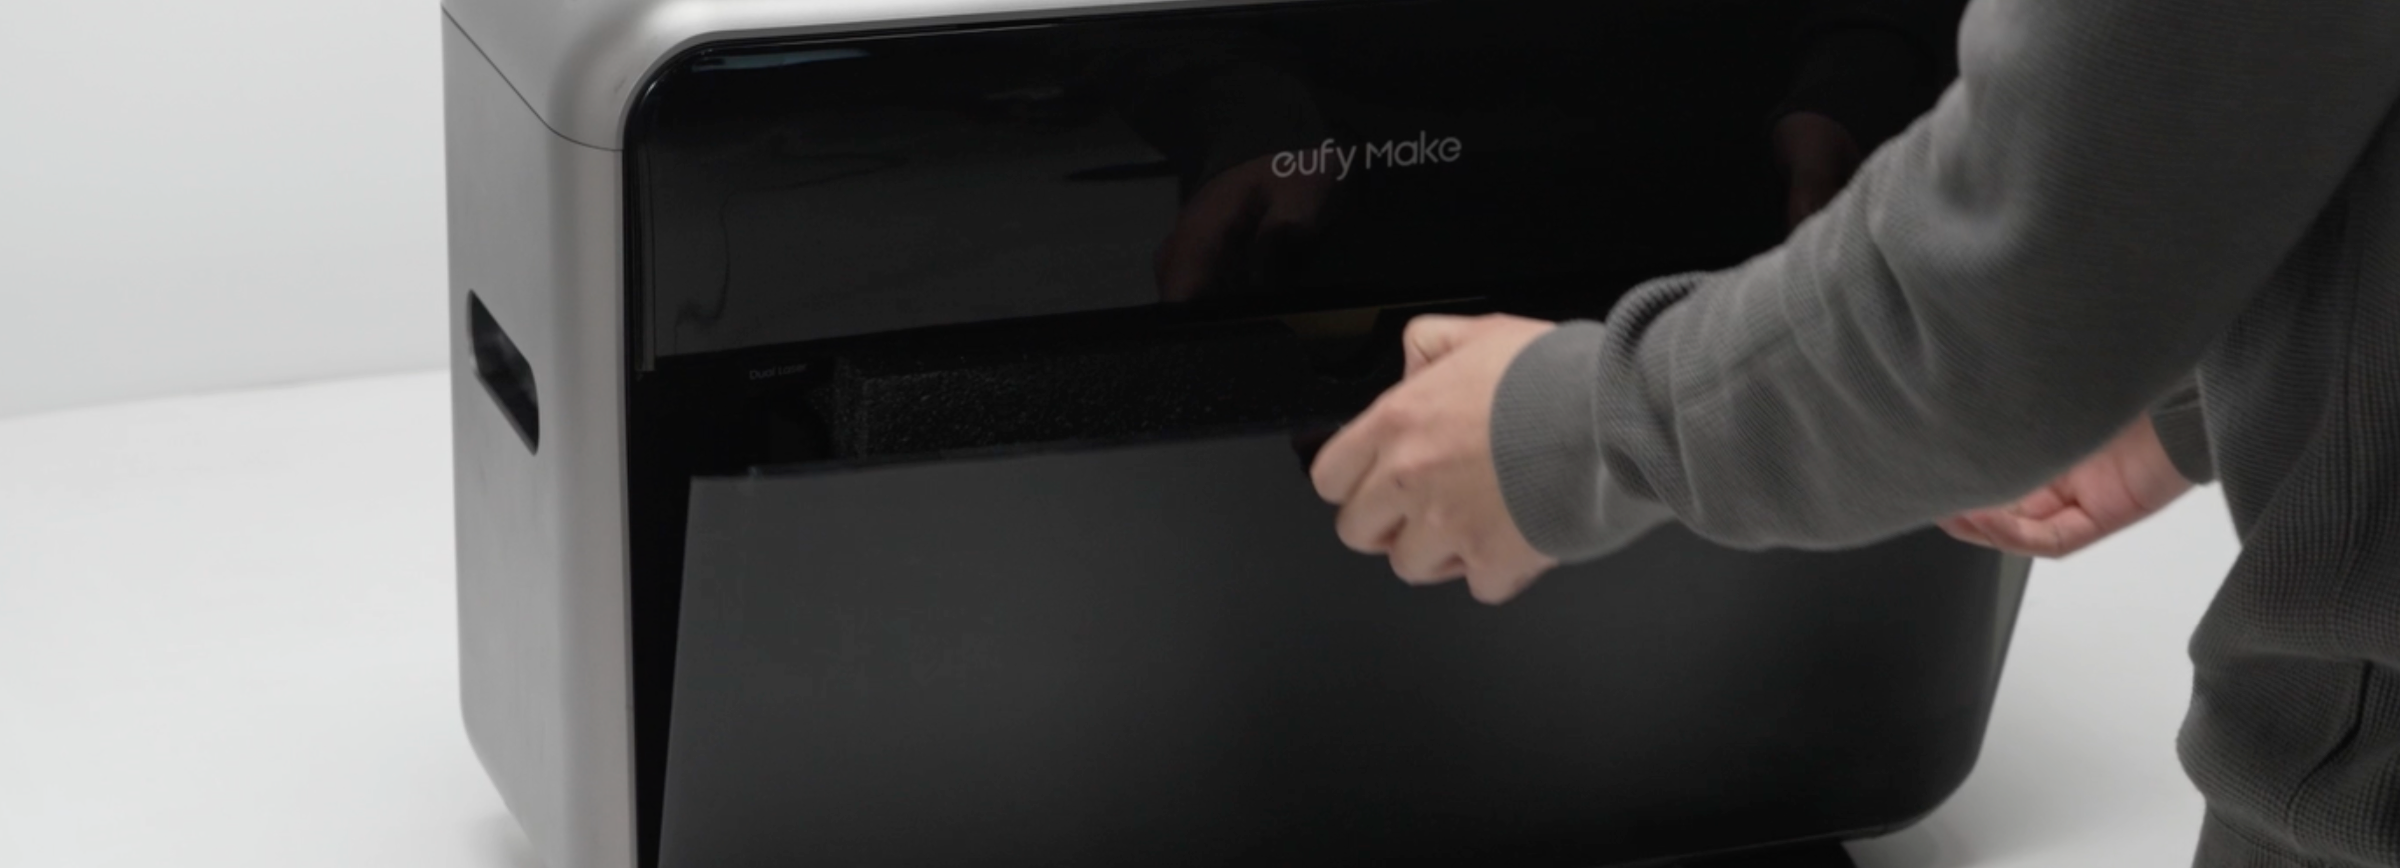
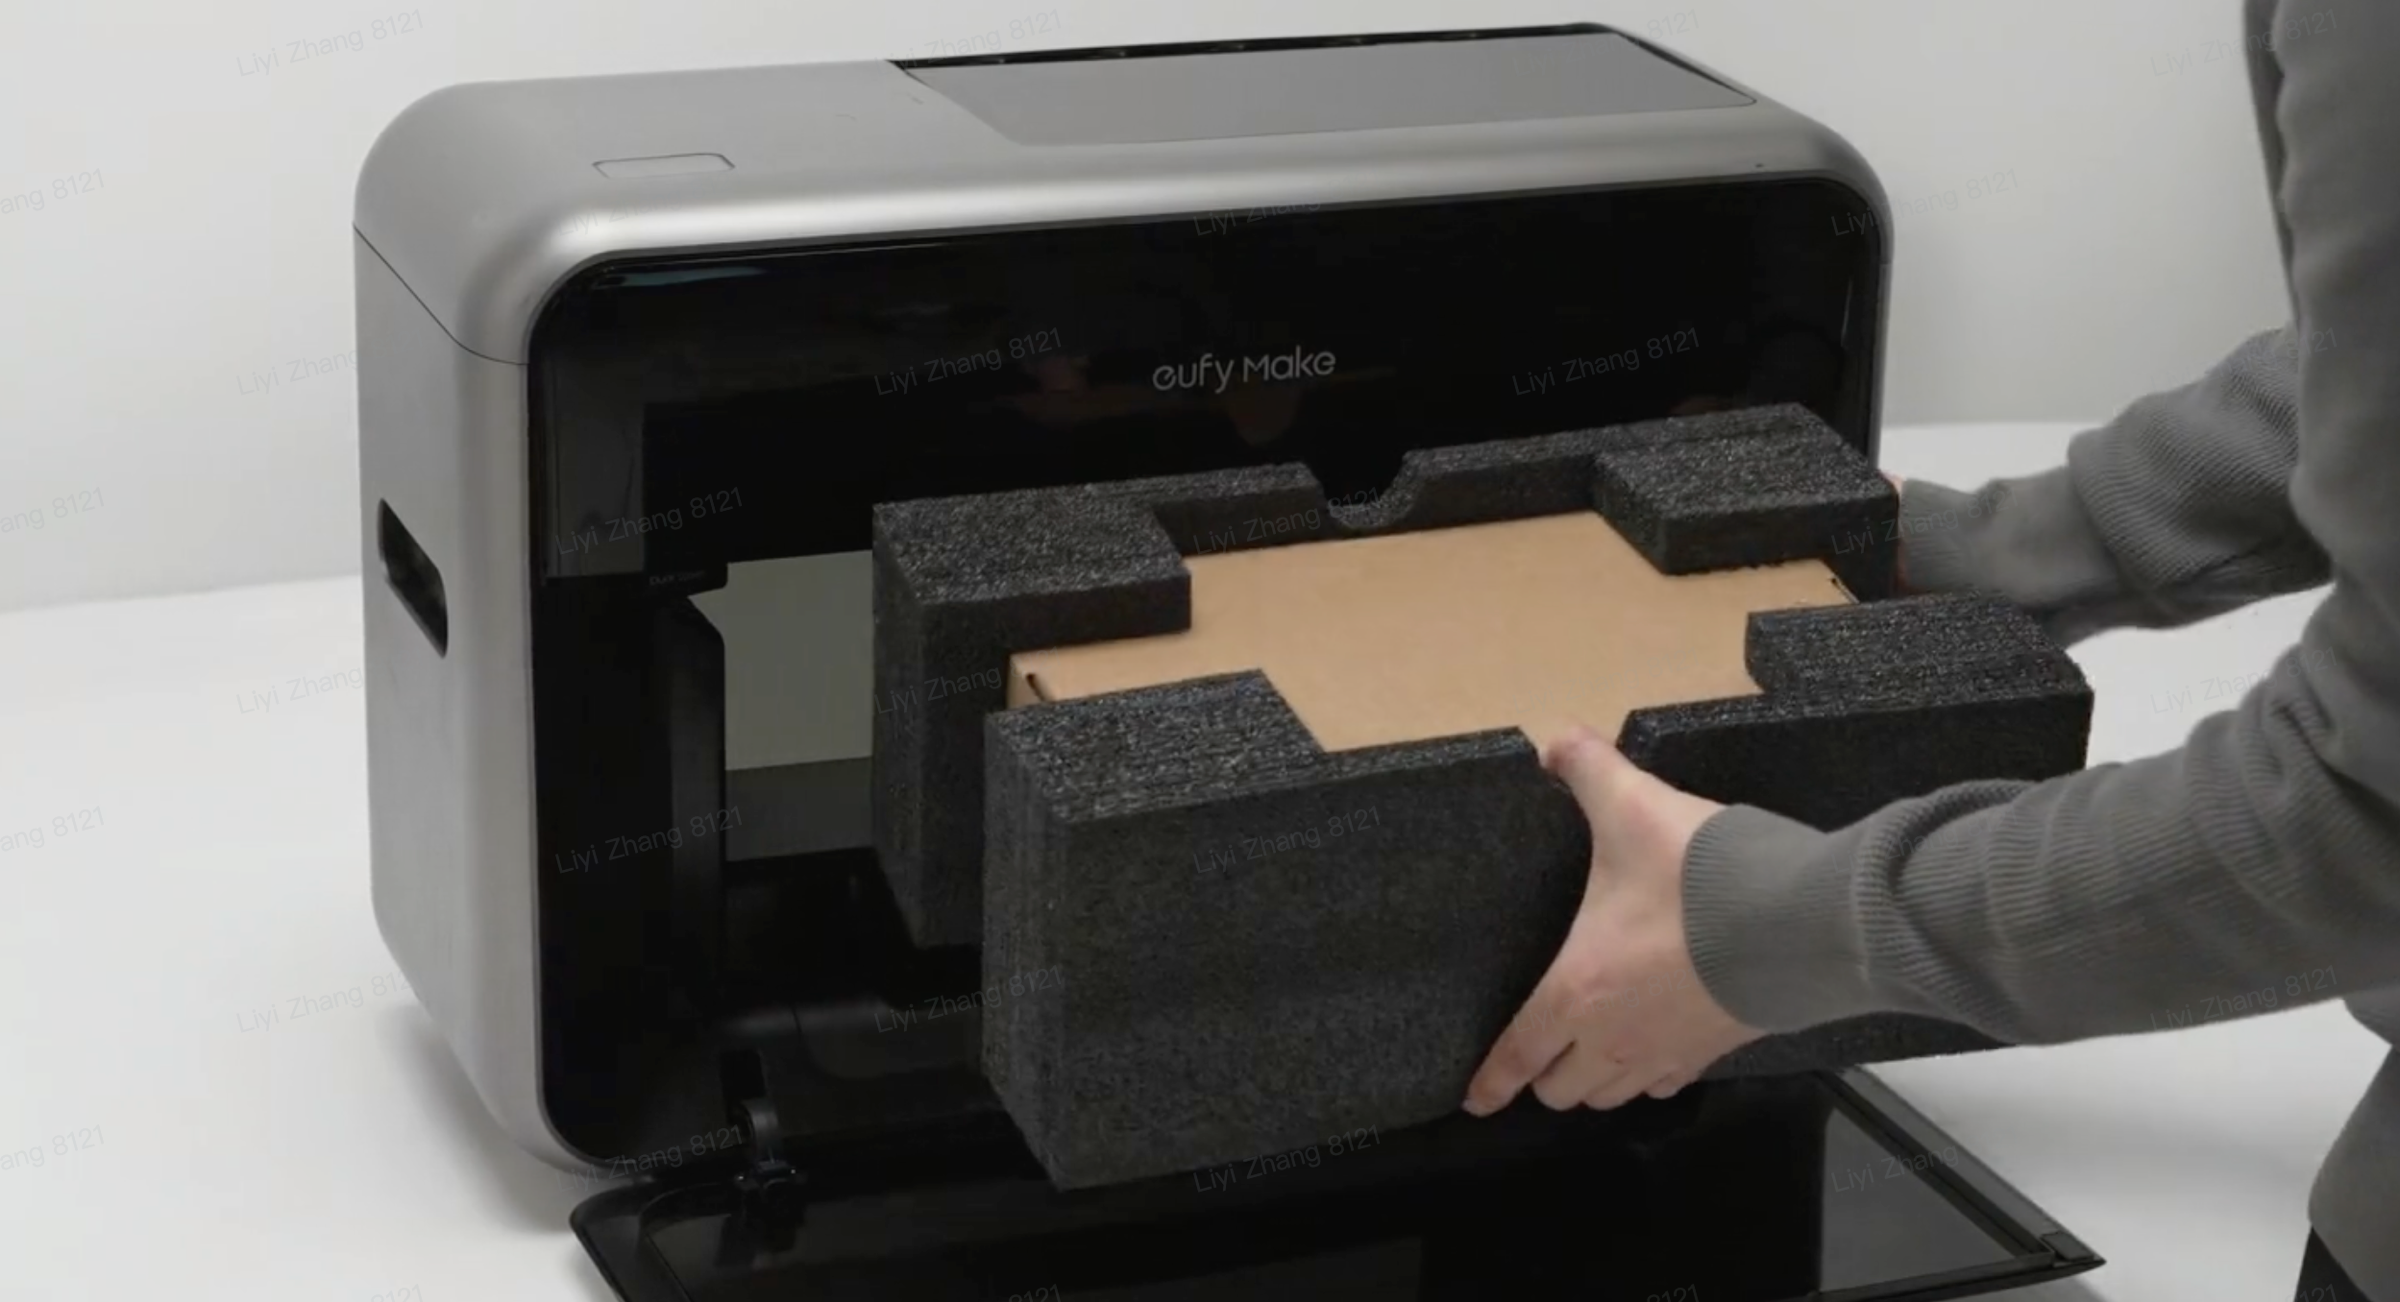
After completing the previous steps, open the front cover and pull out the accessory box.
¶ Step 7 - Open the accessory box and confirm the contents
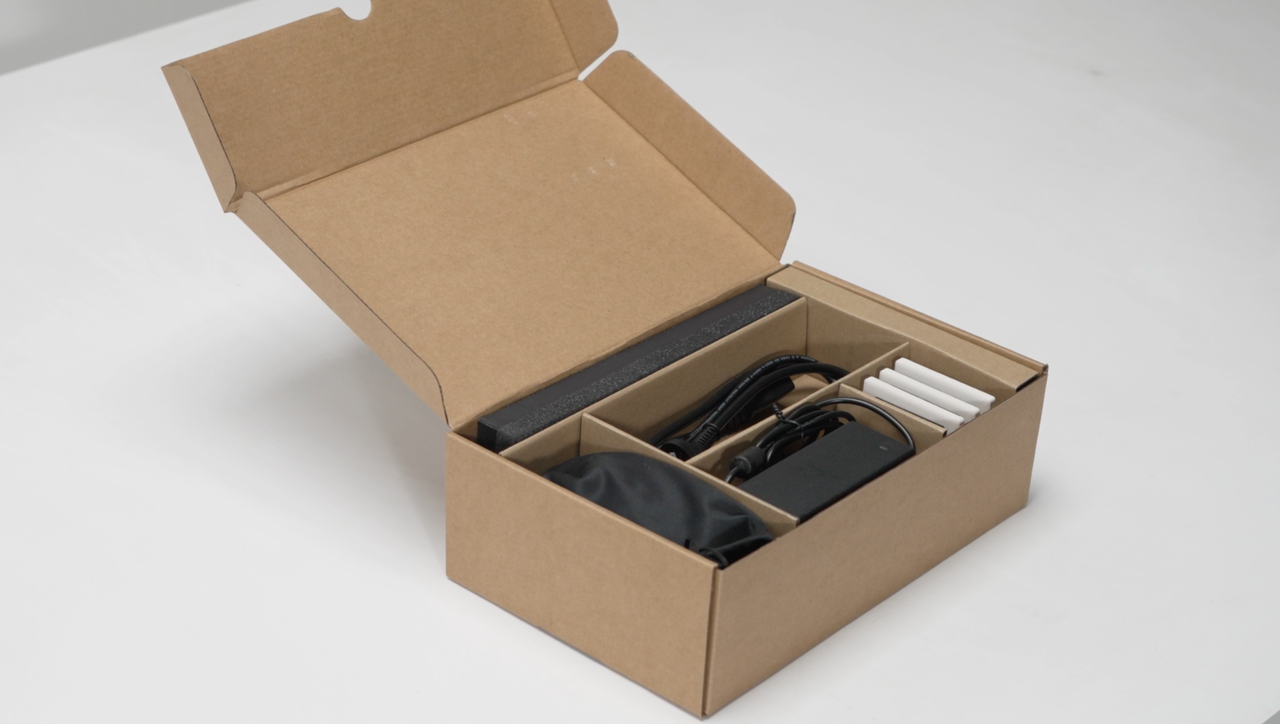
Confirm the items inside the accessory box, including the air filter, power cord, power adapter, fridge magnet, and goggles.
- Air filter
- Power cord
- Power adapter
- Free substrates ×3
- Goggles
⚠️ Attention: Please ensure the power supply specifications match your region.
¶ Ink Cartridge & Cleaning Cartridge Kit - Unboxing and Inventory
¶ Open the ink cartridge & cleaning cartridge outer box and confirm the contents.
Check all items against the Bill of Materials (BOM) included in the package.
Once verified, proceed to install the ink cartridge and cleaning cartridge into the printer.
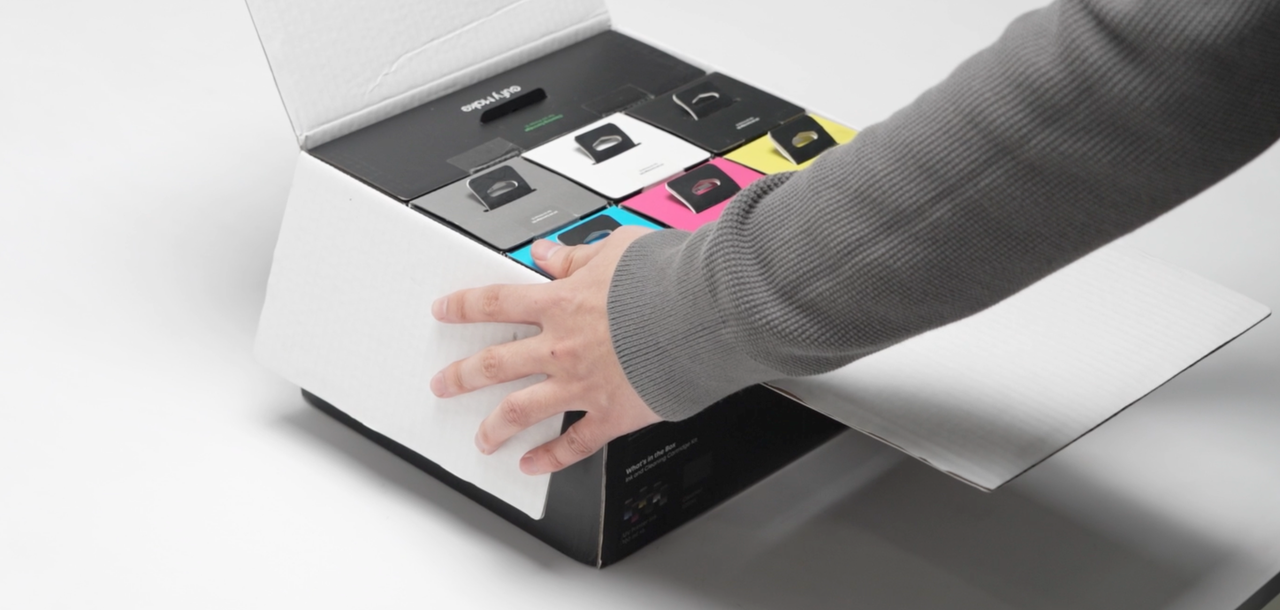
¶ Cartridge Kit Bill of Materials
| Serial number | Name | Quantity | Physical Diagram | USE |
|---|---|---|---|---|
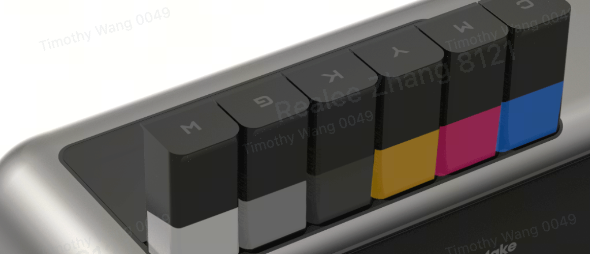
| 1 | UV ink cartridge-C | 1 |
|
CMYKWG ink specifically for UV printing.
|
| 2 | UV ink cartridge-M | 1 | ||
| 3 | UV ink cartridge-Y | 1 | ||
| 4 | UV ink cartridge-K | 1 | ||
| 5 | UV ink cartridge-W | 1 | ||
| 6 | UV ink cartridge-G | 1 | ||
| 7 | Clean cartridge | 1 |
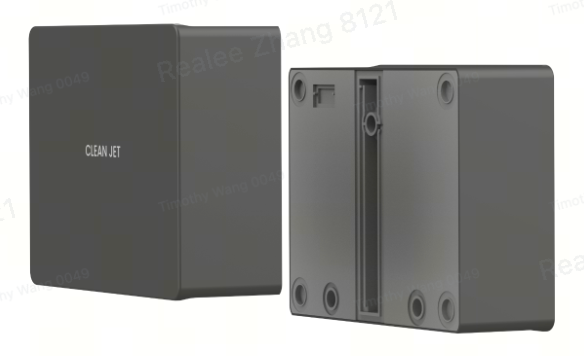 |
Placed into the printer for cleaning and maintenance. |