¶ Accessory Introduction
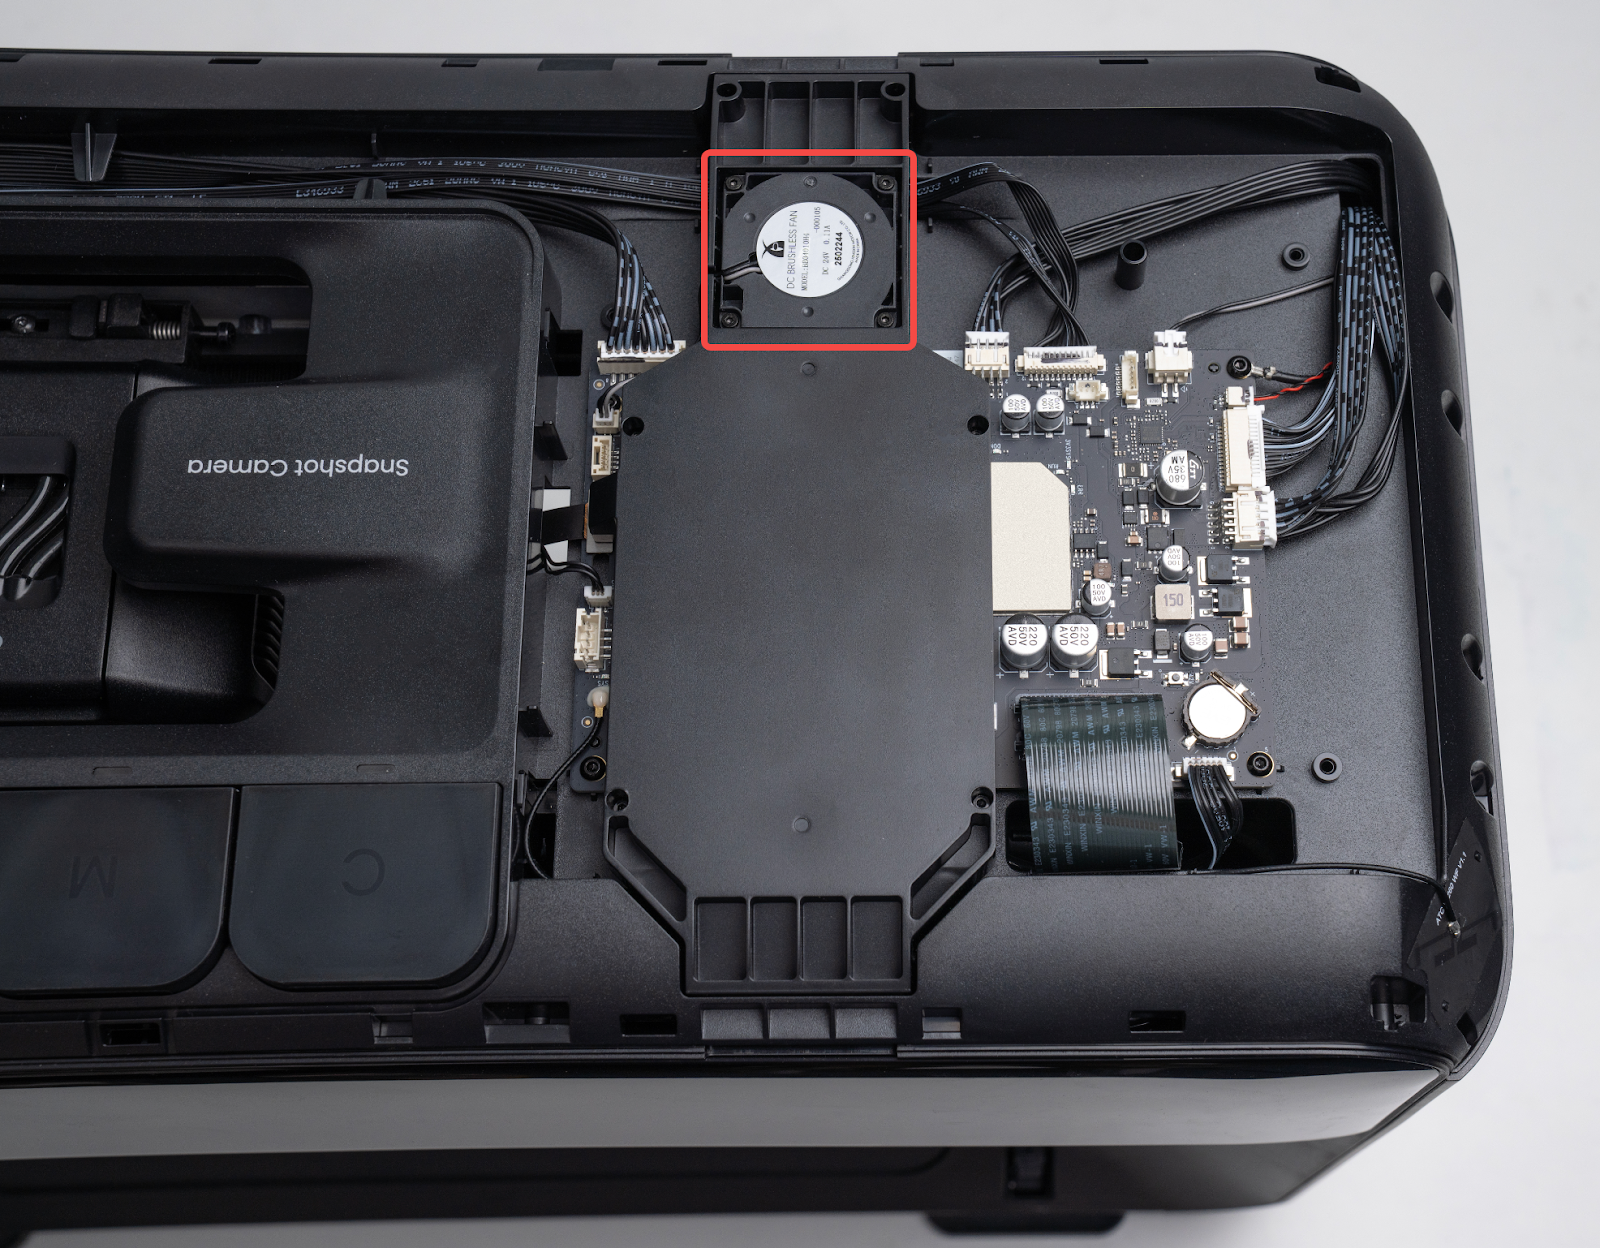
After removing the upper shell, the motherboard cooling fan can be seen mounted on the motherboard cooling air duct, as shown in the image below.
¶ Required tools (self-provided)
- Disassembled Parts
- 2.0 mm Hex Screwdriver
¶ Safety Precautions
- Before performing maintenance, power off the printer and disconnect the power supply to prevent short circuits and potential damage to electronic components or personal injury.
- When removing the upper shell assembly, unplug the key connection cable before lifting the shell.
- The fan connector is a snap-fit terminal. Do not pull it directly. Always pinch the locking tab before disconnecting it.
¶ Replacement Steps
¶ Step 1 - Power off and remove the housing
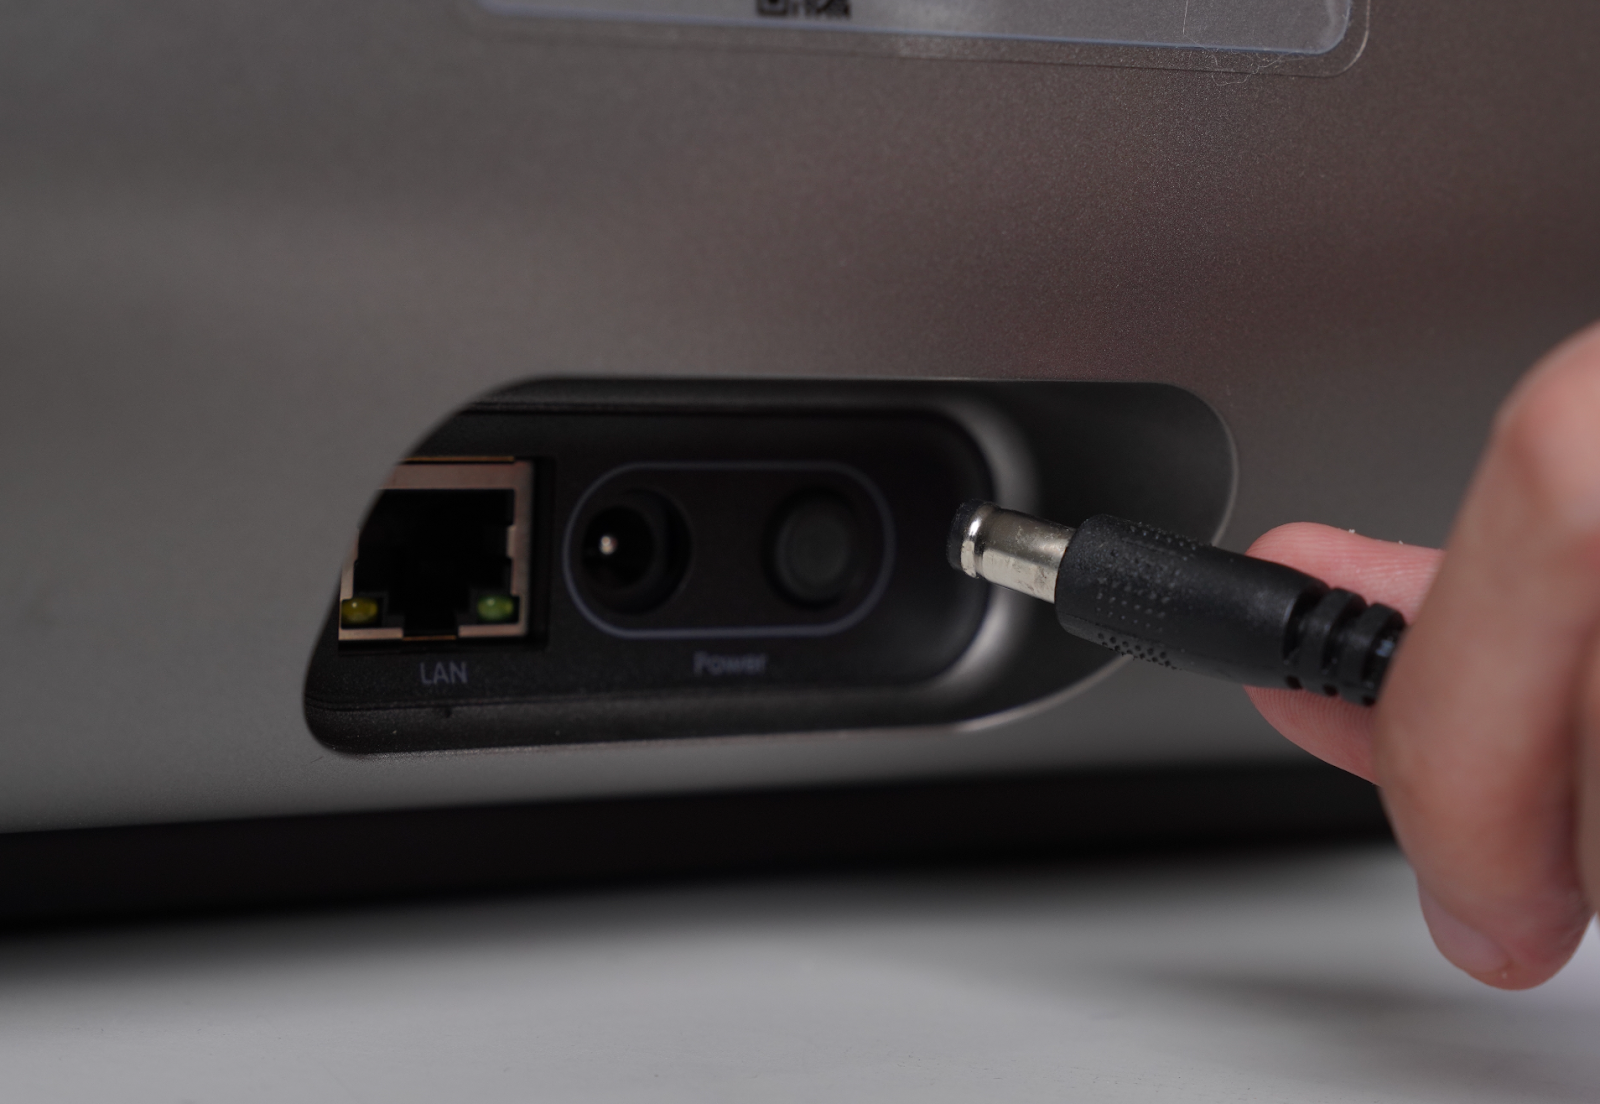
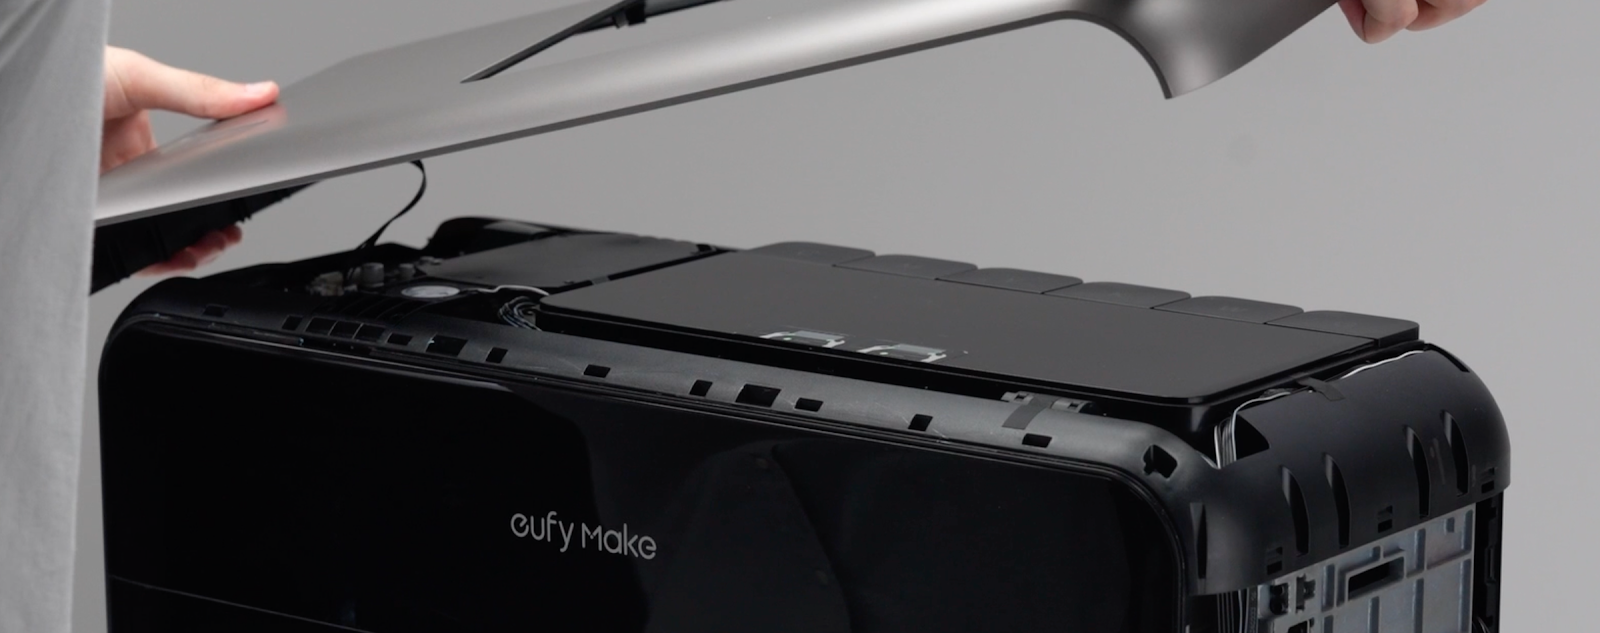
Power off the printer. Please refer to: https://support.eufymake.com/s/article/eufyMake-UV-Printer-E1-Printer-Outer-Shell-Disassembly-SOP , remove the upper shell, taking care not to strain or damage the upper shell cable.
¶ Step 2 - Remove the fan cable
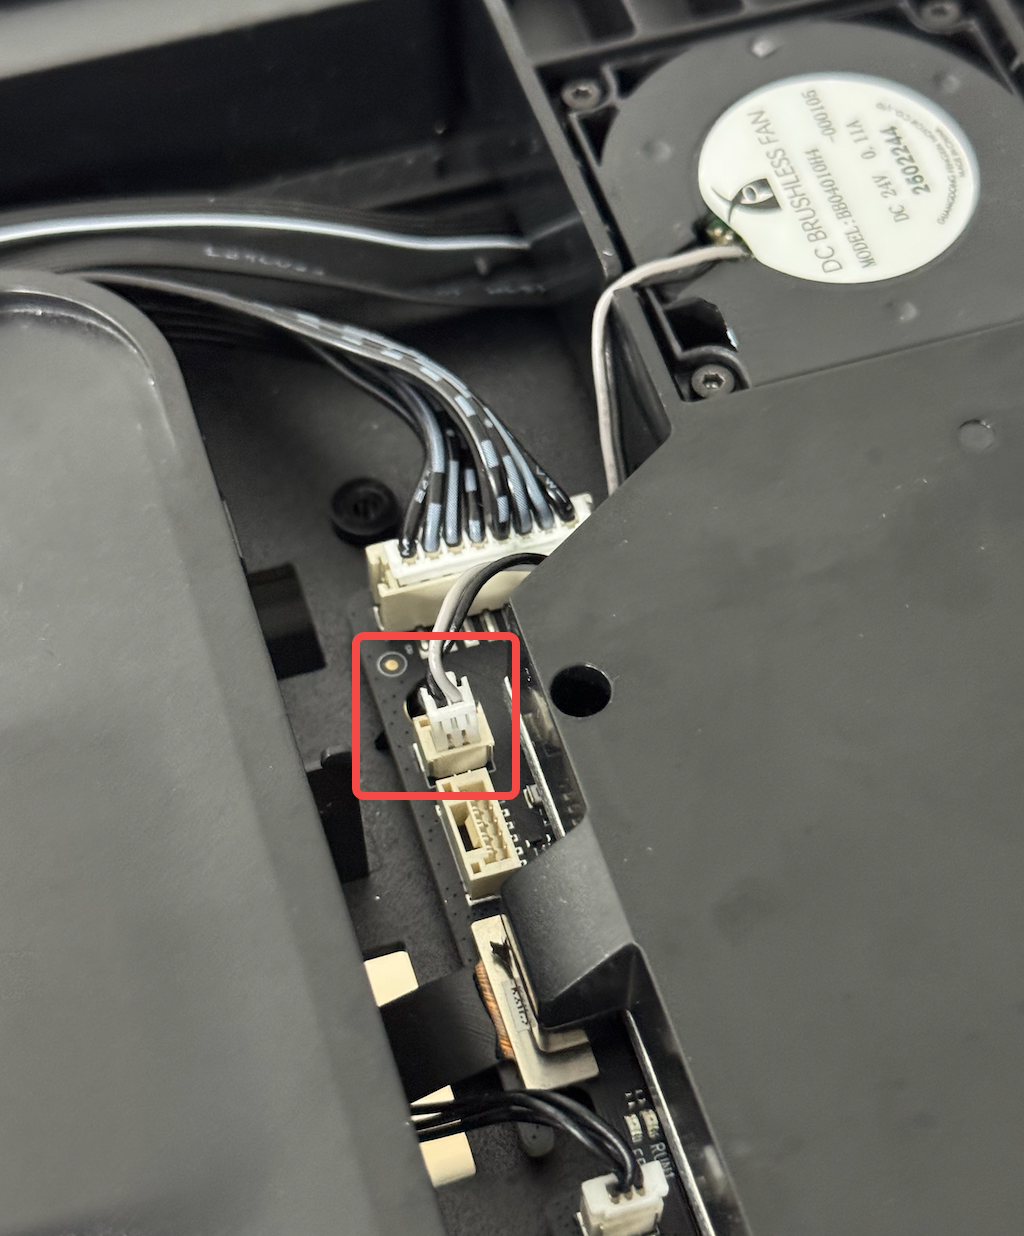
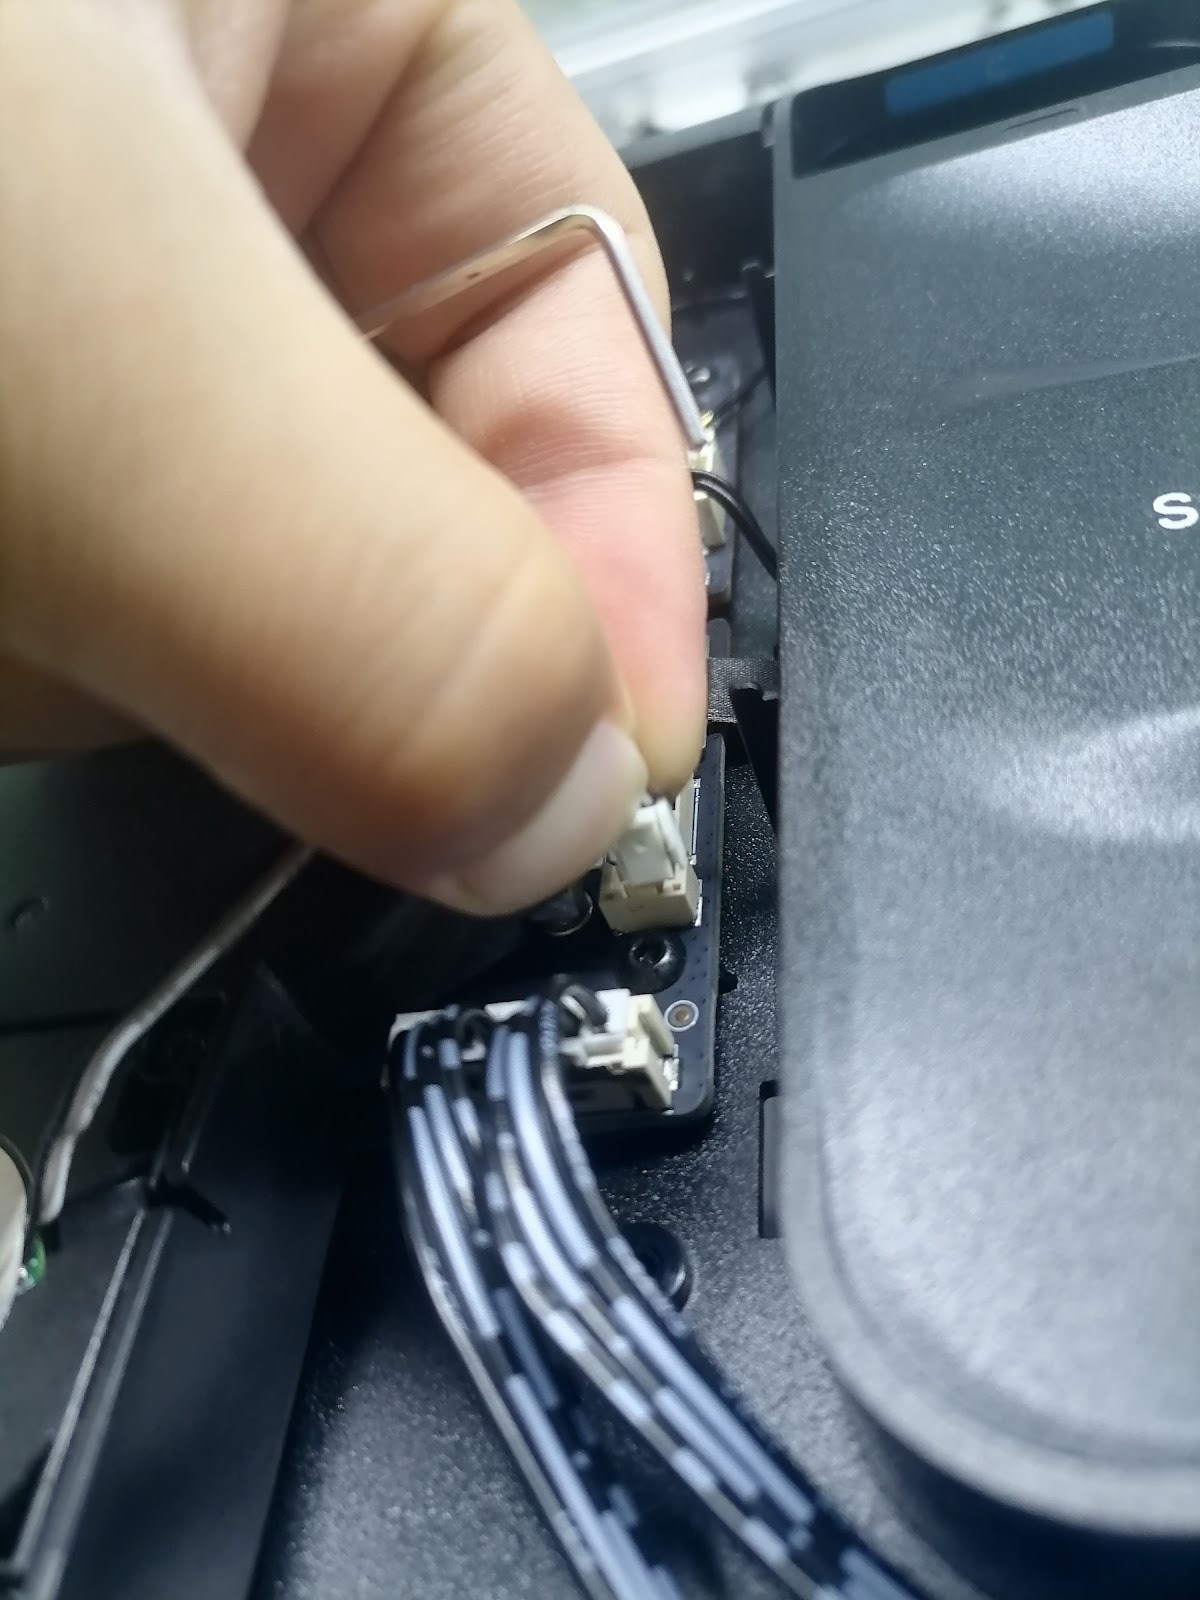
Pinch the locking tab on the fan connector and then pull the connector out.
⚠️ The fan connector is a snap-in type. Do not pull it directly without releasing the buckle.
¶ Step 3 - Remove the fan mounting screws
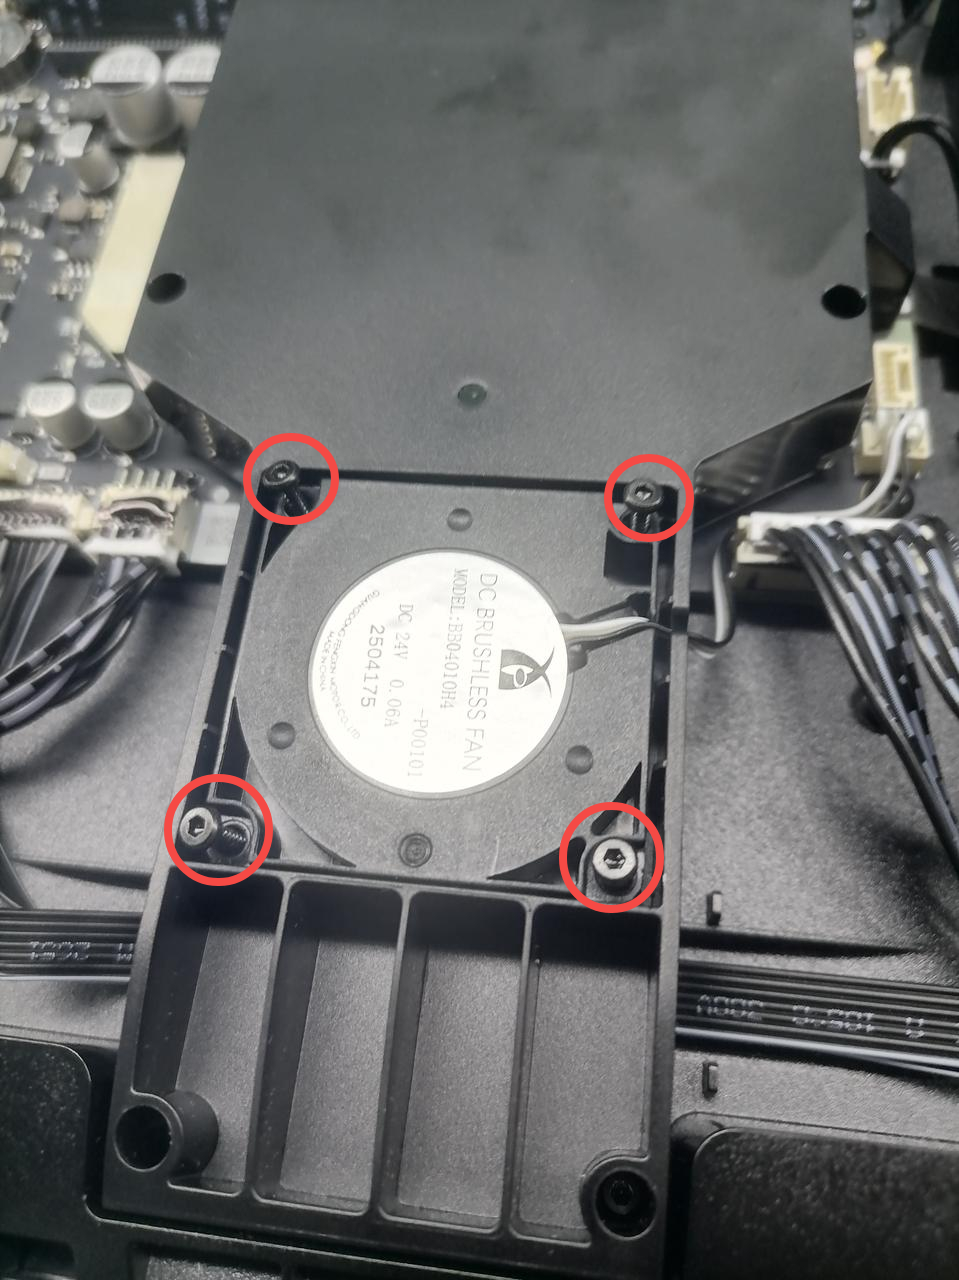
Use 2.0 mm hex key to remove the four screws securing the fan.
¶ Step 4 - Replace the fan
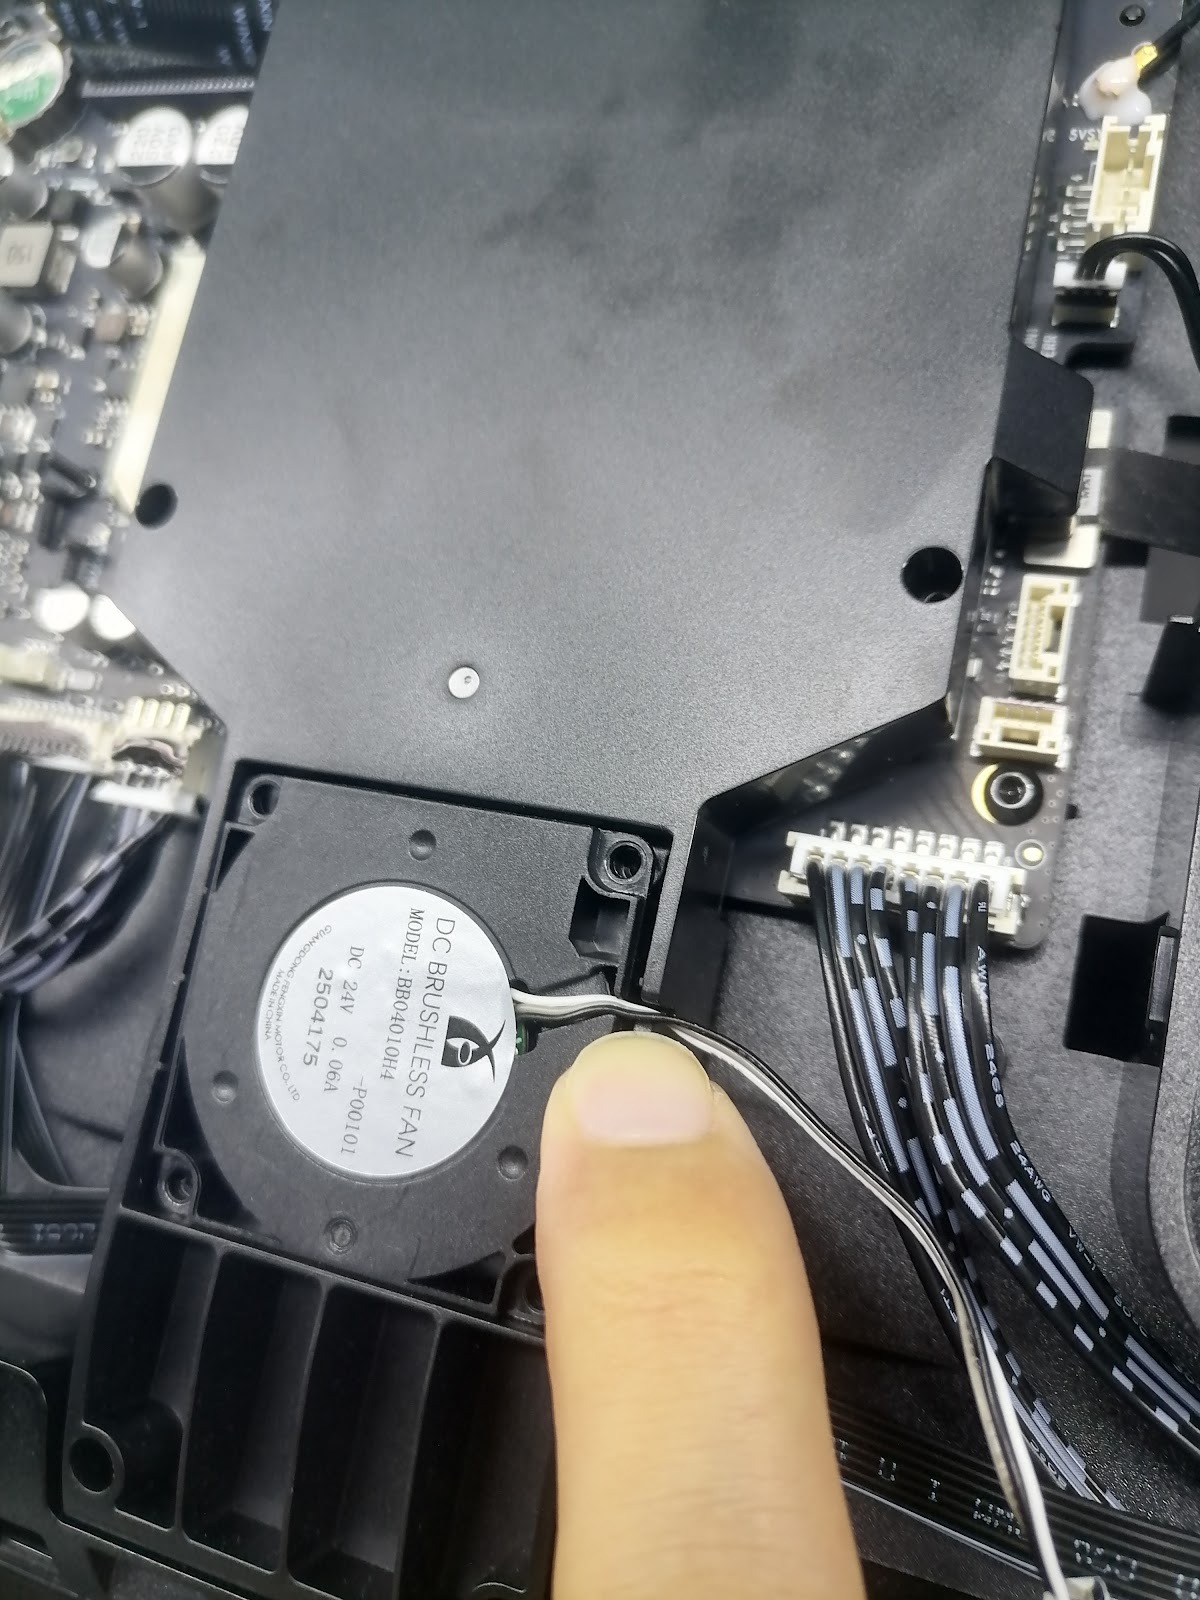
Remove the old fan and install the new fan onto the cooling air duct. Route the fan cable through the cable slot and connect it to the motherboard fan socket.
⚠️ Pay attention to the fan orientation. Incorrect installation direction will prevent proper airflow toward the motherboard cooling components.
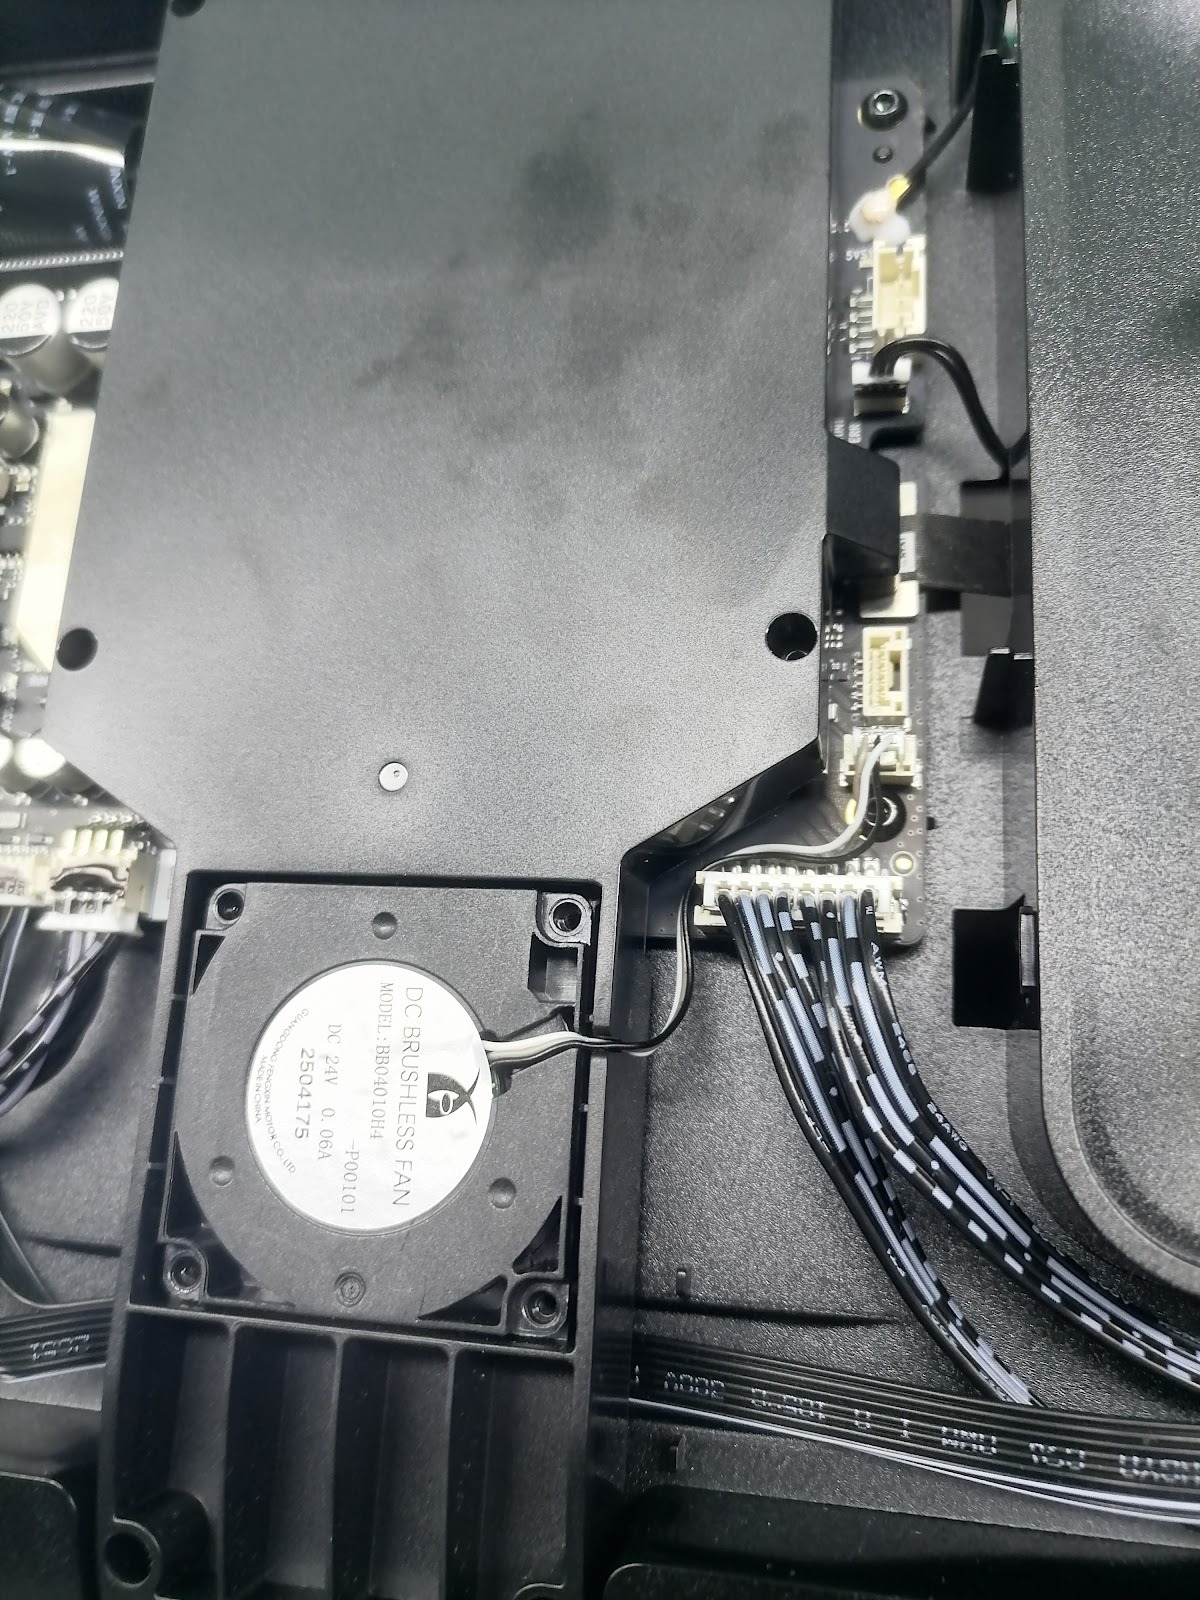
¶ Step 5 - Install the fan fixing screws
Use a 2.0 mm hex screwdriver to install the four M2 × 6 self-tapping screws.
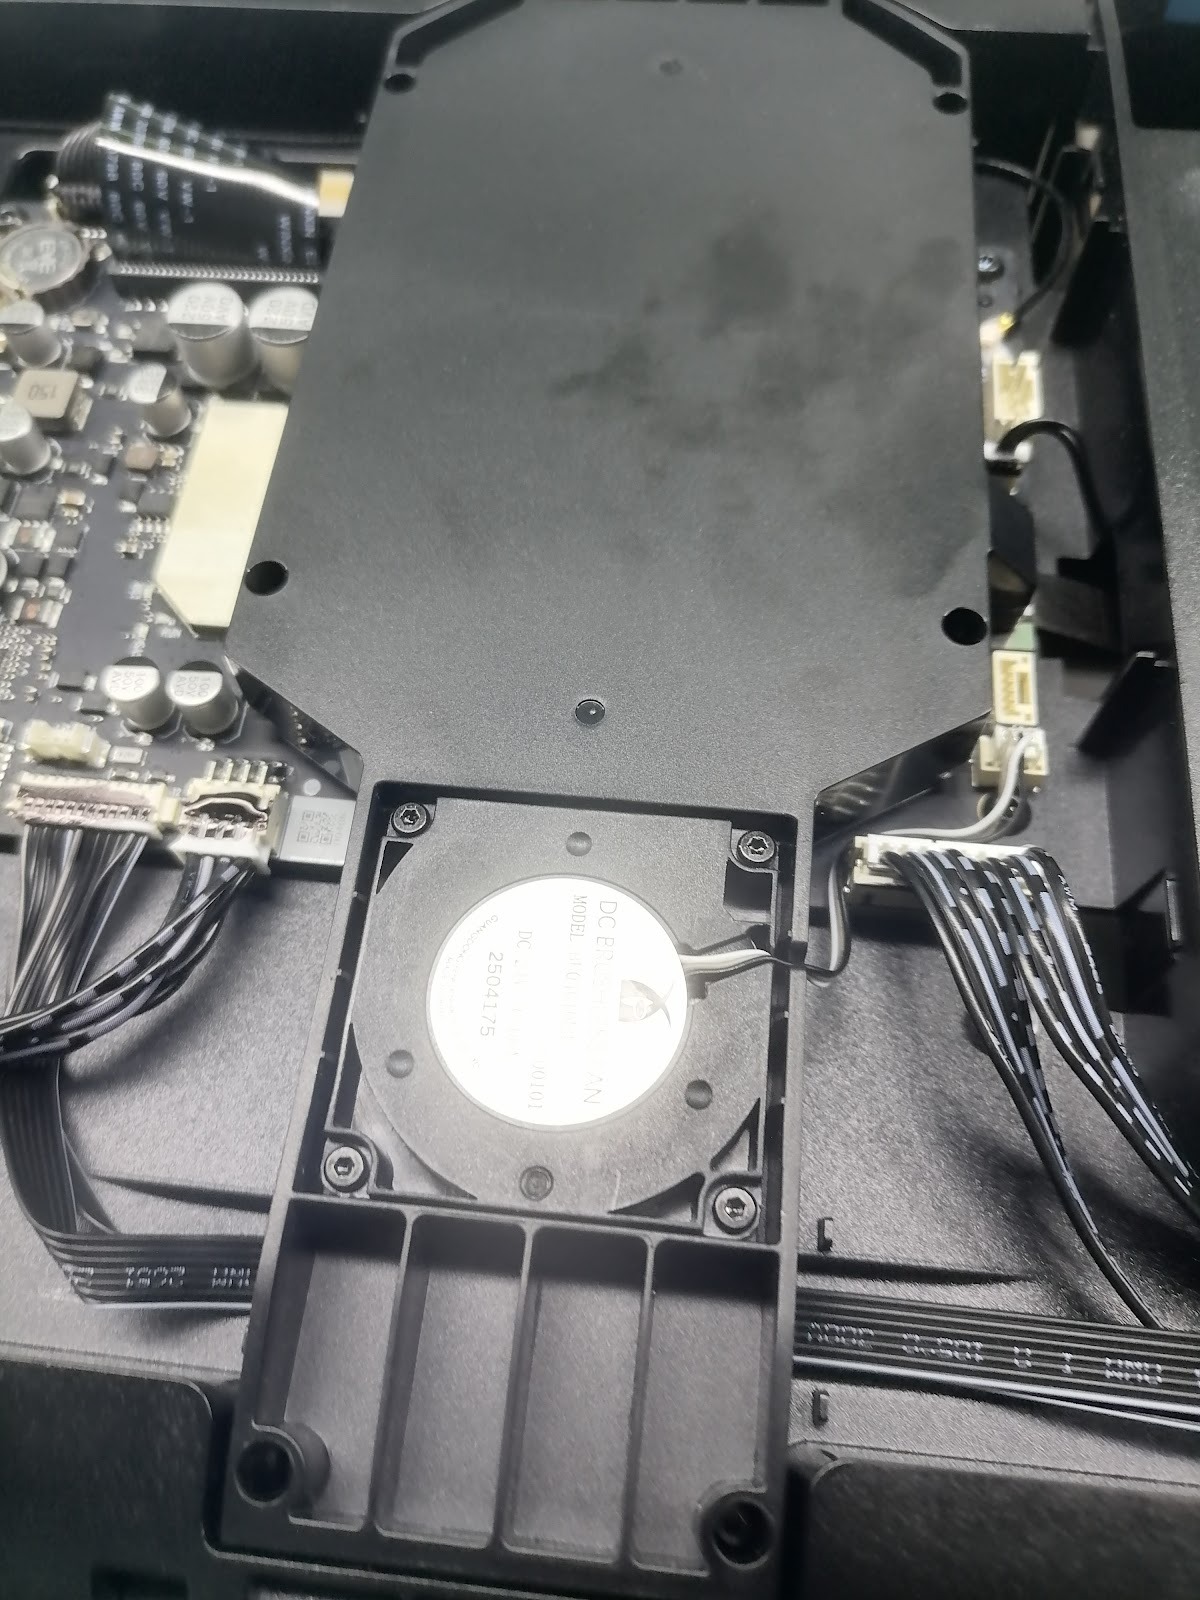
¶ Step 6 - Install the upper shell
Please refer to: https://support.eufymake.com/s/article/eufyMake-UV-Printer-E1-Printer-Outer-Shell-Disassembly-SOP , reinstall the upper shell. Ensure that no cables are pinched during installation.
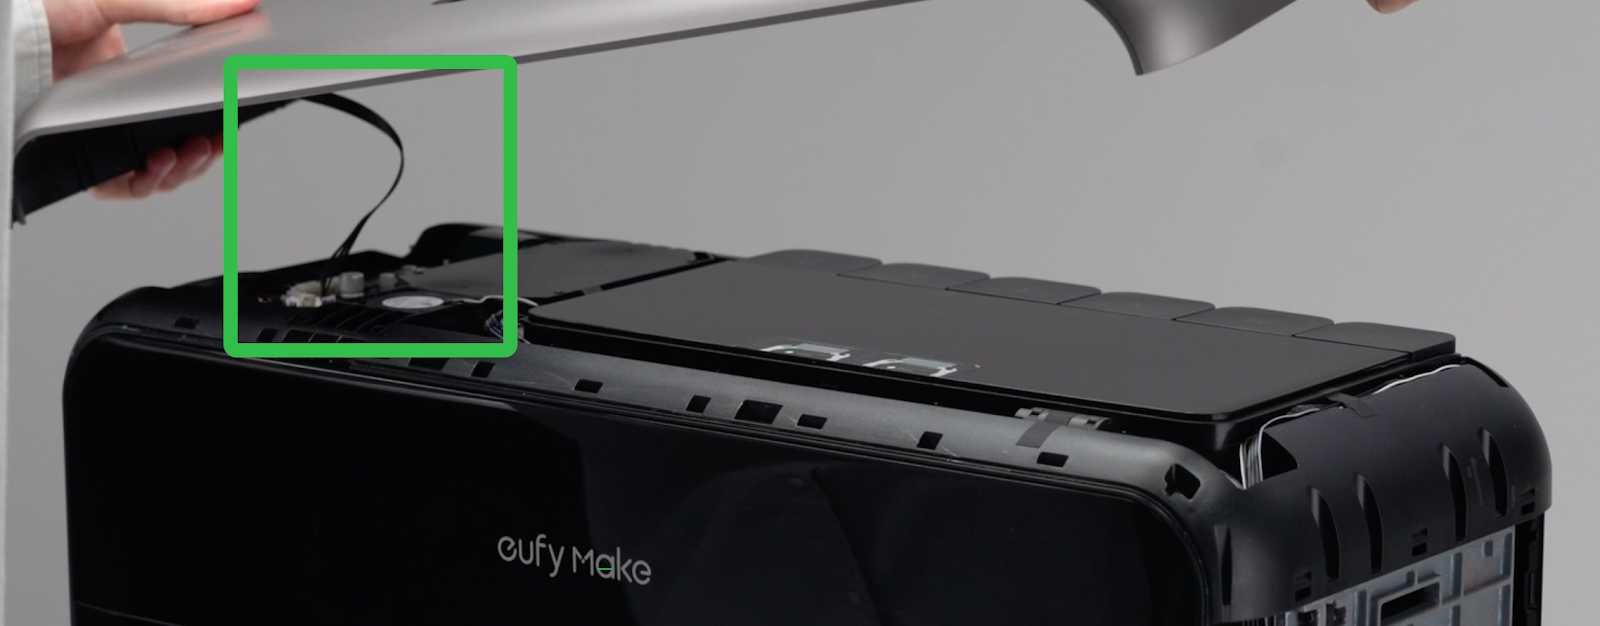
¶ Step 7 - Power on the machine
After confirming that the upper shell cable, fan cable, and fan orientation are correct, reconnect the power supply and power on the printer to complete the replacement.