¶ Accessory Introduction
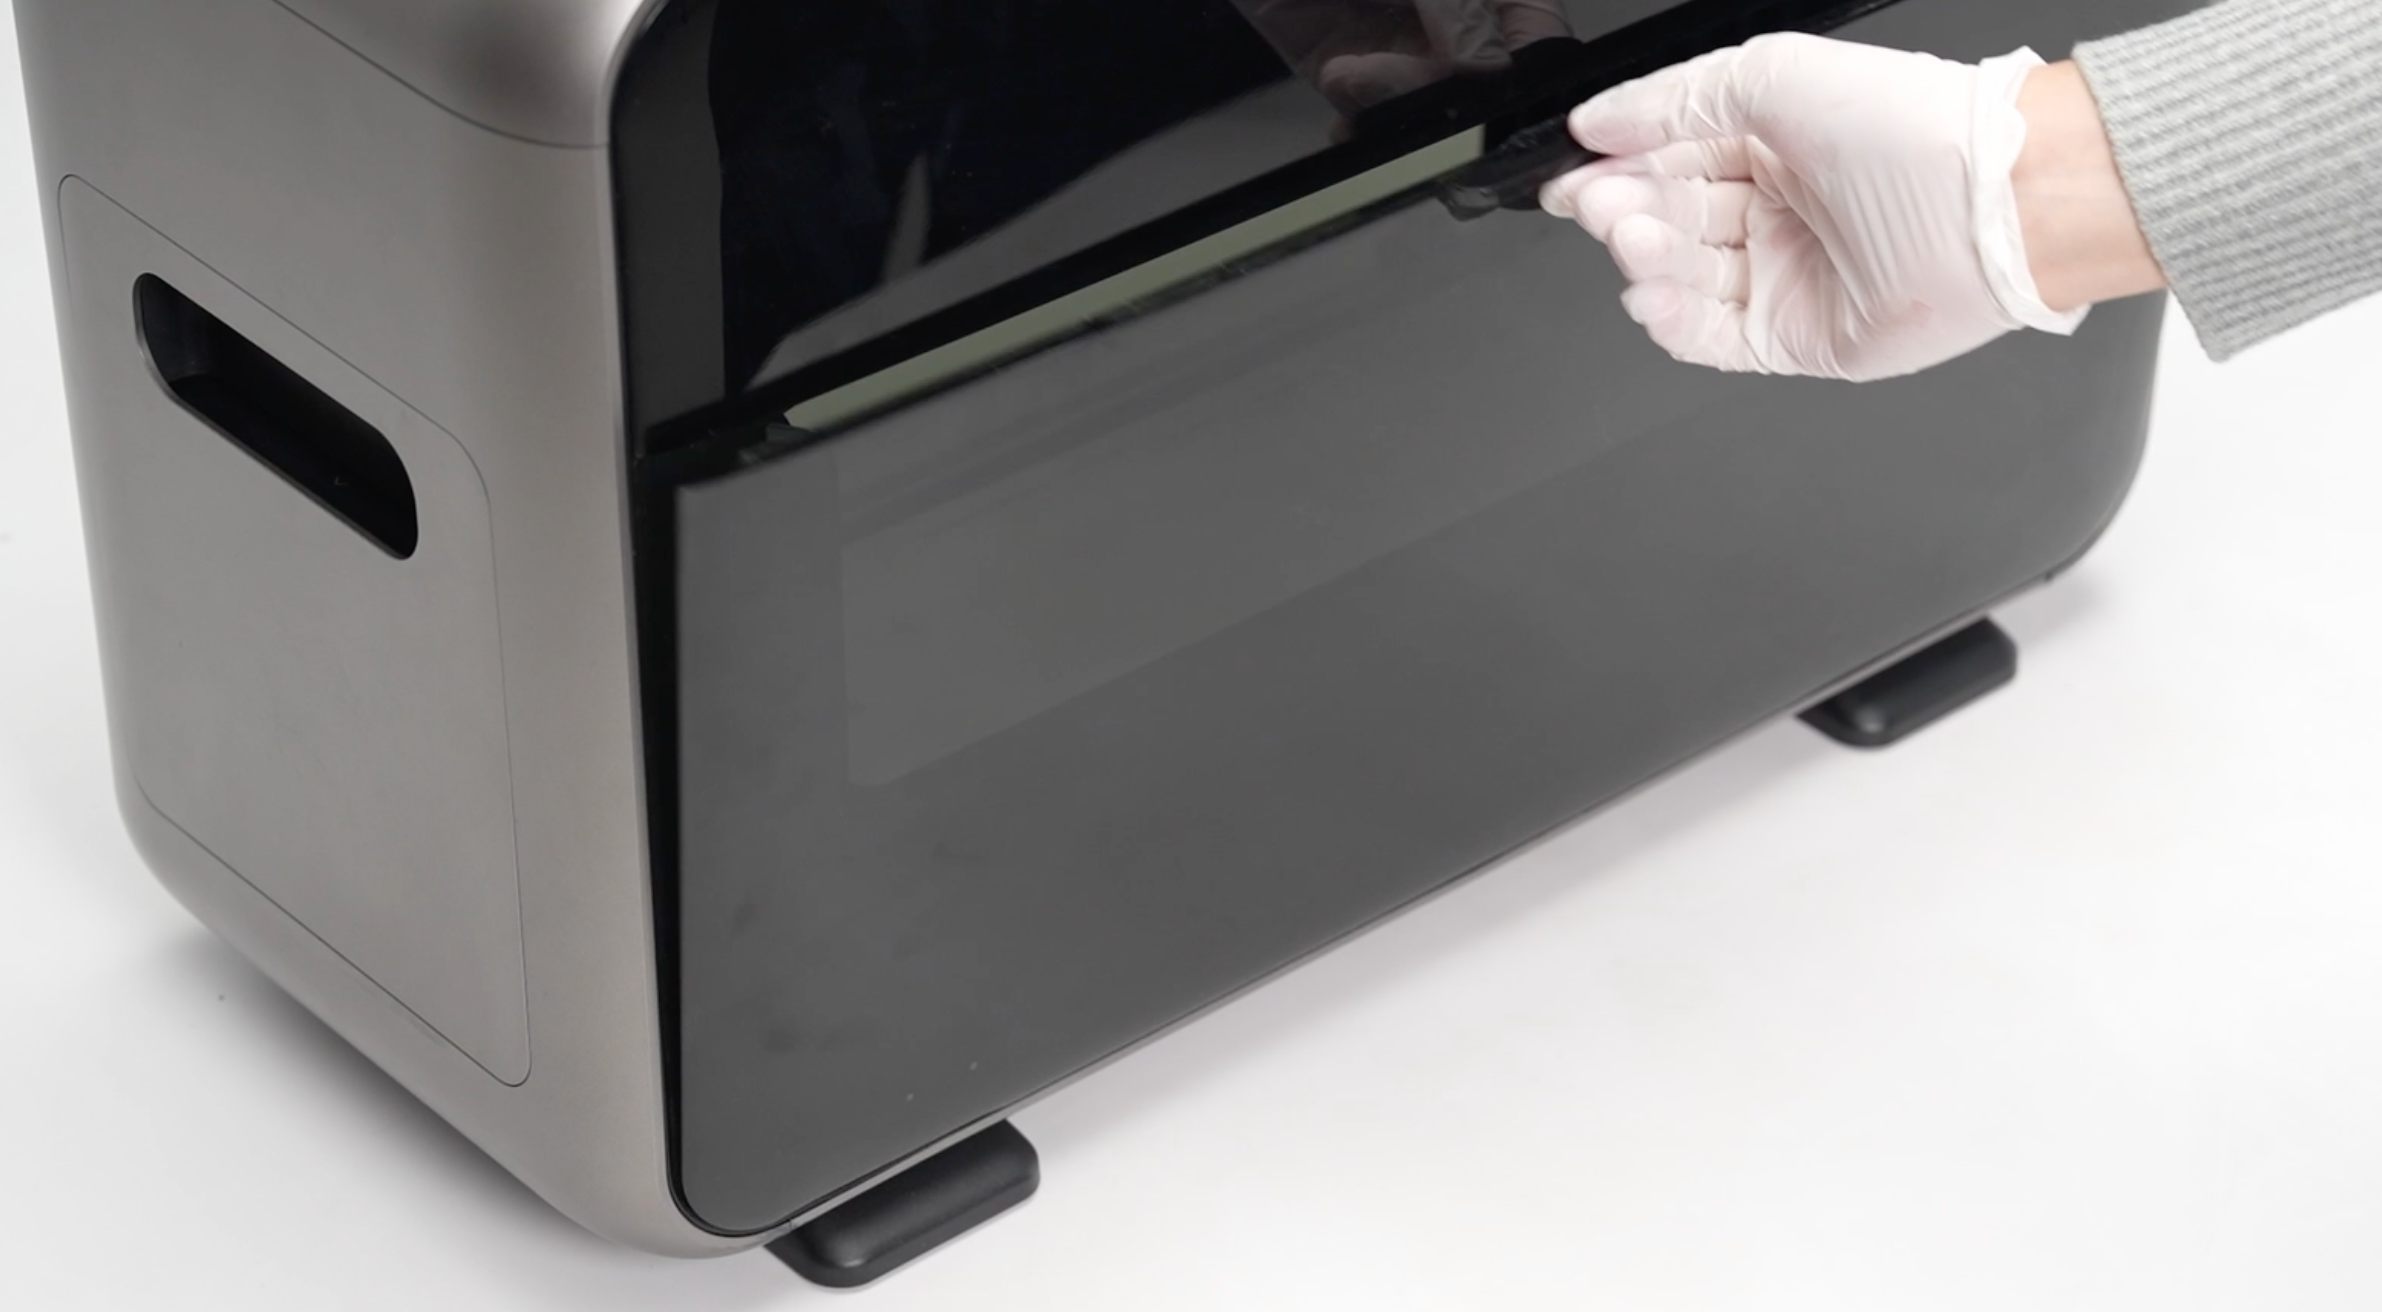
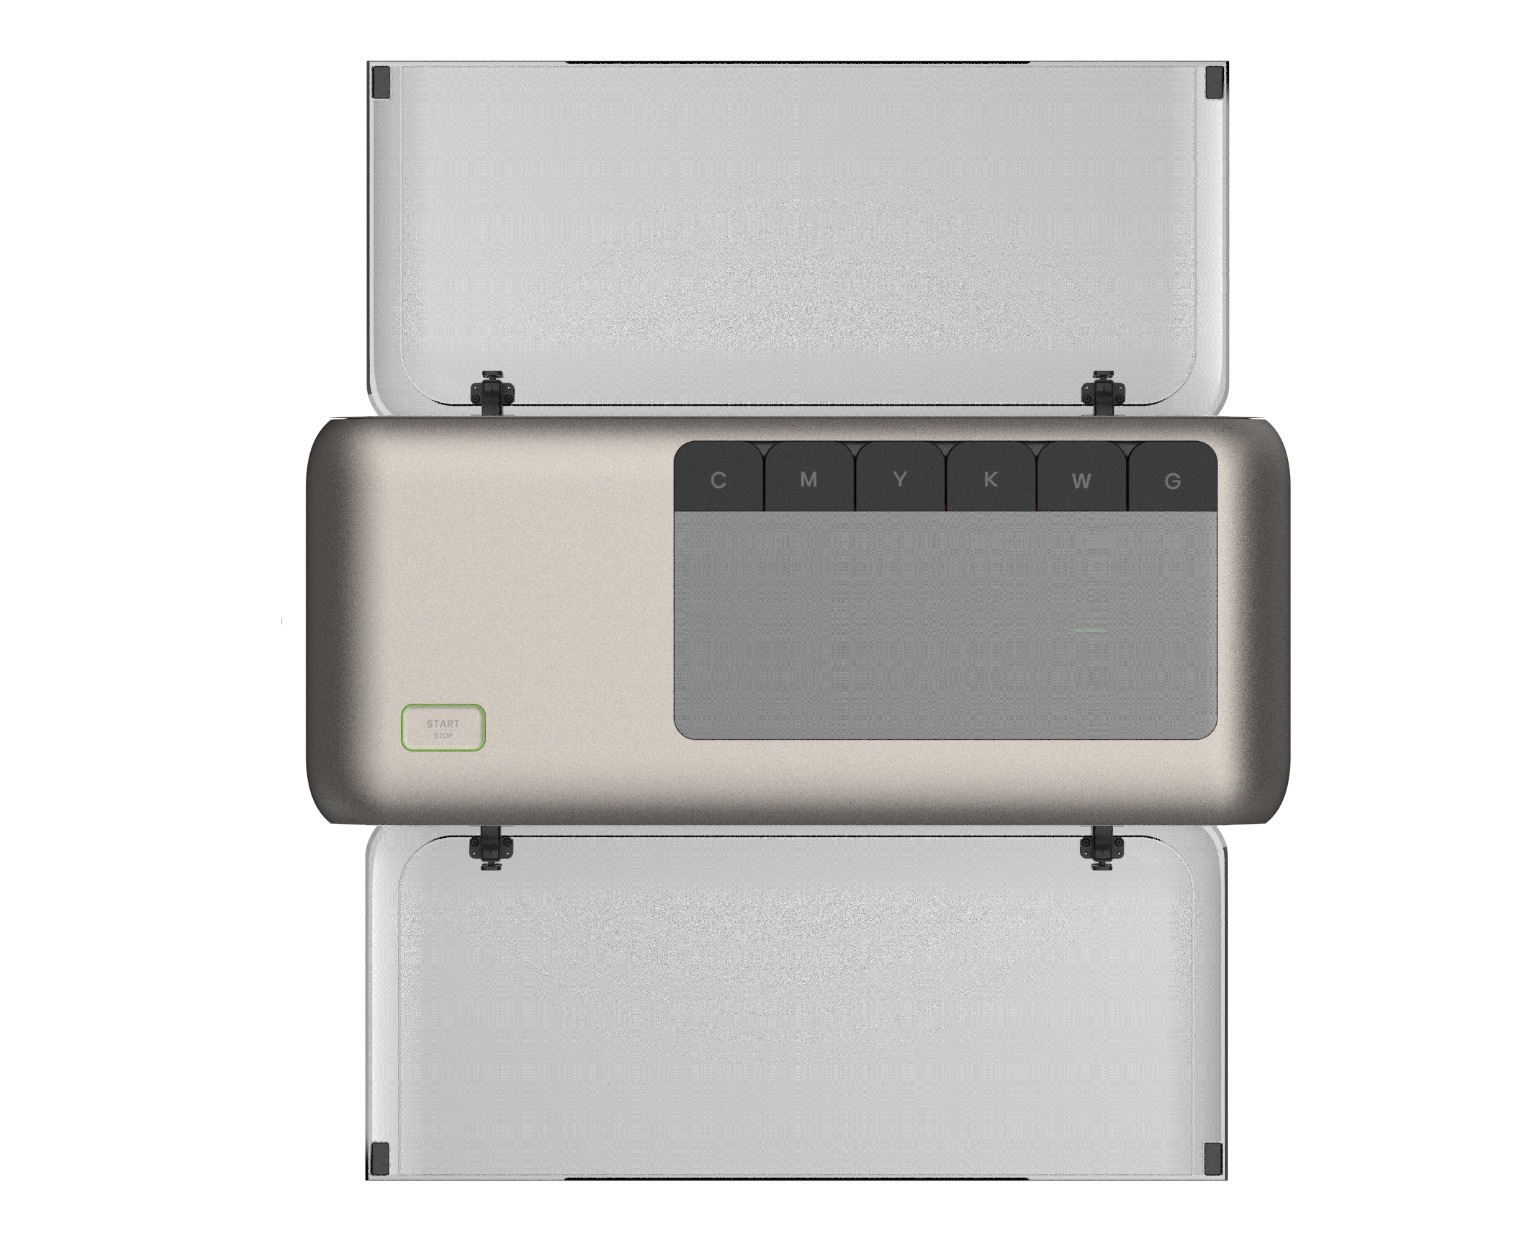
The door panel assembly is installed at the bottom on both sides of the printer. It blocks UV light and prevents odor leakage when the equipment is idle or during small-sized printing. The panels can be opened, closed, and quickly removed.
-
When using the mini flatbed, the door panels can be either opened or closed。
-
When using larger accessories such as the standard flatbed or the roll-to-film attachment, the doors must remain open.
-
The door panels can be replaced if they become severely worn or damaged.
¶ Replacement Steps
¶ Step 1 - Remove the quick-release assembly on one side of the door panel
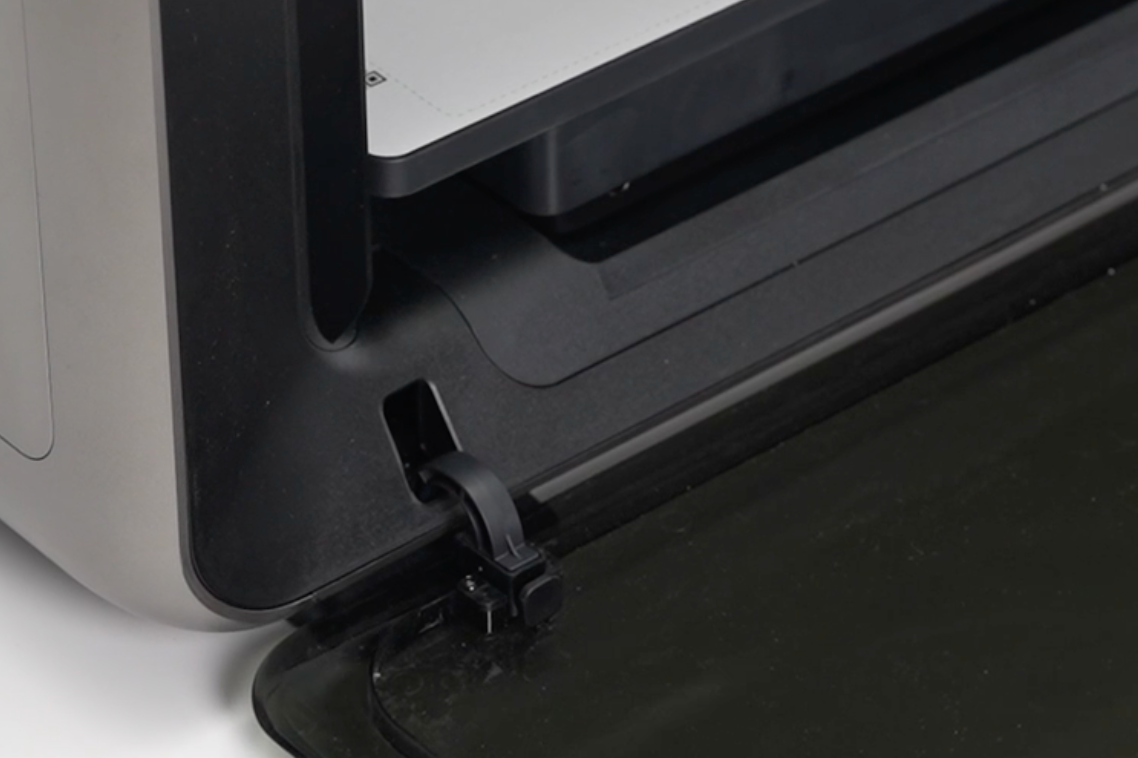
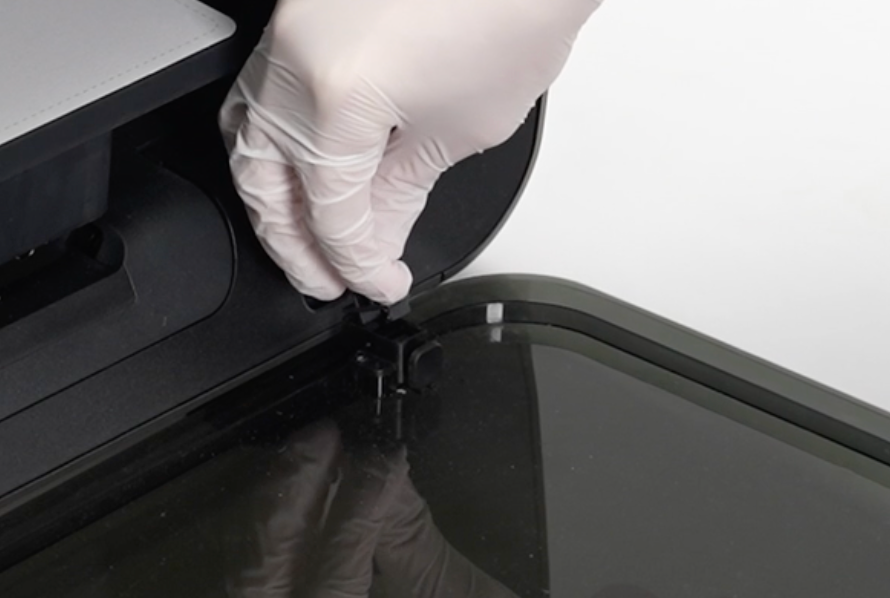
- Open the door panel, press the quick-release button, and the hinge arm will pop out. Then, the quick-release mount can be removed.
⚠️ Note: Use one hand to support the door panel to prevent the door panel from falling after pressing the quick-release button. Do not leave the bottom of the door panel suspended in the air, which may cause damage.

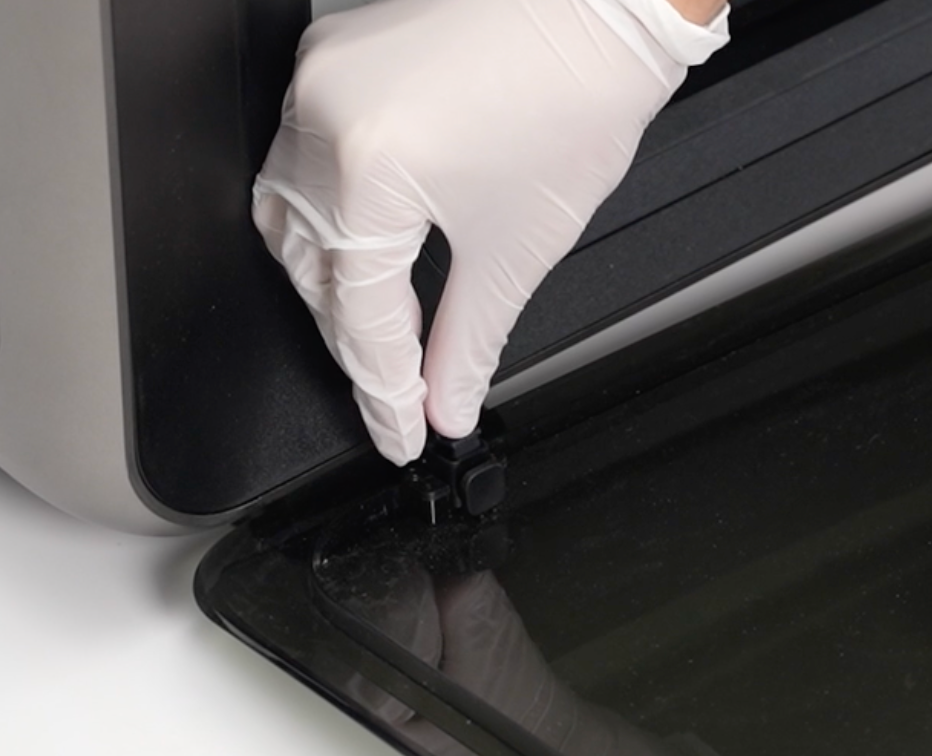
¶ Step 2 - Remove the quick-release component on the other side
Support the door panel with one hand, and use the same method as before to remove the quick-release component on the opposite side.


¶ Step 3 - Install the new door panel
Hold the door panel with one hand and use the other hand to press the hinge arm into the slot of the quick-release component. Release only after you hear a clear feedback click. This indicates the installation is complete. Repeat the same steps to install the quick-release component on the other side of the panel.
¶ Step 4 - Functional Testing
After replacing the door panel, open and close it several times. Check that:
-
The gap between the door panel and the top panel is even.
-
The magnetic closure functions normally.
If both conditions are normal, the replacement is complete.