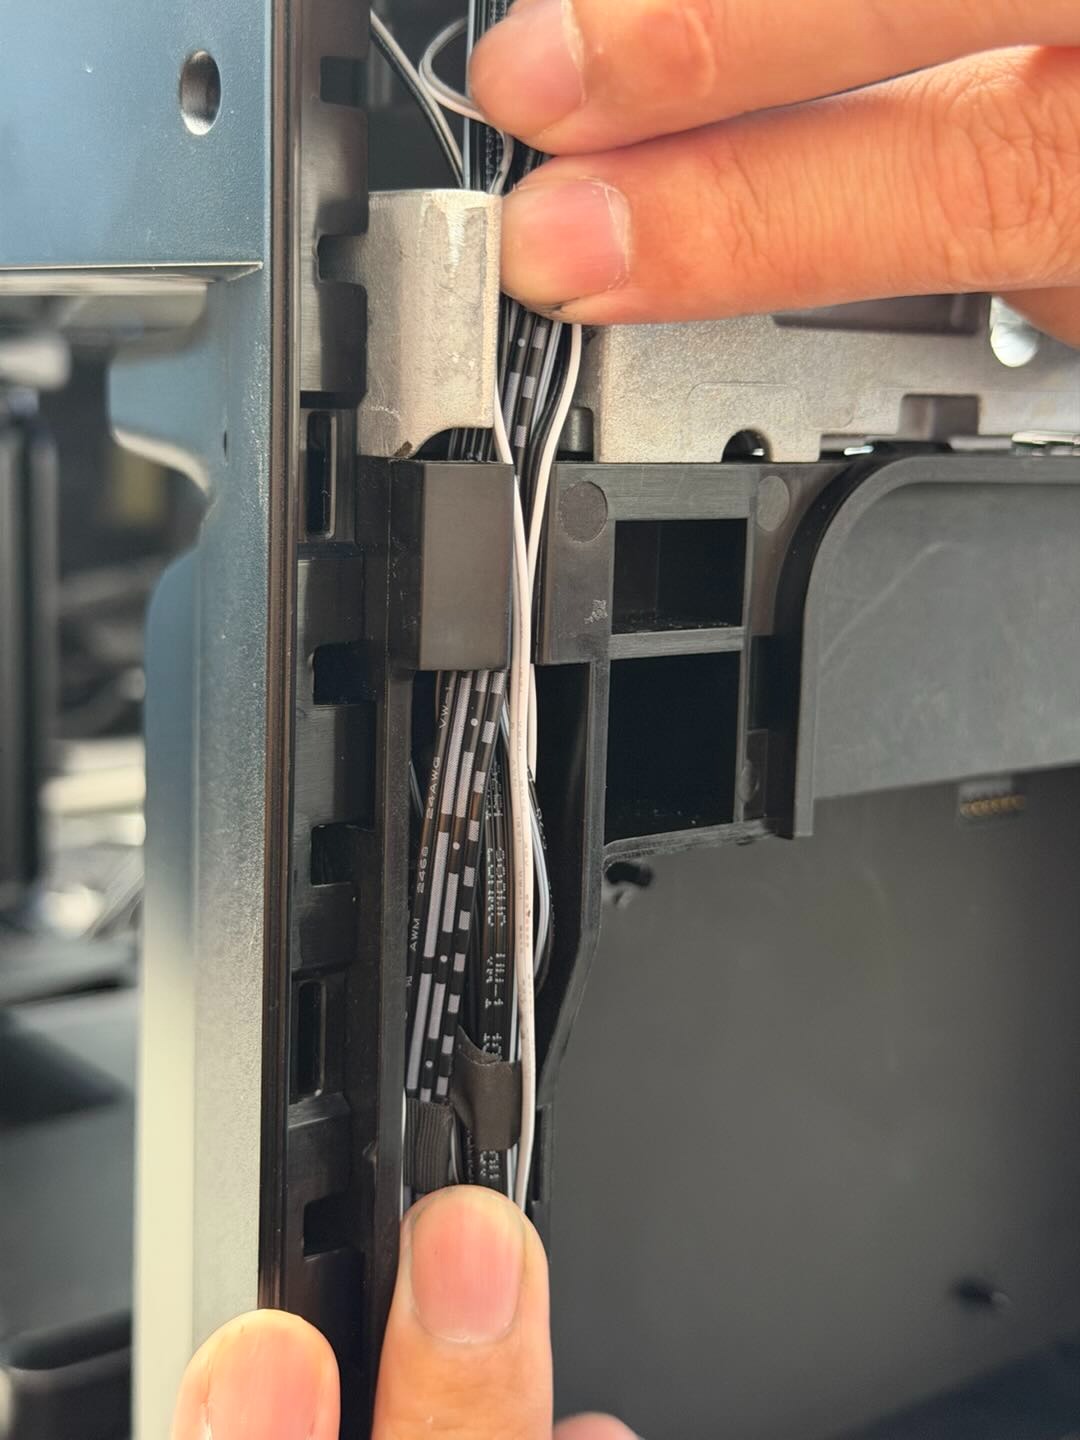
¶ Replacement Background
During extended use, ink buildup may corrode the connecting cable. Repeated bending may also damage the cable or expose the internal wires. If any of these issues occur, the Ink Stack connecting cable must be replaced.
¶ Precautions
Turn off the printer and disconnect it from power before starting the replacement.
Handle the connectors carefully when disconnecting or reconnecting them to avoid damage.
After replacement, confirm that the cable is securely connected and fastened to prevent it from coming loose during operation.
¶ Replacement Steps
¶ Step 1: Remove the Ink Stack
Remove the Ink Stack. For detailed instructions, refer to the following video:
https://youtu.be/TvLlBtrvelI?si=9STrbIQIpODzB15h
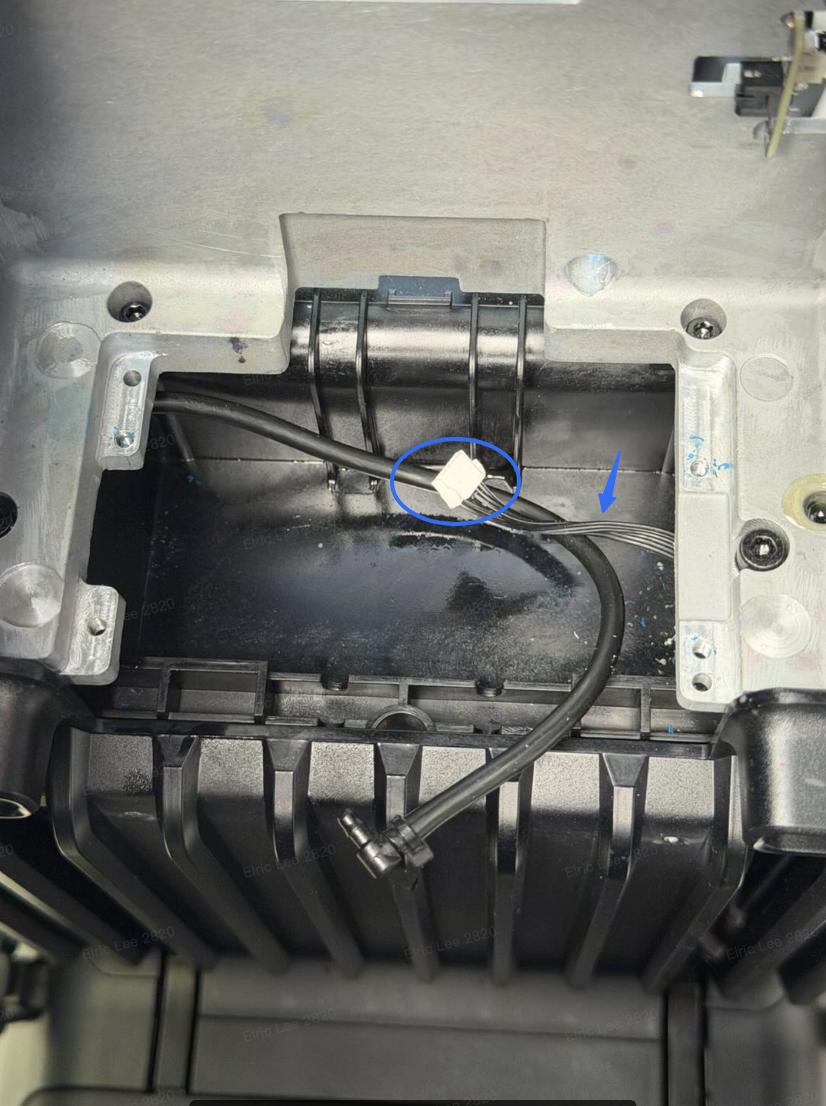
After removing the Ink Stack, the connecting cable should appear as shown below.
¶ Step 2: Remove the Right Side Cover
Remove the printer’s right-side cover. For detailed instructions, refer to:
https://support.eufymake.com/s/article/eufyMake-UV-Printer-E1-Printer-Outer-Shell-Disassembly-SOP)
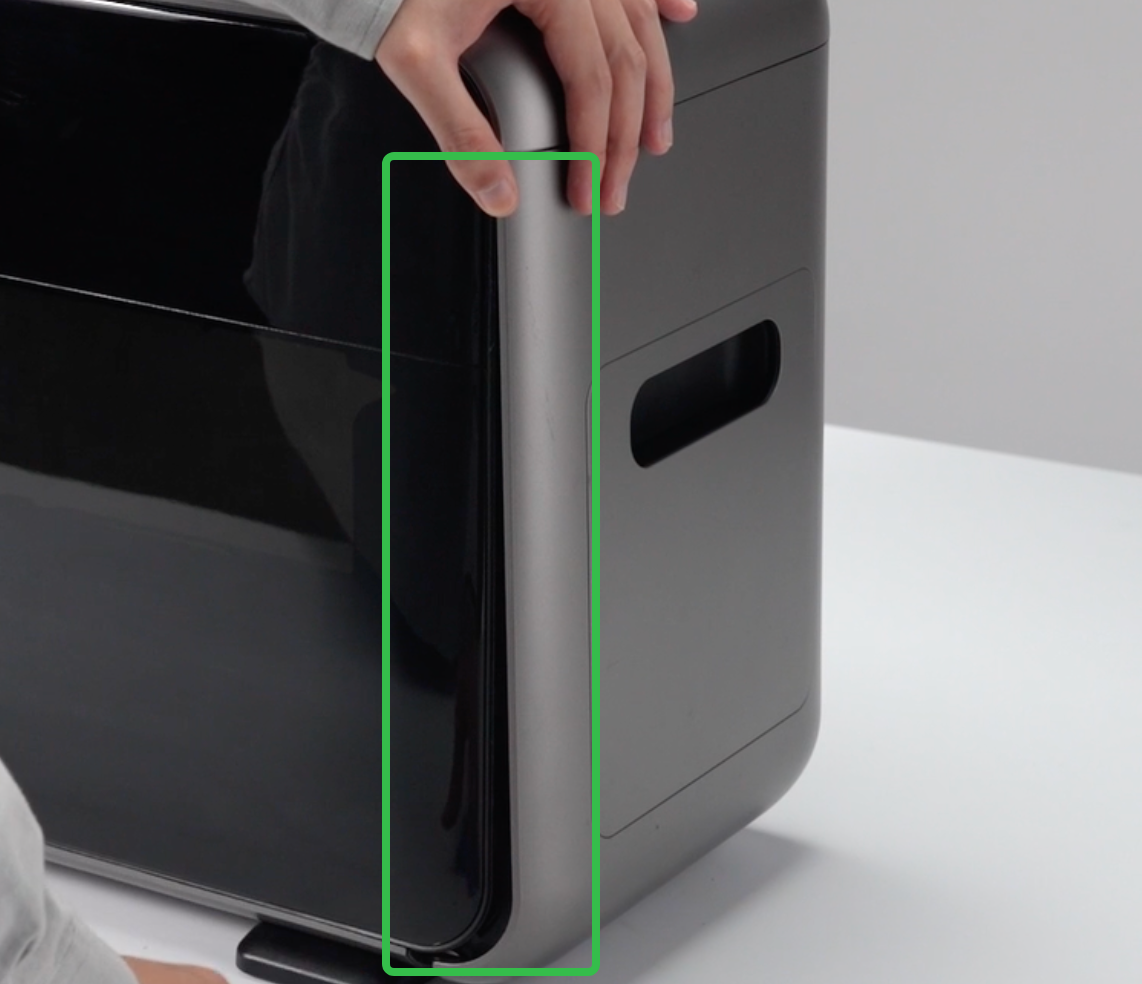
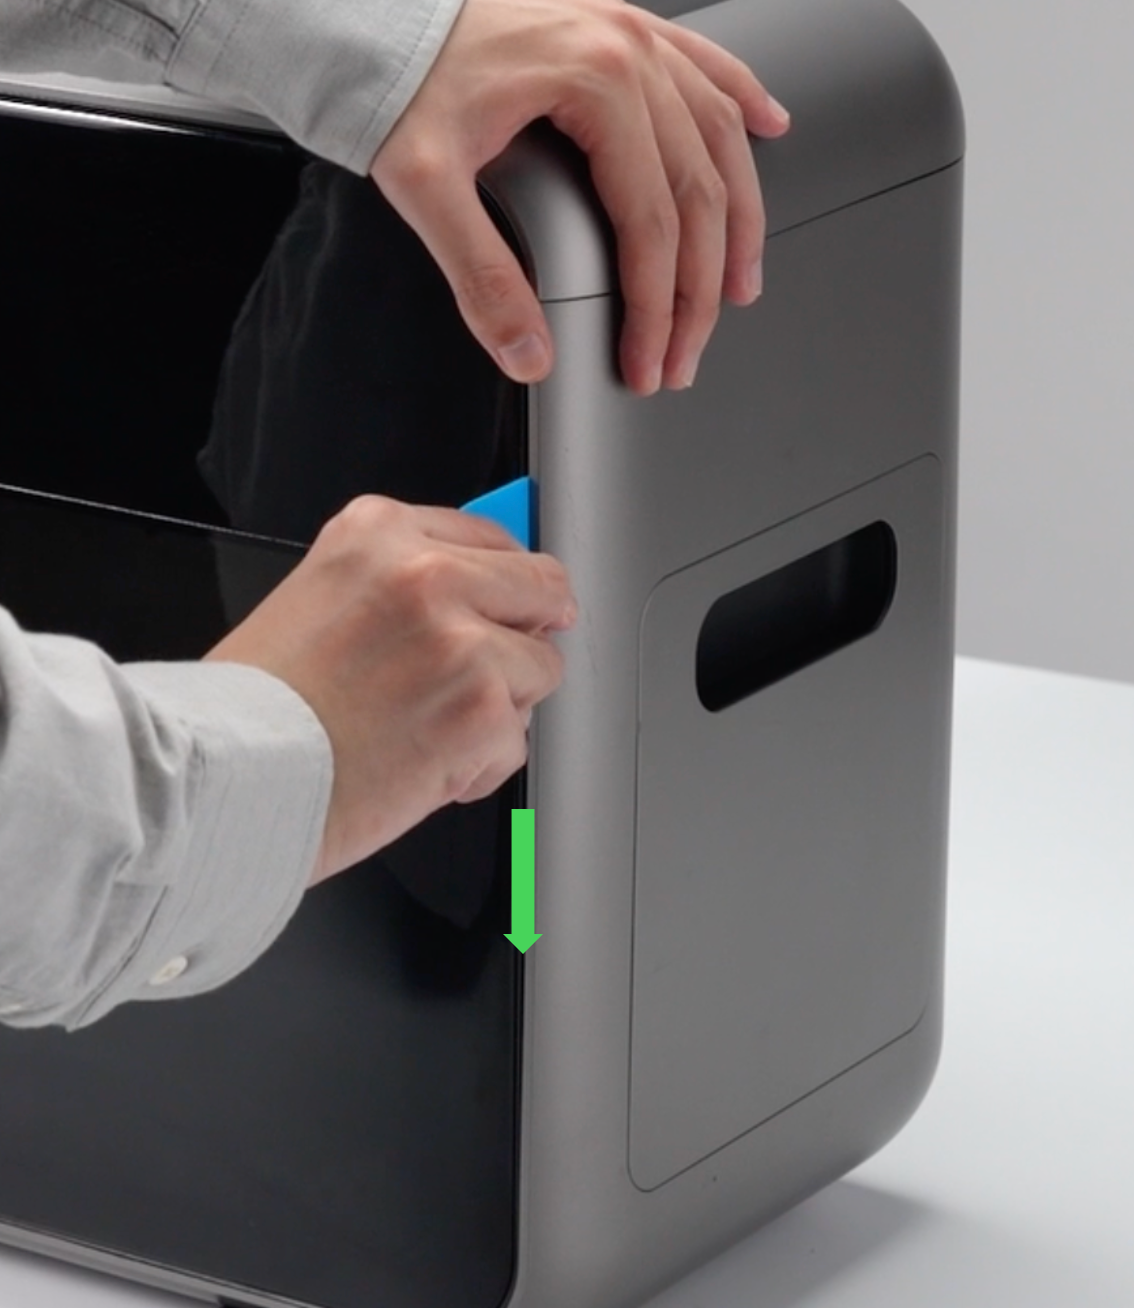
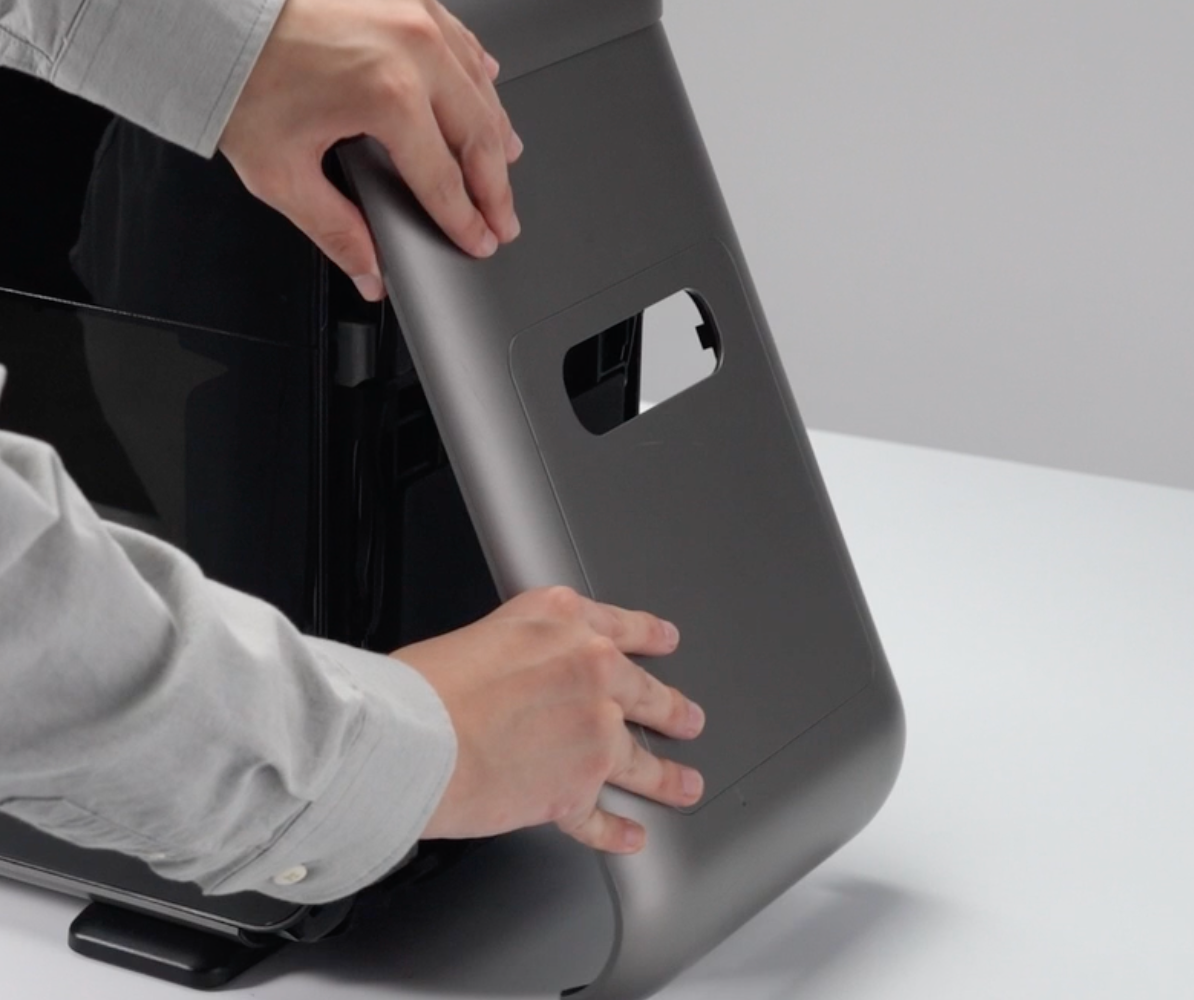
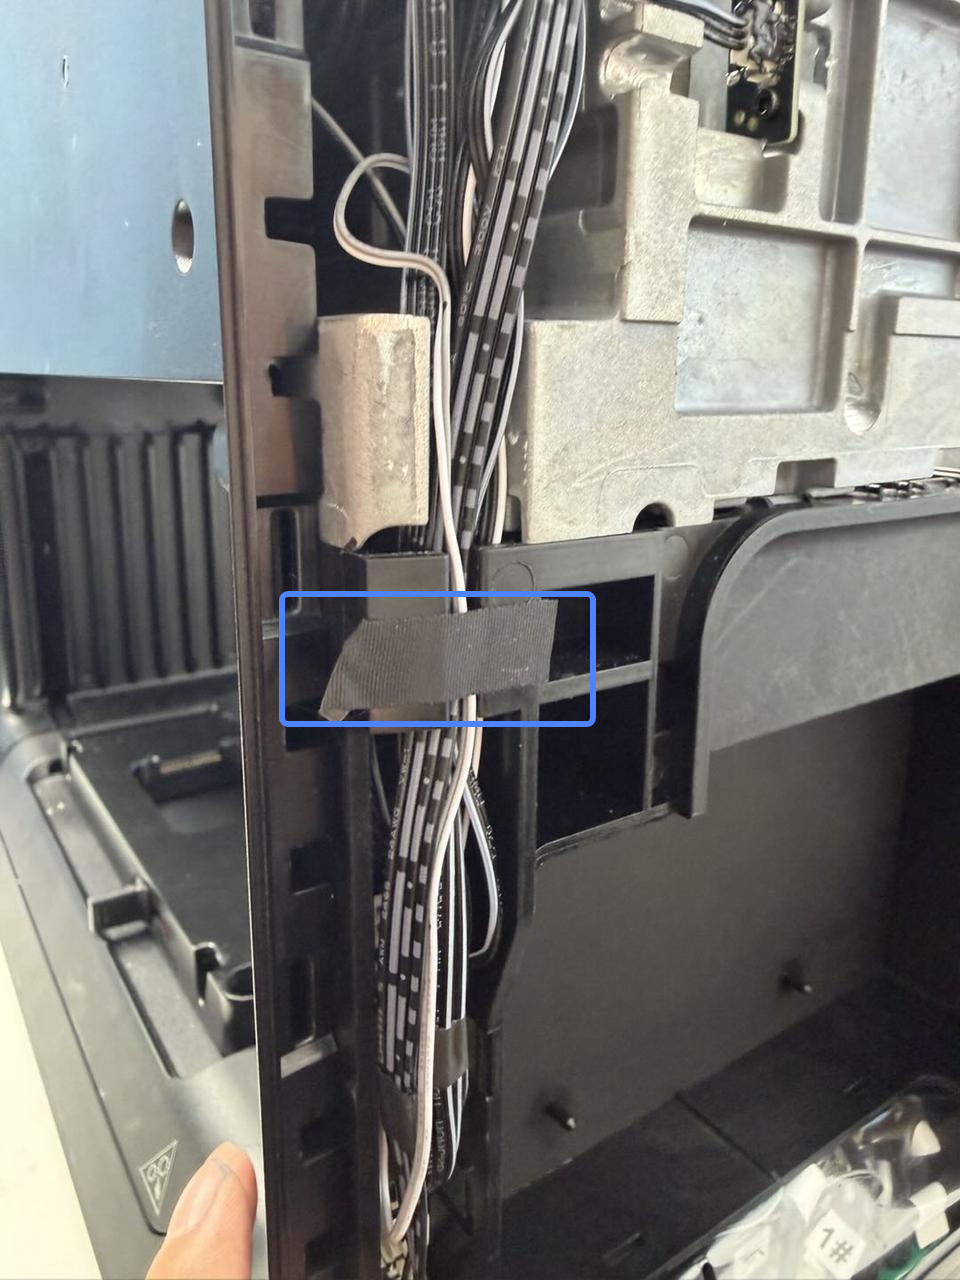
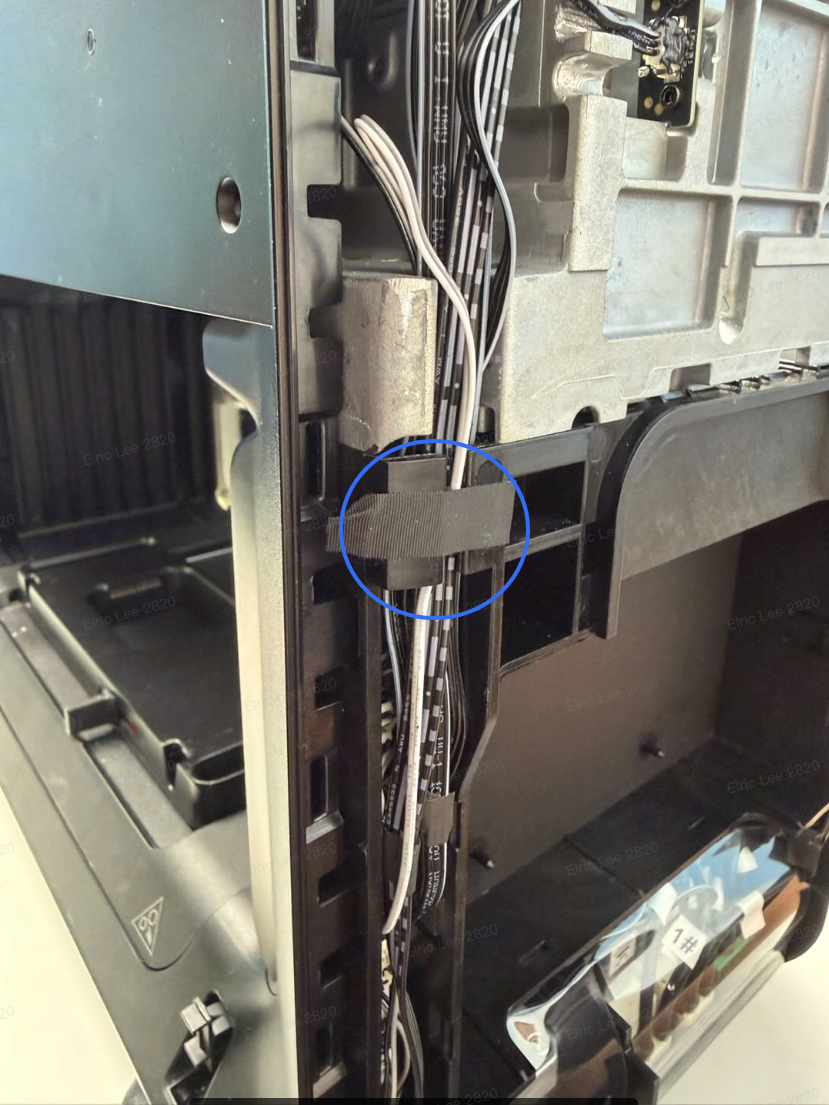
Peel off the tape securing the cable.
¶ Step 3: Disconnect the Cable
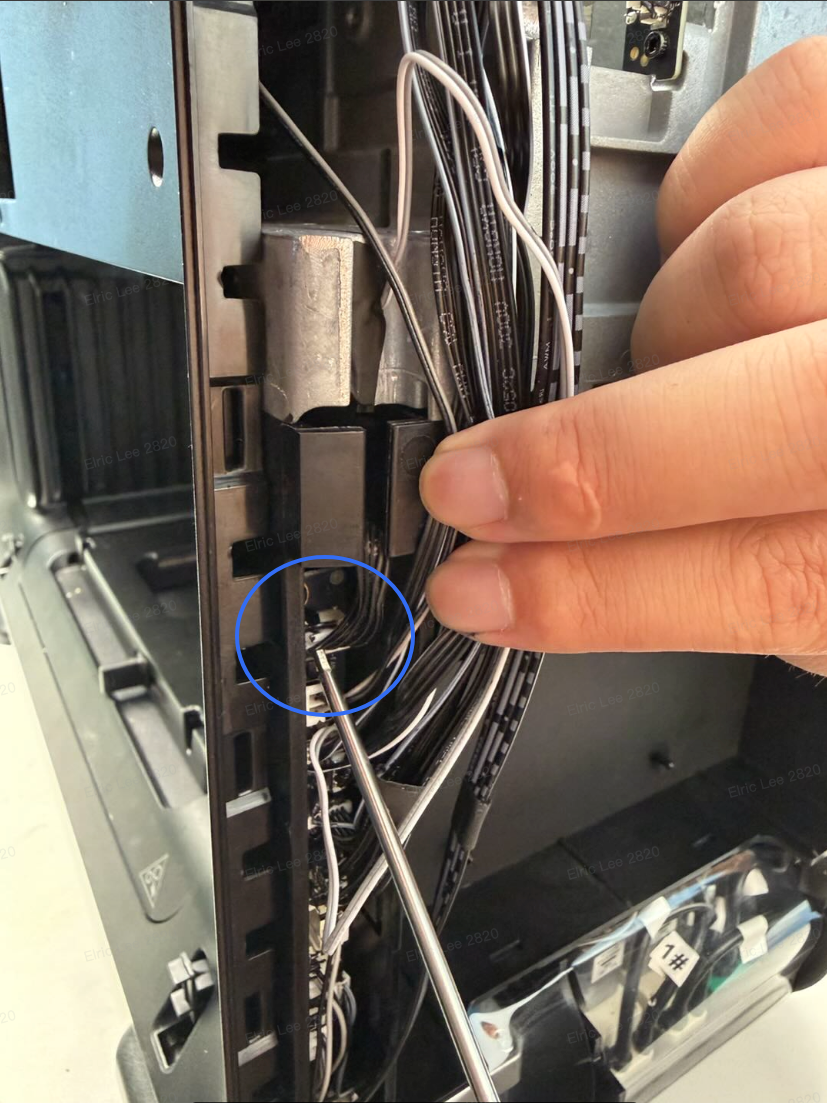
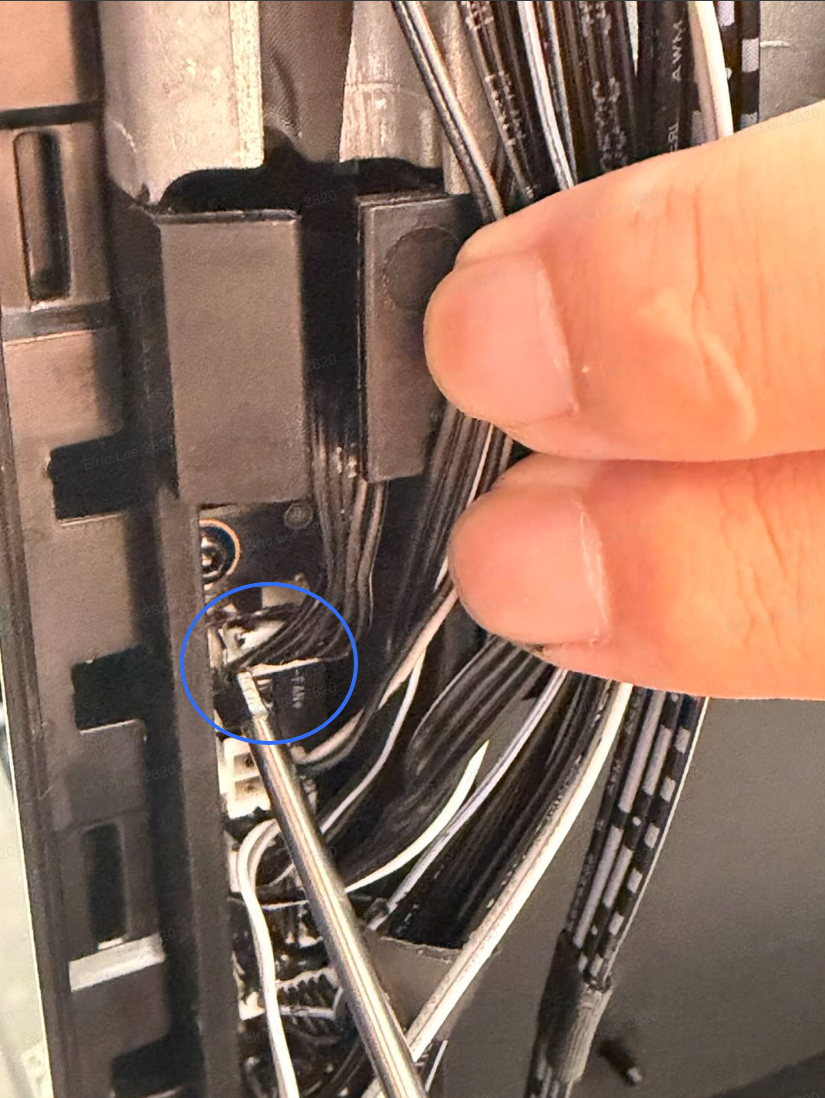
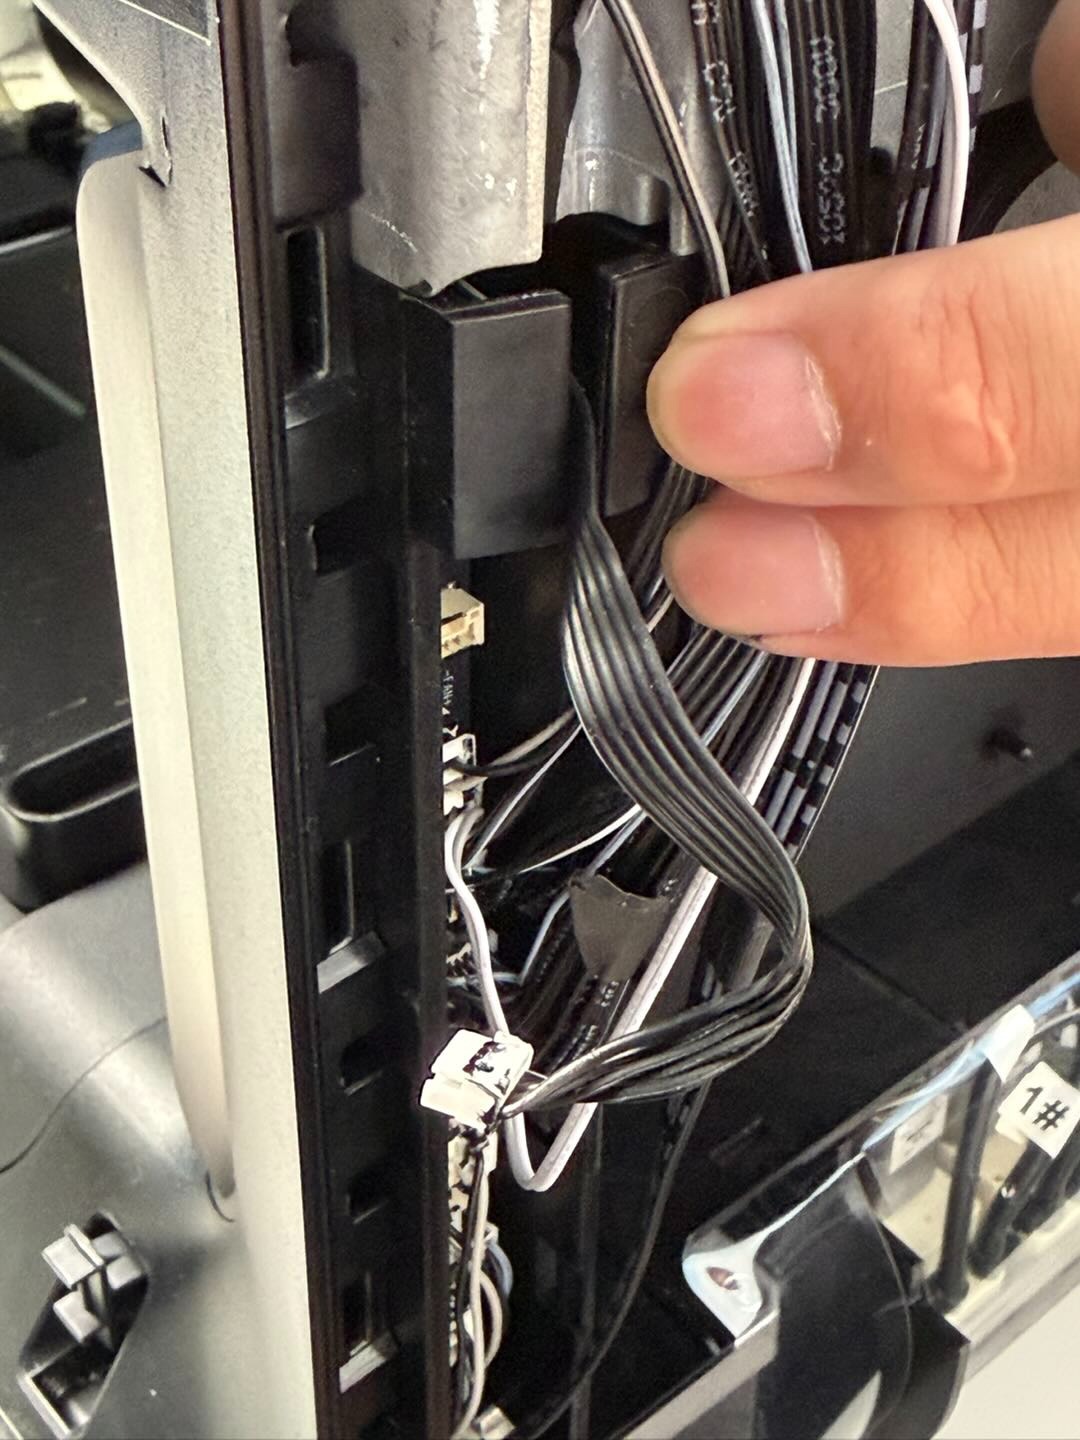
Locate the Ink Stack connecting cable and disconnect it from the connector.
¶ Step 4: Remove the Old Cable
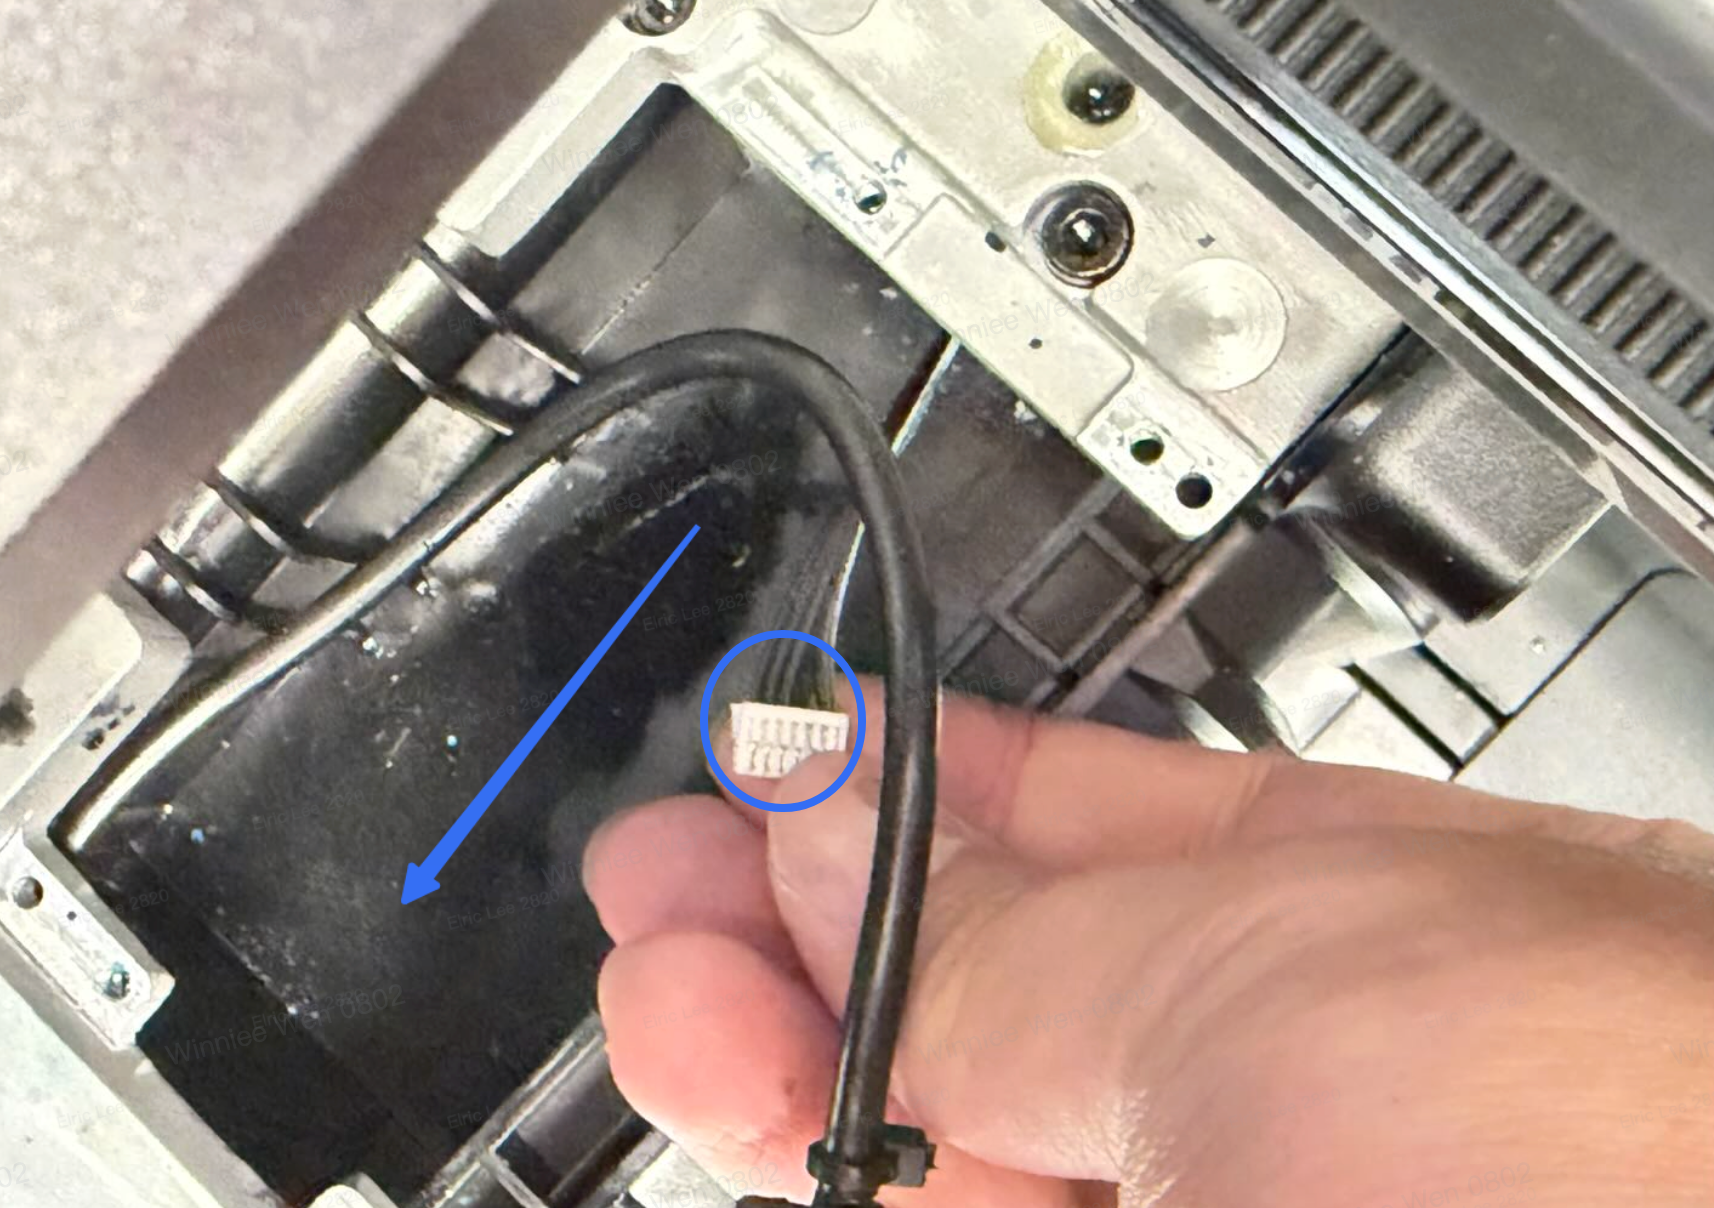
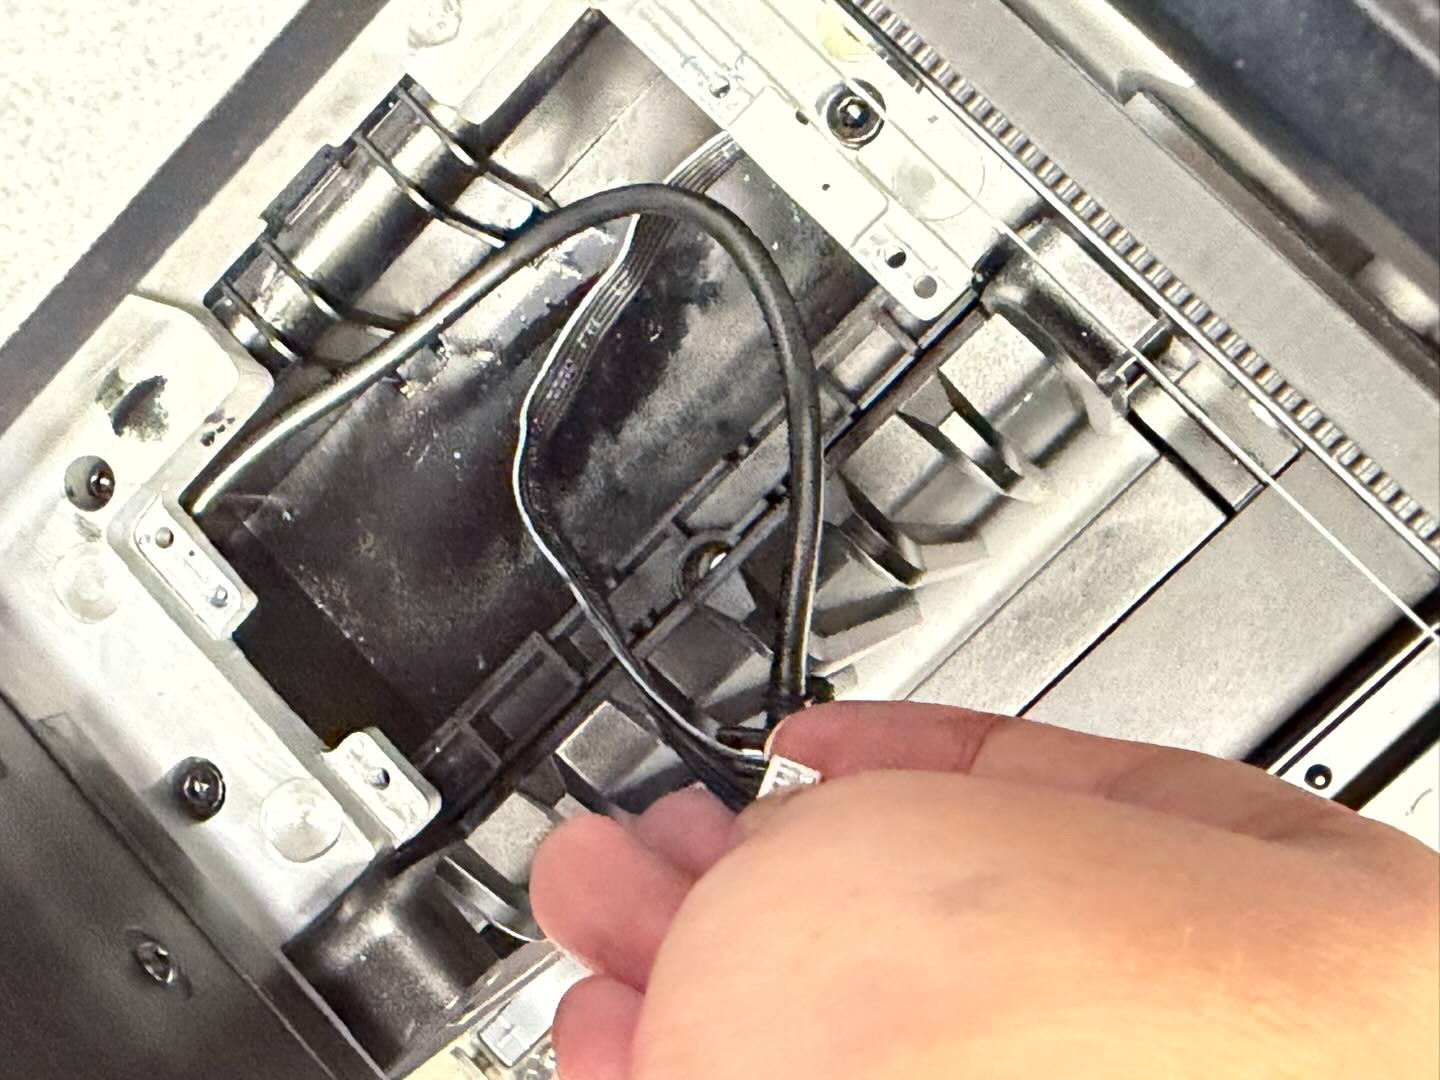
After disconnecting the cable, carefully pull the old Ink Stack connecting cable out through the Ink Stack.
¶ Step 5: Route the New Cable
Straighten the new Ink Stack connecting cable.
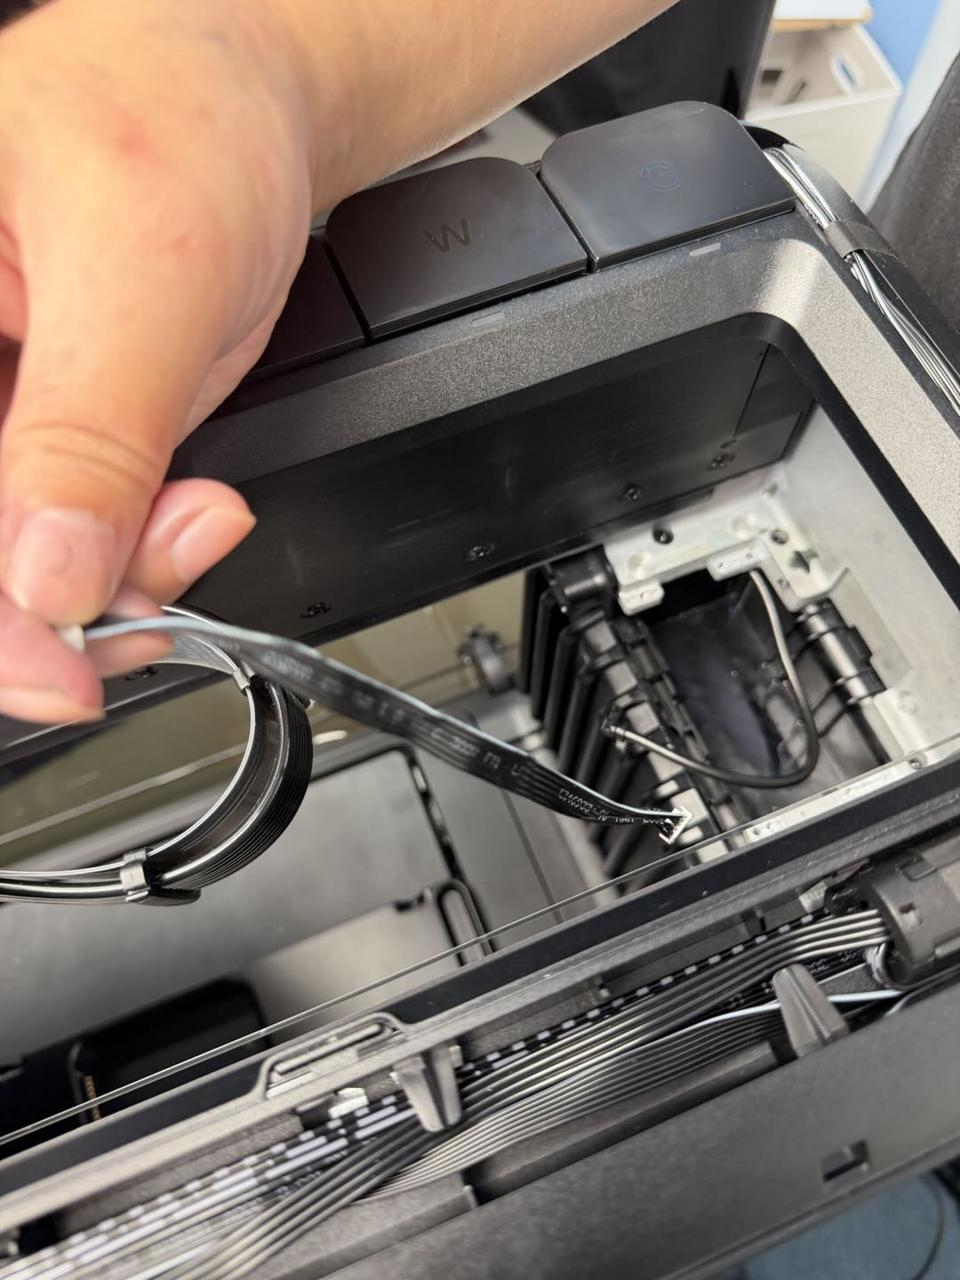
Feed the cable through the small opening in the Ink Stack.
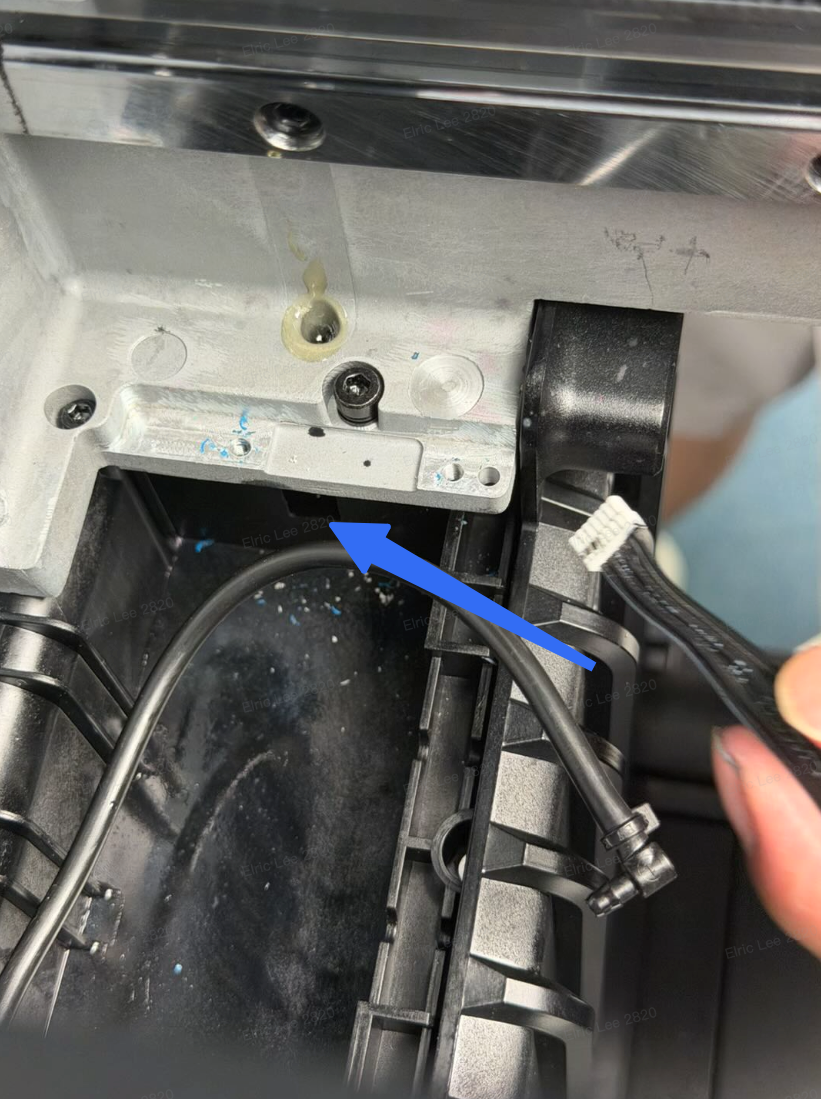
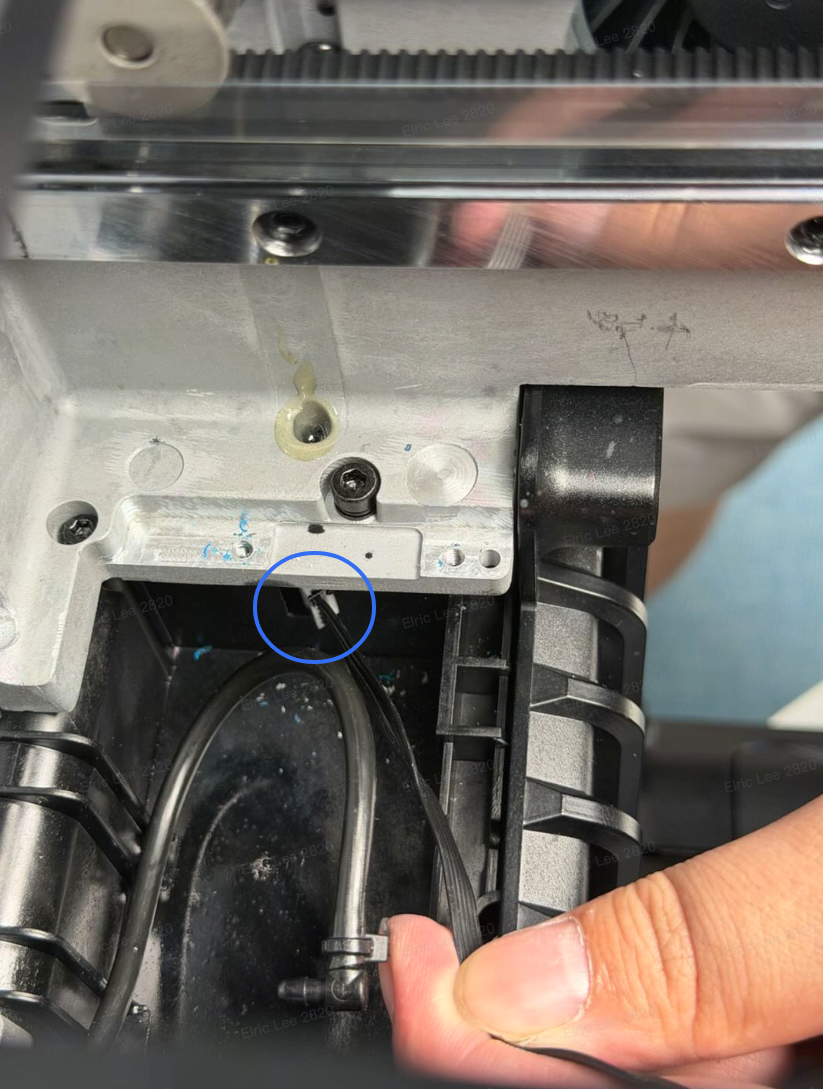
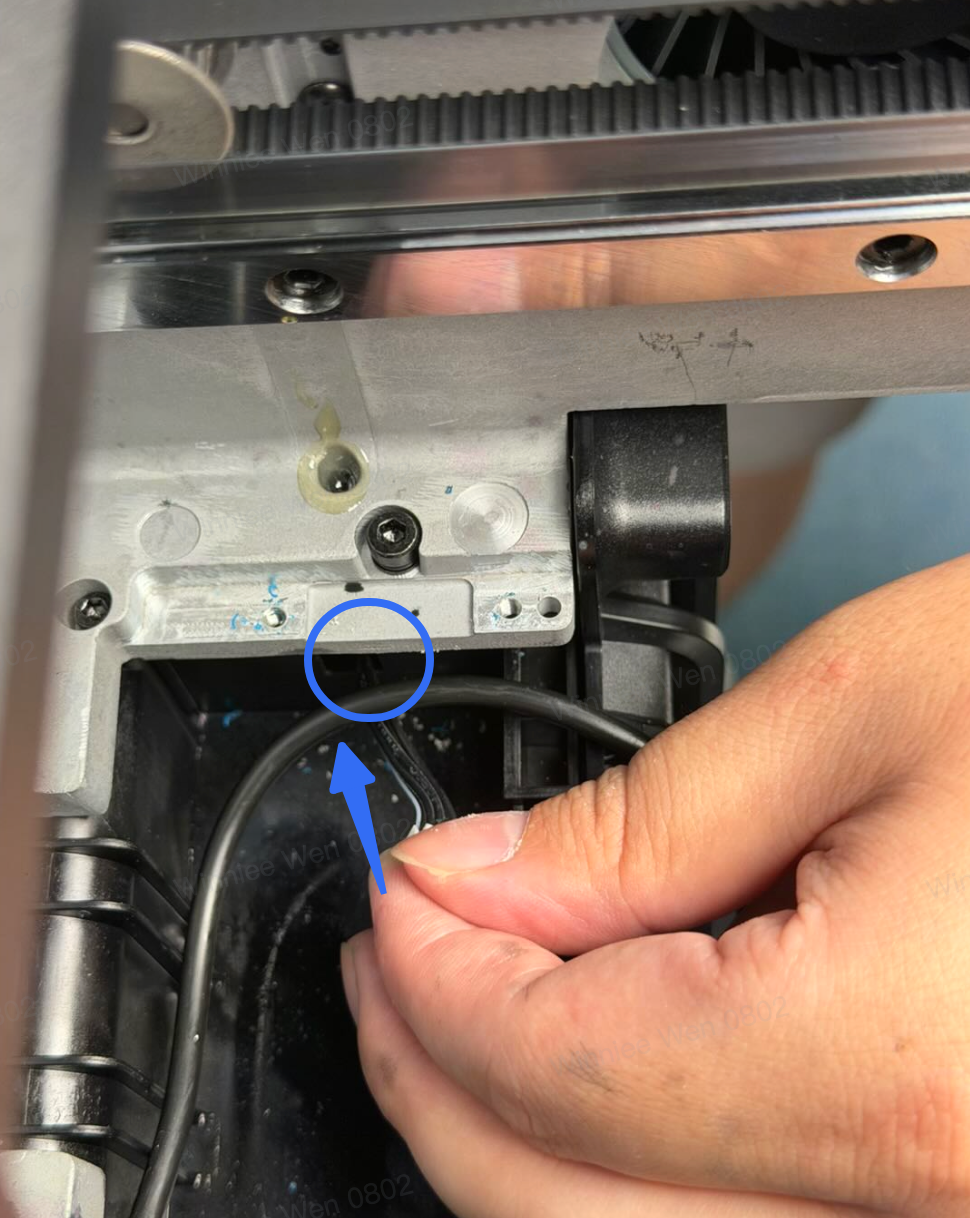
Continue feeding the cable through until it is visible from the right side of the printer.
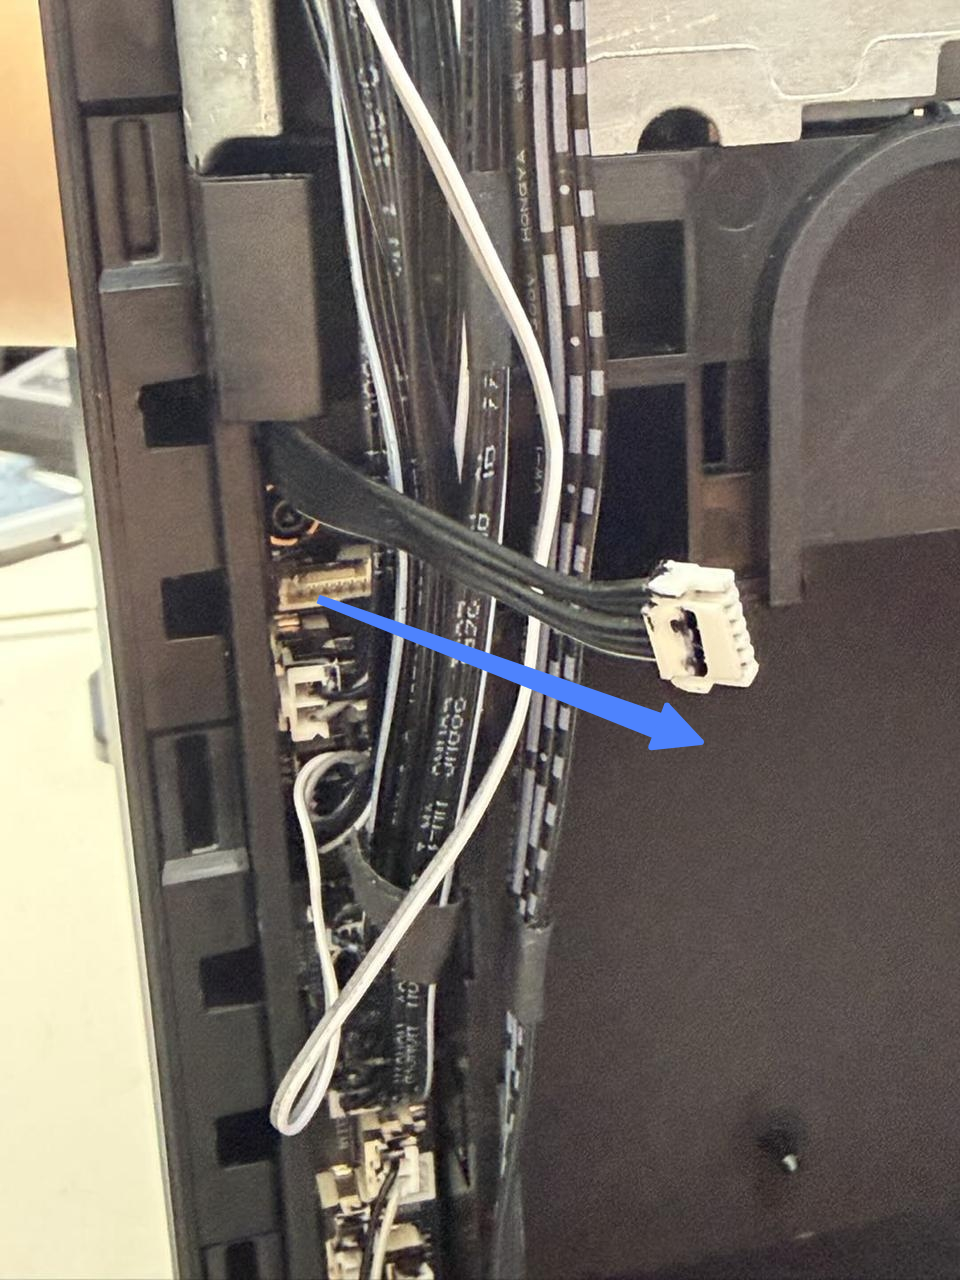
¶ Step 6: Reconnect and Secure the Cable
Pull the new cable through the opening and reconnect it to the connector.
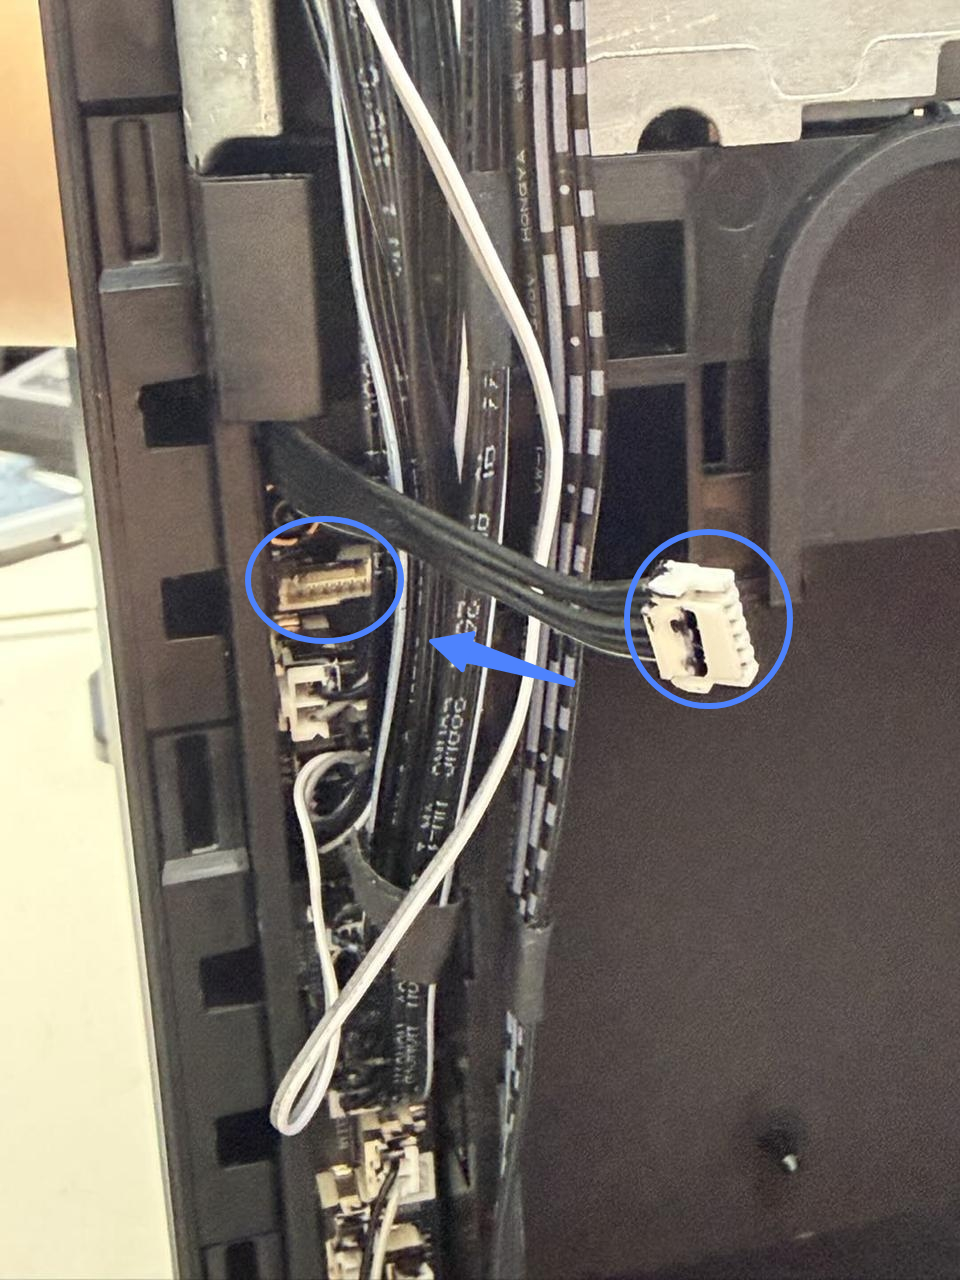
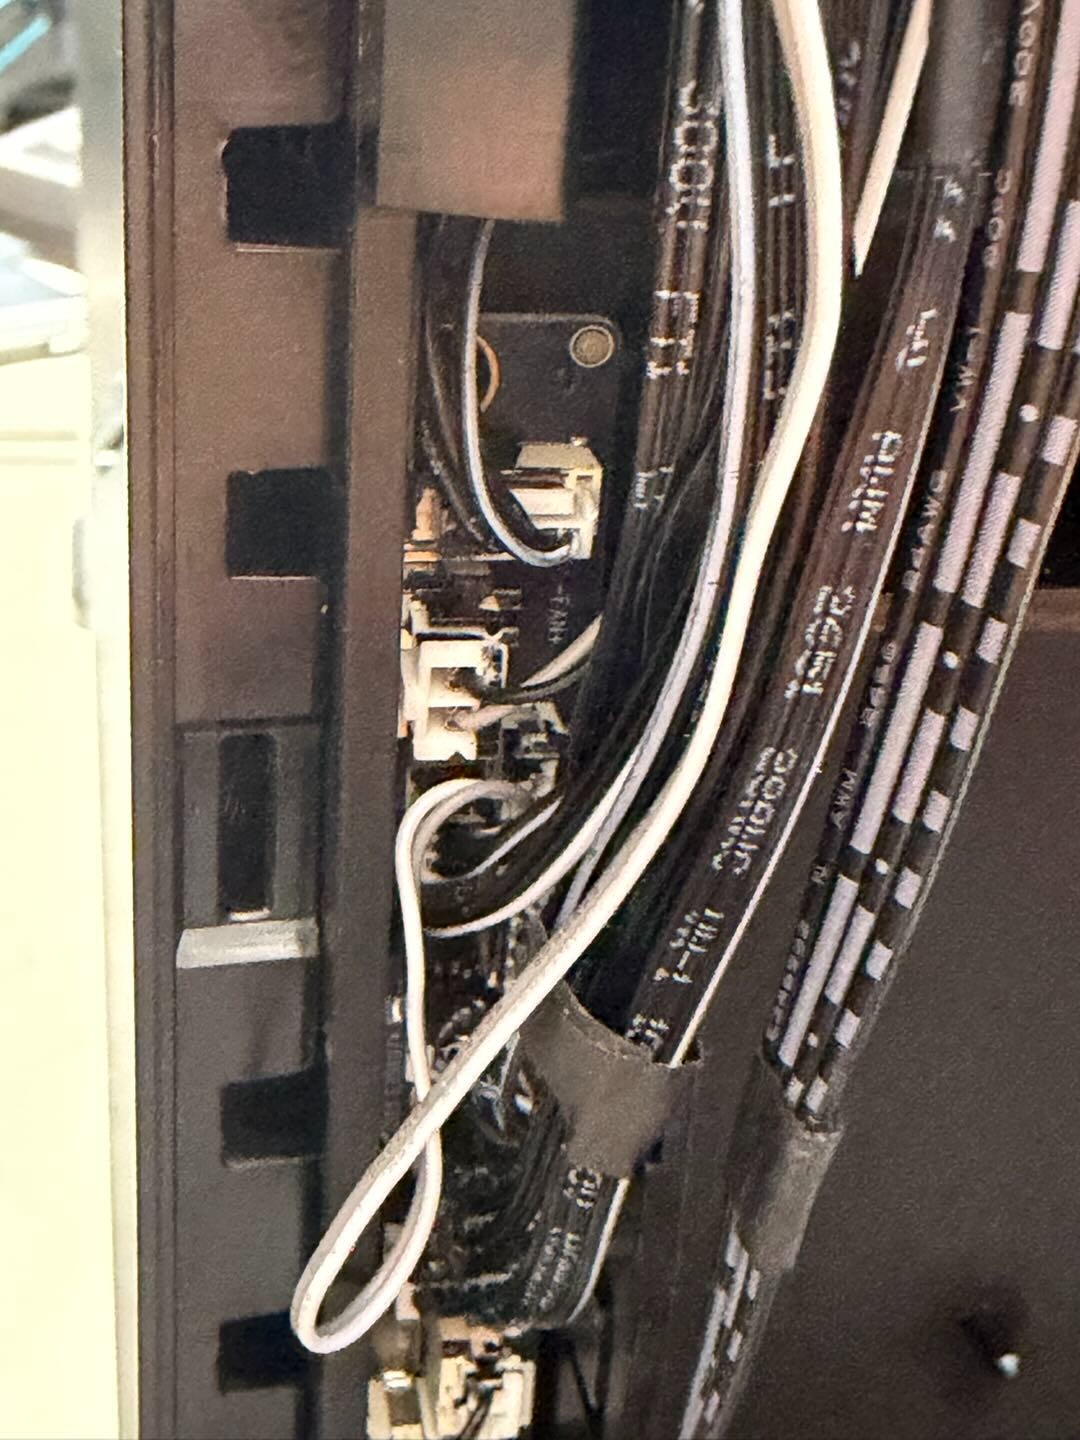
Route the cable back into its original position and secure it with tape.