Scope of Application
This process is used to produce waterproof transparent stickers, such as phone-case decals, notebook decorations, and other clear stickers that can be applied to a variety of surfaces.
Working Principle
Film A has a high-adhesion surface. After being laminated with Film B, it lifts the printed pattern and adhesive layer together, completing the transfer.
Operating Steps
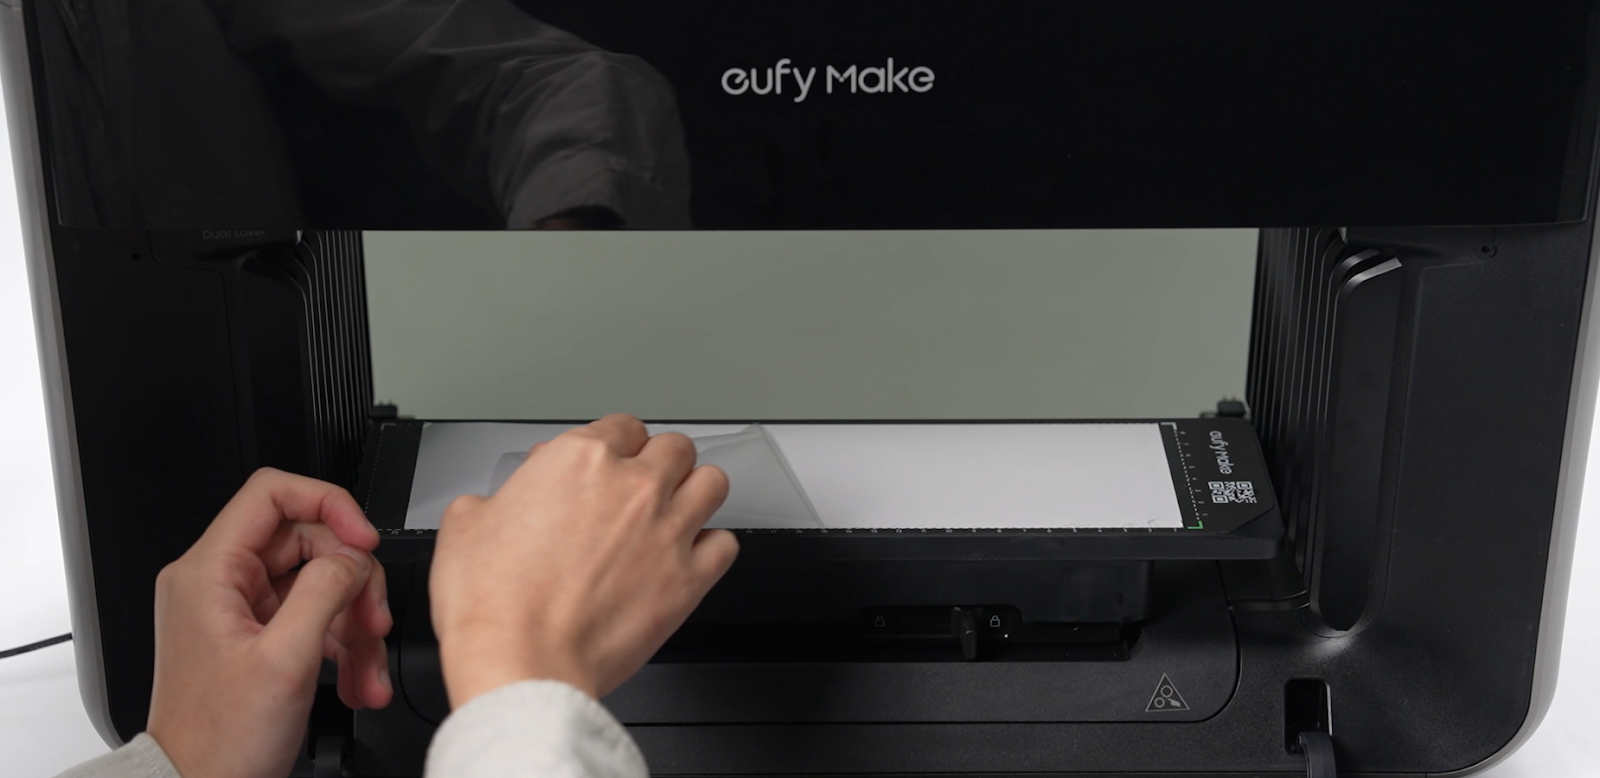
1. Prepare Film A
Tear off the protective layer of Film A to expose its adhesive surface.
2.UV printing on Film A
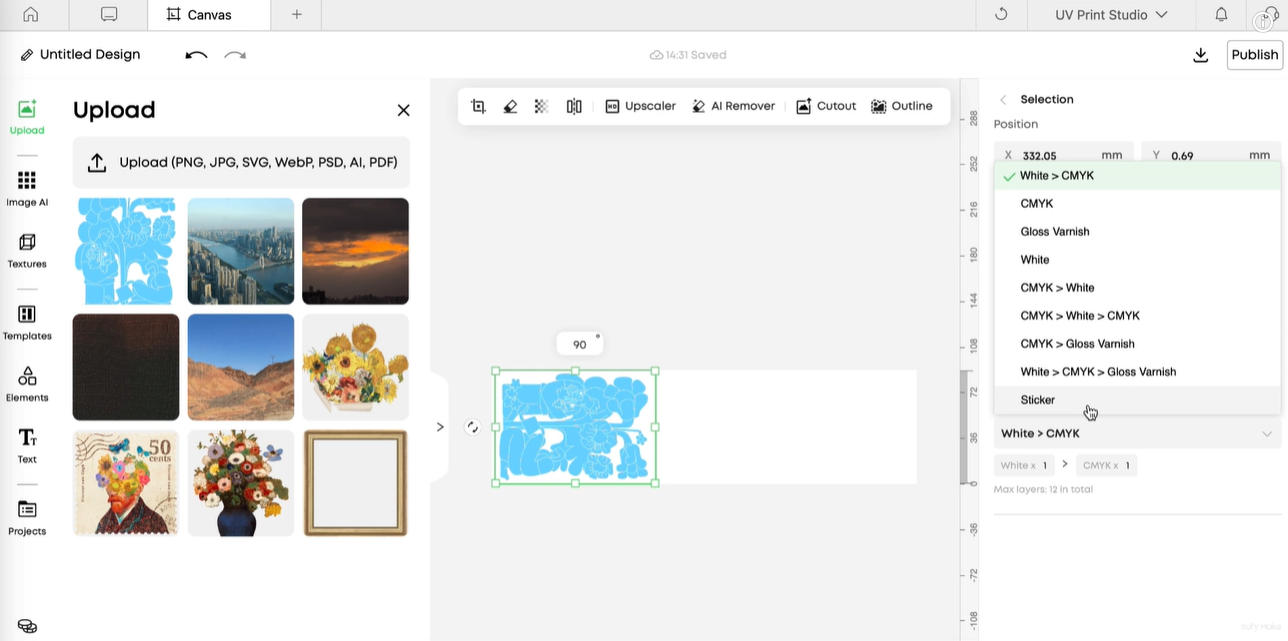
In Ink Mode, select Sticker.Sticker Mode cannot be used together with other print modes.All elements in the print job must be set to Sticker before sending it for printing.
3.Install and Preheat Film B
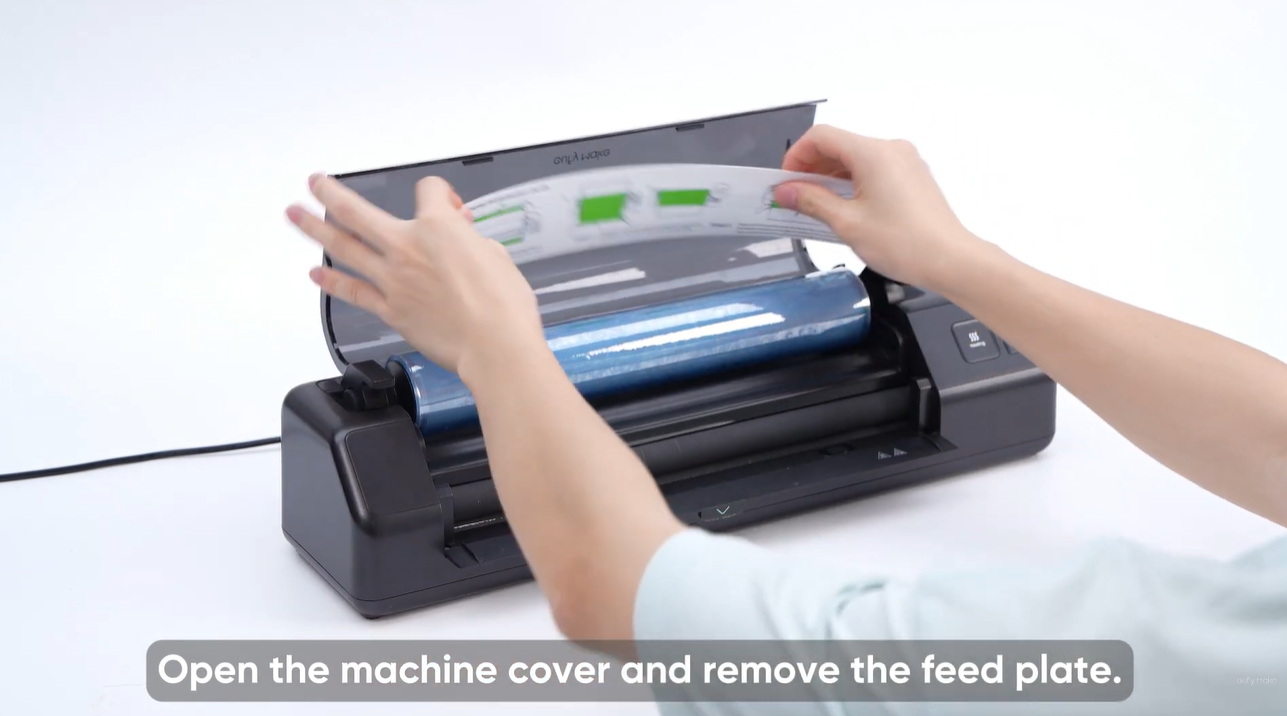
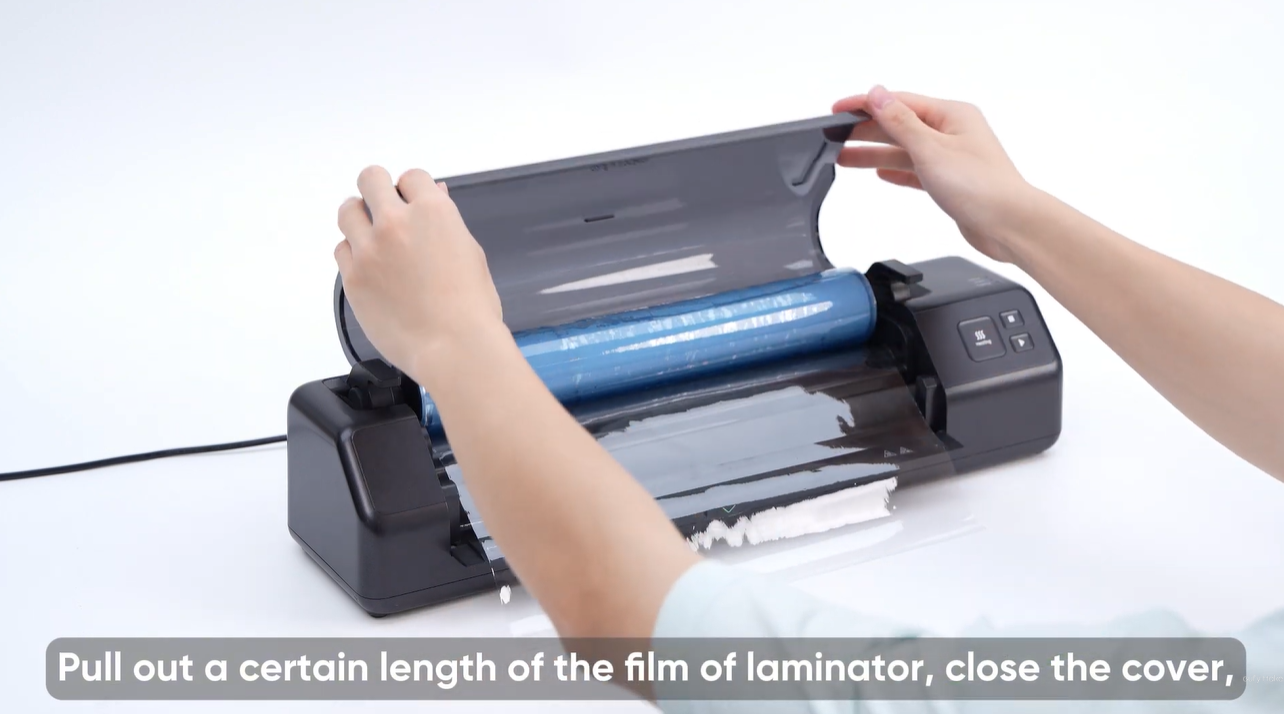
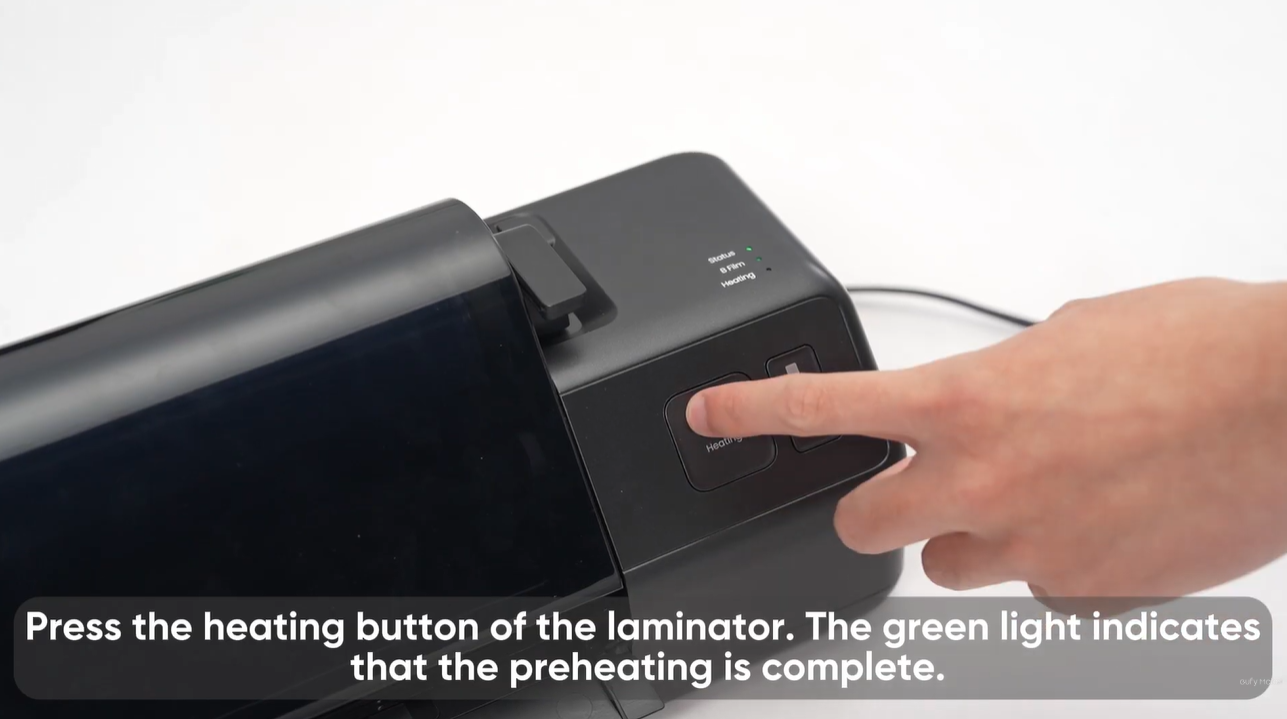
Install Film B on the laminating machine and complete the preheating process.
Please refer to the article and video of the Laminator Usage Guide.
video tutorial: https://www.youtube.com/watch?v=5ufN3rKykW4&list=PL_aDMkCH-68yWfXs3bCObg95QSWqcr1Y3&index=5
4. Laminate the Films
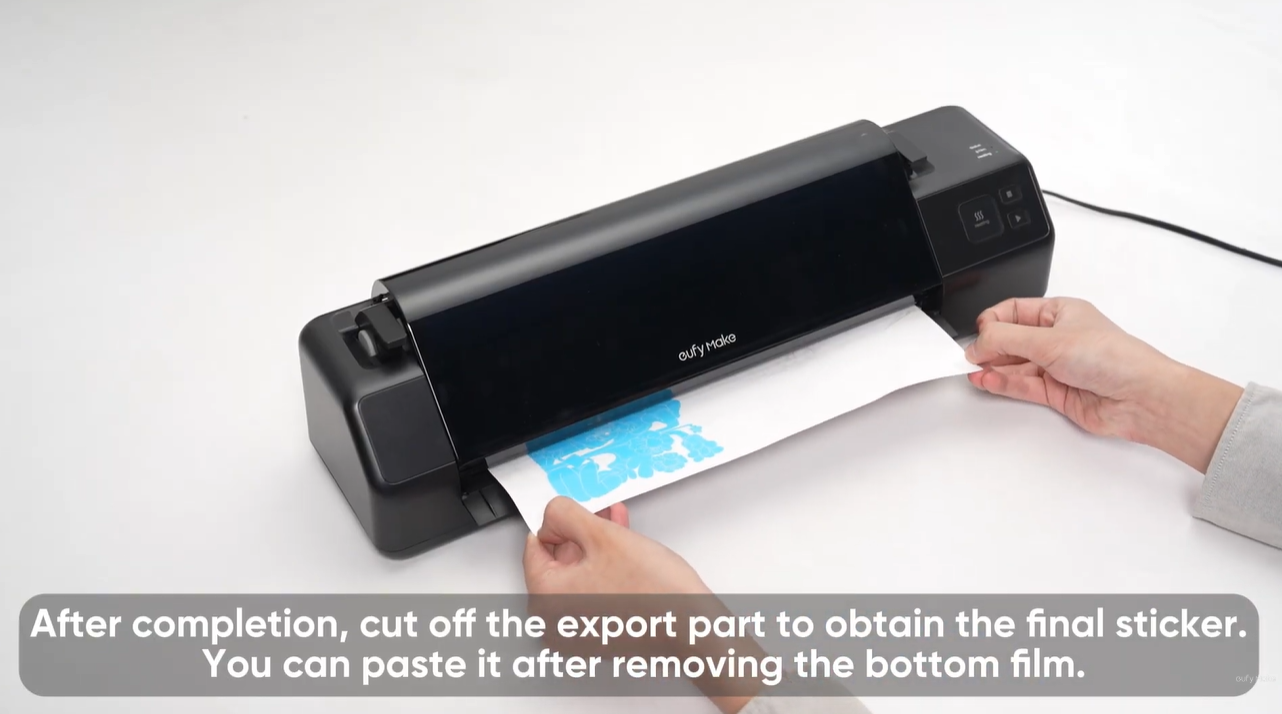
Insert the printed Film A into the inlet of the laminating machine. The film will feed automatically.
5. Trim the Stickers
After lamination is finished, use a cutter to trim the sheet to the required sticker size.
6. Peel and Transfer
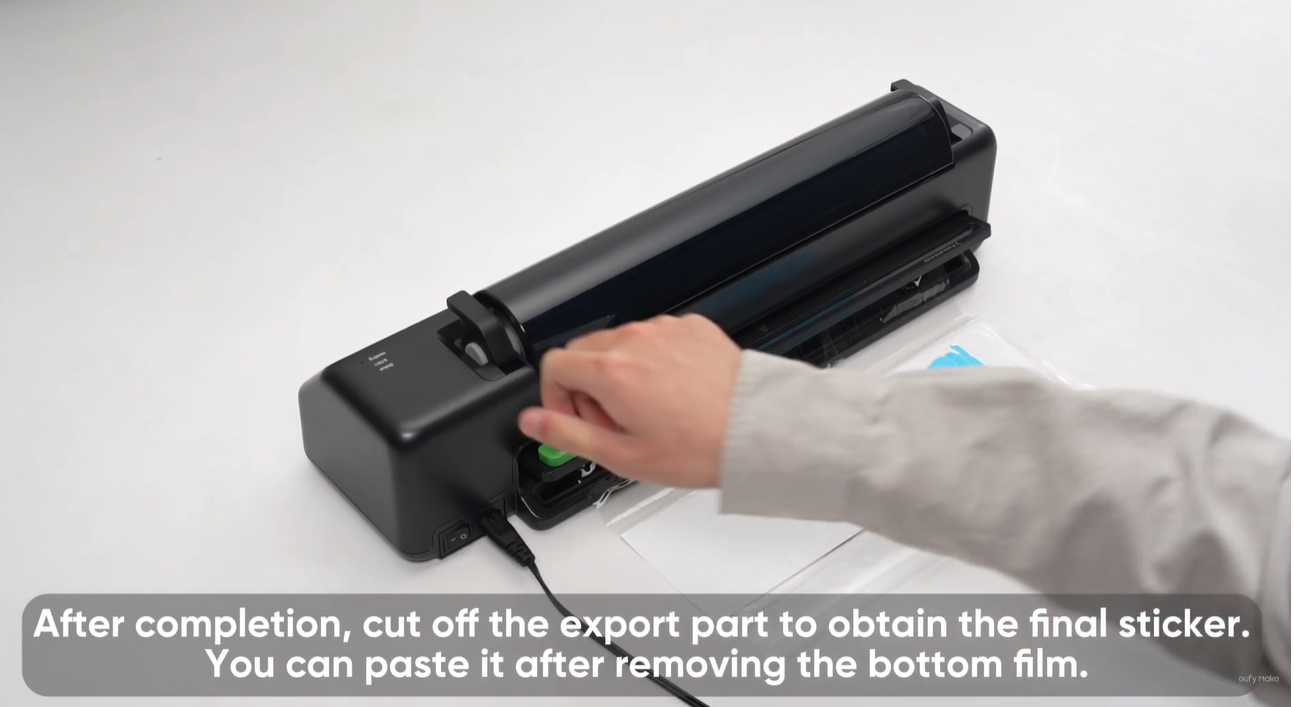
Tear off Film B. The printed pattern will separate from Film A and adhere to Film B.
7. Apply the Sticker
Attach the design from Film B to the target surface, press it firmly, and then remove Film B to leave the sticker in place.
¶ Frequently Asked Questions
¶ Q1: The status light flashes red during startup or lamination.
This indicates the device has entered protection mode.
If the preheat light also flashes red, the roller may be overheating. Turn off the machine and restart after it has cooled naturally.
If a film jam occurs:
Press Forward to eject the film.
Open the baffle.
Remove the jammed Film B.
Restart the device.
¶ Q2: The status light flashes red when Film A is inserted before self-test completes.
After powering on, the machine will perform an automatic self-check. Wait for the beep prompt before operation.
If the sensor is blocked during self-check, the device may misidentify it as an error and enter protection mode. Recover using the steps described in Q1.
¶ Q3: The pattern does not fully transfer after peeling Film B.
Possible causes:
Films A and B were installed in the wrong orientation, or printing direction was incorrect.
Lamination pressure or contact was insufficient.
Check that:
The printing surface is the adhesive side on the back of Film A.
The film combination is correct.
Lamination pressure and duration are adequate.
¶ Q4: The gold/silver stamping transfer is incomplete or contaminated.
If the transfer is incomplete or the edges are damaged:
Confirm that Soft White Ink printing is complete.
Extend hot-pressing time if necessary.
Peel the film only after it has cooled completely.
If metallic adhesion appears in non-patterned areas:
Check that white-ink output is normal and that the pattern edges are clean.
Perform a nozzle test if needed.